You open a photo, crop it, hit save, and the result looks softer and blockier than the file you started with. Do it a few more times — edit, save, edit, save — and the blur stacks up: muddy edges, smeared text, faint colored halos around high-contrast lines. This is not your screen, your camera, or a bad download. It is JPEG doing exactly what it is designed to do — throw away detail to make files smaller — and doing it again every time you re-save. This guide explains why a JPEG goes blurry after saving (generation loss, the quality slider, chroma subsampling, and upscaling), and the right way to re-export so the next save does not destroy what is left.
Quick answer: JPEG is a lossy format: every save runs discrete-cosine-transform compression that permanently discards image detail. Re-opening and re-saving a JPEG recompresses already-compressed data, so some quality is lost each time — the artifacts from the previous save get baked in and the image gets progressively blurrier. The fixes: edit from the original or a lossless master (PNG/TIFF), never re-save the same JPEG repeatedly, export at a high quality setting (commonly ~85–90 on a 0–100 scale) in one pass, and avoid upscaling — enlarging a JPEG cannot add detail it never had.
Jump to a section
- Why JPEG loses quality every time you save
- The quality slider: what the number actually does
- Chroma subsampling: why color edges smear first
- Upscaling and resampling: the other blur
- The right way to re-export a JPEG
- Compress a JPEG correctly with xconvert
- FAQ
Why JPEG loses quality every time you save
JPEG “is a commonly used method of lossy compression for digital images,” and “JPEG uses a lossy form of compression based on the discrete cosine transform (DCT)” (Wikipedia: JPEG, citing the JPEG standard). The encoder breaks the image into blocks, converts each block into frequency components, then quantizes those components — rounding off the fine, high-frequency detail your eye is least likely to notice. That rounded-off detail is gone. It is not hidden; it is deleted.
That is fine the first time. The problem is the second save. When you open a JPEG, your editor decodes it back into pixels — but those pixels already contain the first round of artifacts. Save again, and the encoder re-quantizes that already-degraded image, baking the old artifacts in as “real” detail and adding fresh loss on top. The effect compounds.
JPEG “is also not well suited to files that will undergo multiple edits, as some image quality is lost each time the image is recompressed, particularly if the image is cropped or shifted, or if encoding parameters are changed” (Wikipedia: JPEG). This cumulative, irreversible degradation across repeated save cycles is called generation loss.
The visible symptoms after several re-saves:
- Blocking — faint 8×8-pixel squares, most obvious in smooth gradients like skies.
- Blurring / softening — fine texture and sharp edges turn mushy.
- Ringing and halos — ghostly echoes around hard edges and text.
- Color smearing — colored fringing along boundaries (see chroma subsampling below).
If your JPEG looks blurry “after saving,” the most common cause is simply that it has been opened, edited, and re-saved as JPEG one or more times since the original.
The quality slider: what the number actually does
When an app asks you to pick a JPEG “quality” — usually a 0–100 slider — you are choosing how aggressively the encoder quantizes. “The quality setting of the encoder (for example 50 or 95 on a scale of 0–100 in the Independent JPEG Group’s library) affects to what extent the resolution of each frequency component is reduced” (Wikipedia: JPEG). Lower number = coarser quantization = smaller file = more detail thrown away = more blur.
Two things people get wrong about this slider:
- It is not a percentage of “how much of the image you keep.” Quality 50 does not mean “half the picture.” It is an encoder parameter that scales the quantization tables, and the relationship between the number and file size is non-linear.
- High numbers still lose data. Even quality 100 in most encoders is lossy — not the same as a lossless format. Raising the slider on a re-save does not bring back detail; you are only choosing how much of the current (already-degraded) image to keep.
The reassuring fact: a single, well-chosen JPEG save looks excellent. “Ten to one compression usually results in an image that cannot be distinguished by eye from the original” (Wikipedia: JPEG). The damage comes from repeated saves and from picking a low value, not from using JPEG once at a sensible setting.
As a practical convention, exporting photos at roughly 85–90 on a 0–100 scale keeps the result visually close to the source while still compressing well; pushing higher mostly adds file size for diminishing visible gain, and dropping well below this range is where soft, blocky artifacts appear. Treat 85–90 as a starting point, not a law — the best value depends on the image and how it will be displayed.
Chroma subsampling: why color edges smear first
JPEG exploits a quirk of human vision: we notice changes in brightness (luma) far more than changes in color (chroma). “Human vision is much more sensitive to small variations in color or brightness over large areas than to the strength of high-frequency brightness variations” (Wikipedia: JPEG). So JPEG often stores the color channels at lower resolution than the brightness channel — a step called chroma subsampling.
The ratios JPEG uses are “4:4:4 (no downsampling), 4:2:2 (reduction by a factor of 2 in the horizontal direction), or (most commonly) 4:2:0 (reduction by a factor of 2 in both the horizontal and vertical directions)” (Wikipedia: JPEG). In plain terms:
| Subsampling | Color resolution kept | Typical effect |
|---|---|---|
| 4:4:4 | Full color resolution | Sharpest color edges; largest files |
| 4:2:2 | Half horizontal color | Slight color softening; common compromise |
| 4:2:0 | Quarter color resolution (half each way) | Most common; visible color smear on sharp colored edges |
This is why a brightly colored logo, red text on white, or a saturated edge can look fringed or smeared in a JPEG even when the rest of the photo looks fine — the color there was stored at lower resolution, and each re-save can re-apply subsampling. If crisp colored edges matter (graphics, screenshots, text overlays), JPEG is the wrong format — a lossless format like PNG keeps every pixel’s color exact.
Upscaling and resampling: the other blur
Not all “blurry after saving” is compression. Sometimes the image was enlarged. When you scale a raster image up, “a new image with a higher number of pixels must be generated,” and the new pixels are filled in by interpolation — bilinear or bicubic math that estimates in-between values (Wikipedia: Image scaling).
The hard limit: interpolation cannot invent detail that was never captured. Enlarging a 600 px image to 2400 px does not reveal four times the detail — it stretches the existing pixels and smooths the gaps, which reads as softness. Even AI upscalers “inevitably have to invent, or at least recreate, details that were or were not there” (Wikipedia: Image scaling) — they generate a plausible guess, not the original information.
So if your saved JPEG looks soft, check whether it was scaled up. The fix is not a filter; it is starting from a higher-resolution source. Downscaling is much safer — you are discarding pixels, not inventing them — though it is still best done once, from the largest available original.
The right way to re-export a JPEG
Because generation loss is cumulative and irreversible, the whole game is to minimize the number of lossy saves and to feed the encoder the cleanest possible input. The JPEG guidance is direct: “the first edit can be saved in a lossless format, subsequently edited in that format, then finally published as JPEG for distribution” (Wikipedia: JPEG).
A practical workflow:
- Keep the original. Never throw away the camera original or the highest-quality copy you have. It is your master.
- Edit from the master, not from a re-saved JPEG. Open the original each time you make a change, rather than reopening yesterday’s exported JPEG.
- Work in a lossless format mid-edit. If you will make several rounds of edits, save your working copy as PNG or TIFF so the in-between saves lose nothing.
- Export to JPEG once, at a high quality setting. Do the lossy save as the final step, at roughly 85–90, in a single pass.
- Do not re-save the exported JPEG. If you need a smaller version, go back to the master, not the exported file.
- Do not upscale. Match or reduce dimensions; never enlarge a JPEG to gain detail.
If you only have a JPEG (no master) and it already looks soft, you cannot recover the lost detail — but you can stop it getting worse by editing a PNG copy and exporting just once.
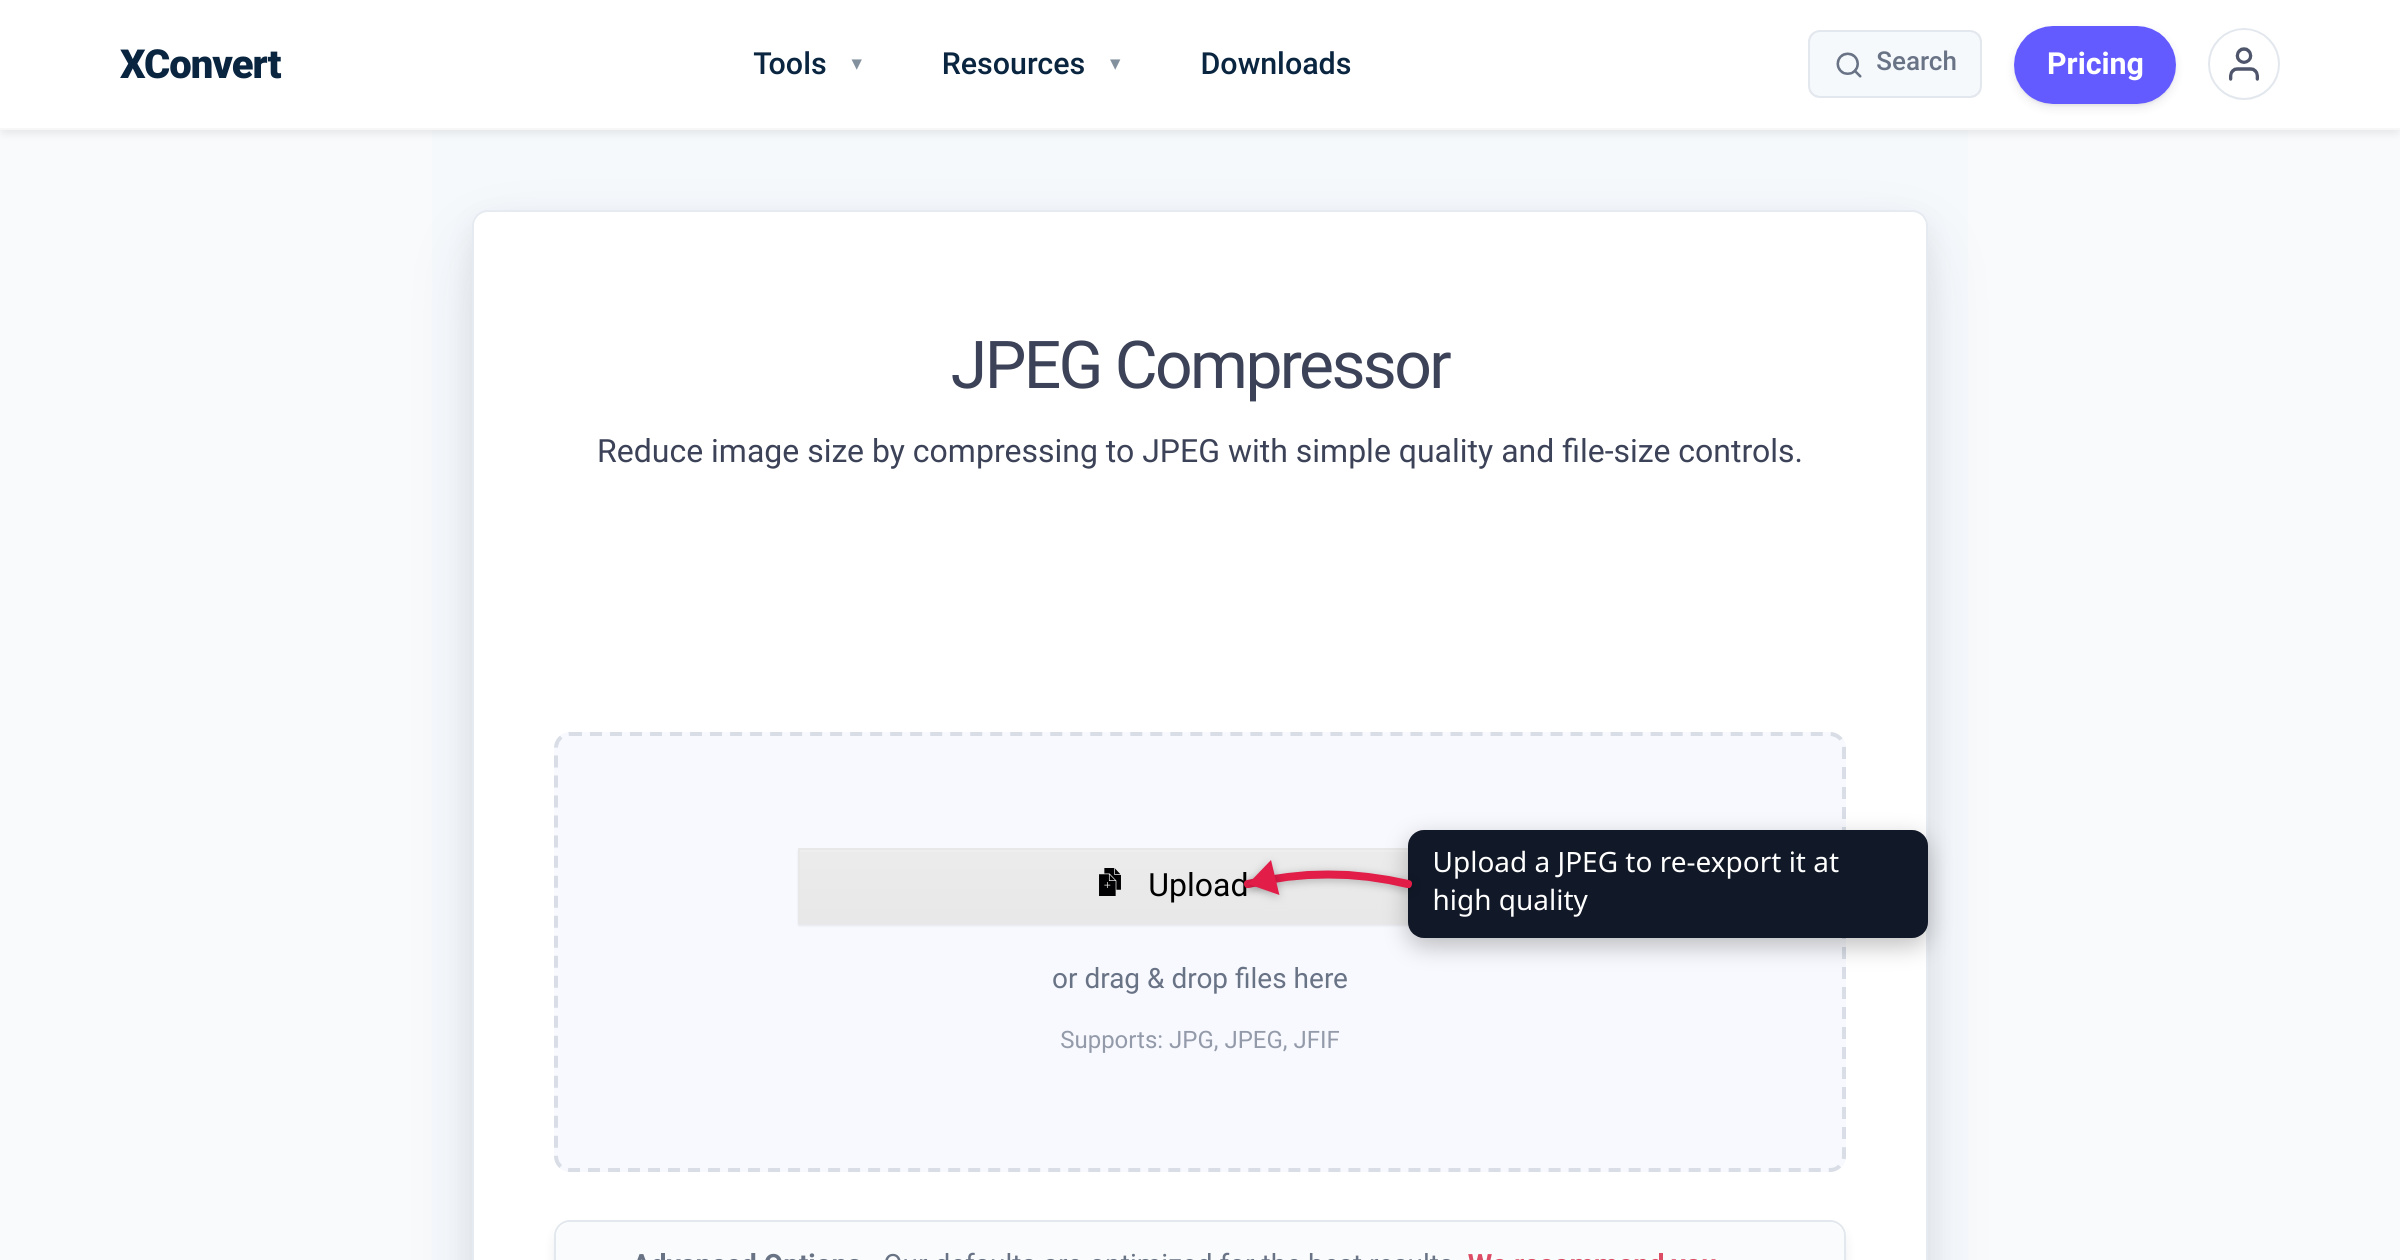
Compress a JPEG correctly with xconvert
When you do need a smaller JPEG, the goal is a single, controlled, lossy export rather than a chain of re-saves. The xconvert JPEG Compressor does exactly that: upload your file, set a target with the Image Quality (%) or Target file size (%) control under Advanced Options, and download one cleanly re-encoded result. Your file uploads over an encrypted connection, is processed on our servers, and is deleted automatically after a few hours — no install, no sign-up, no watermark.
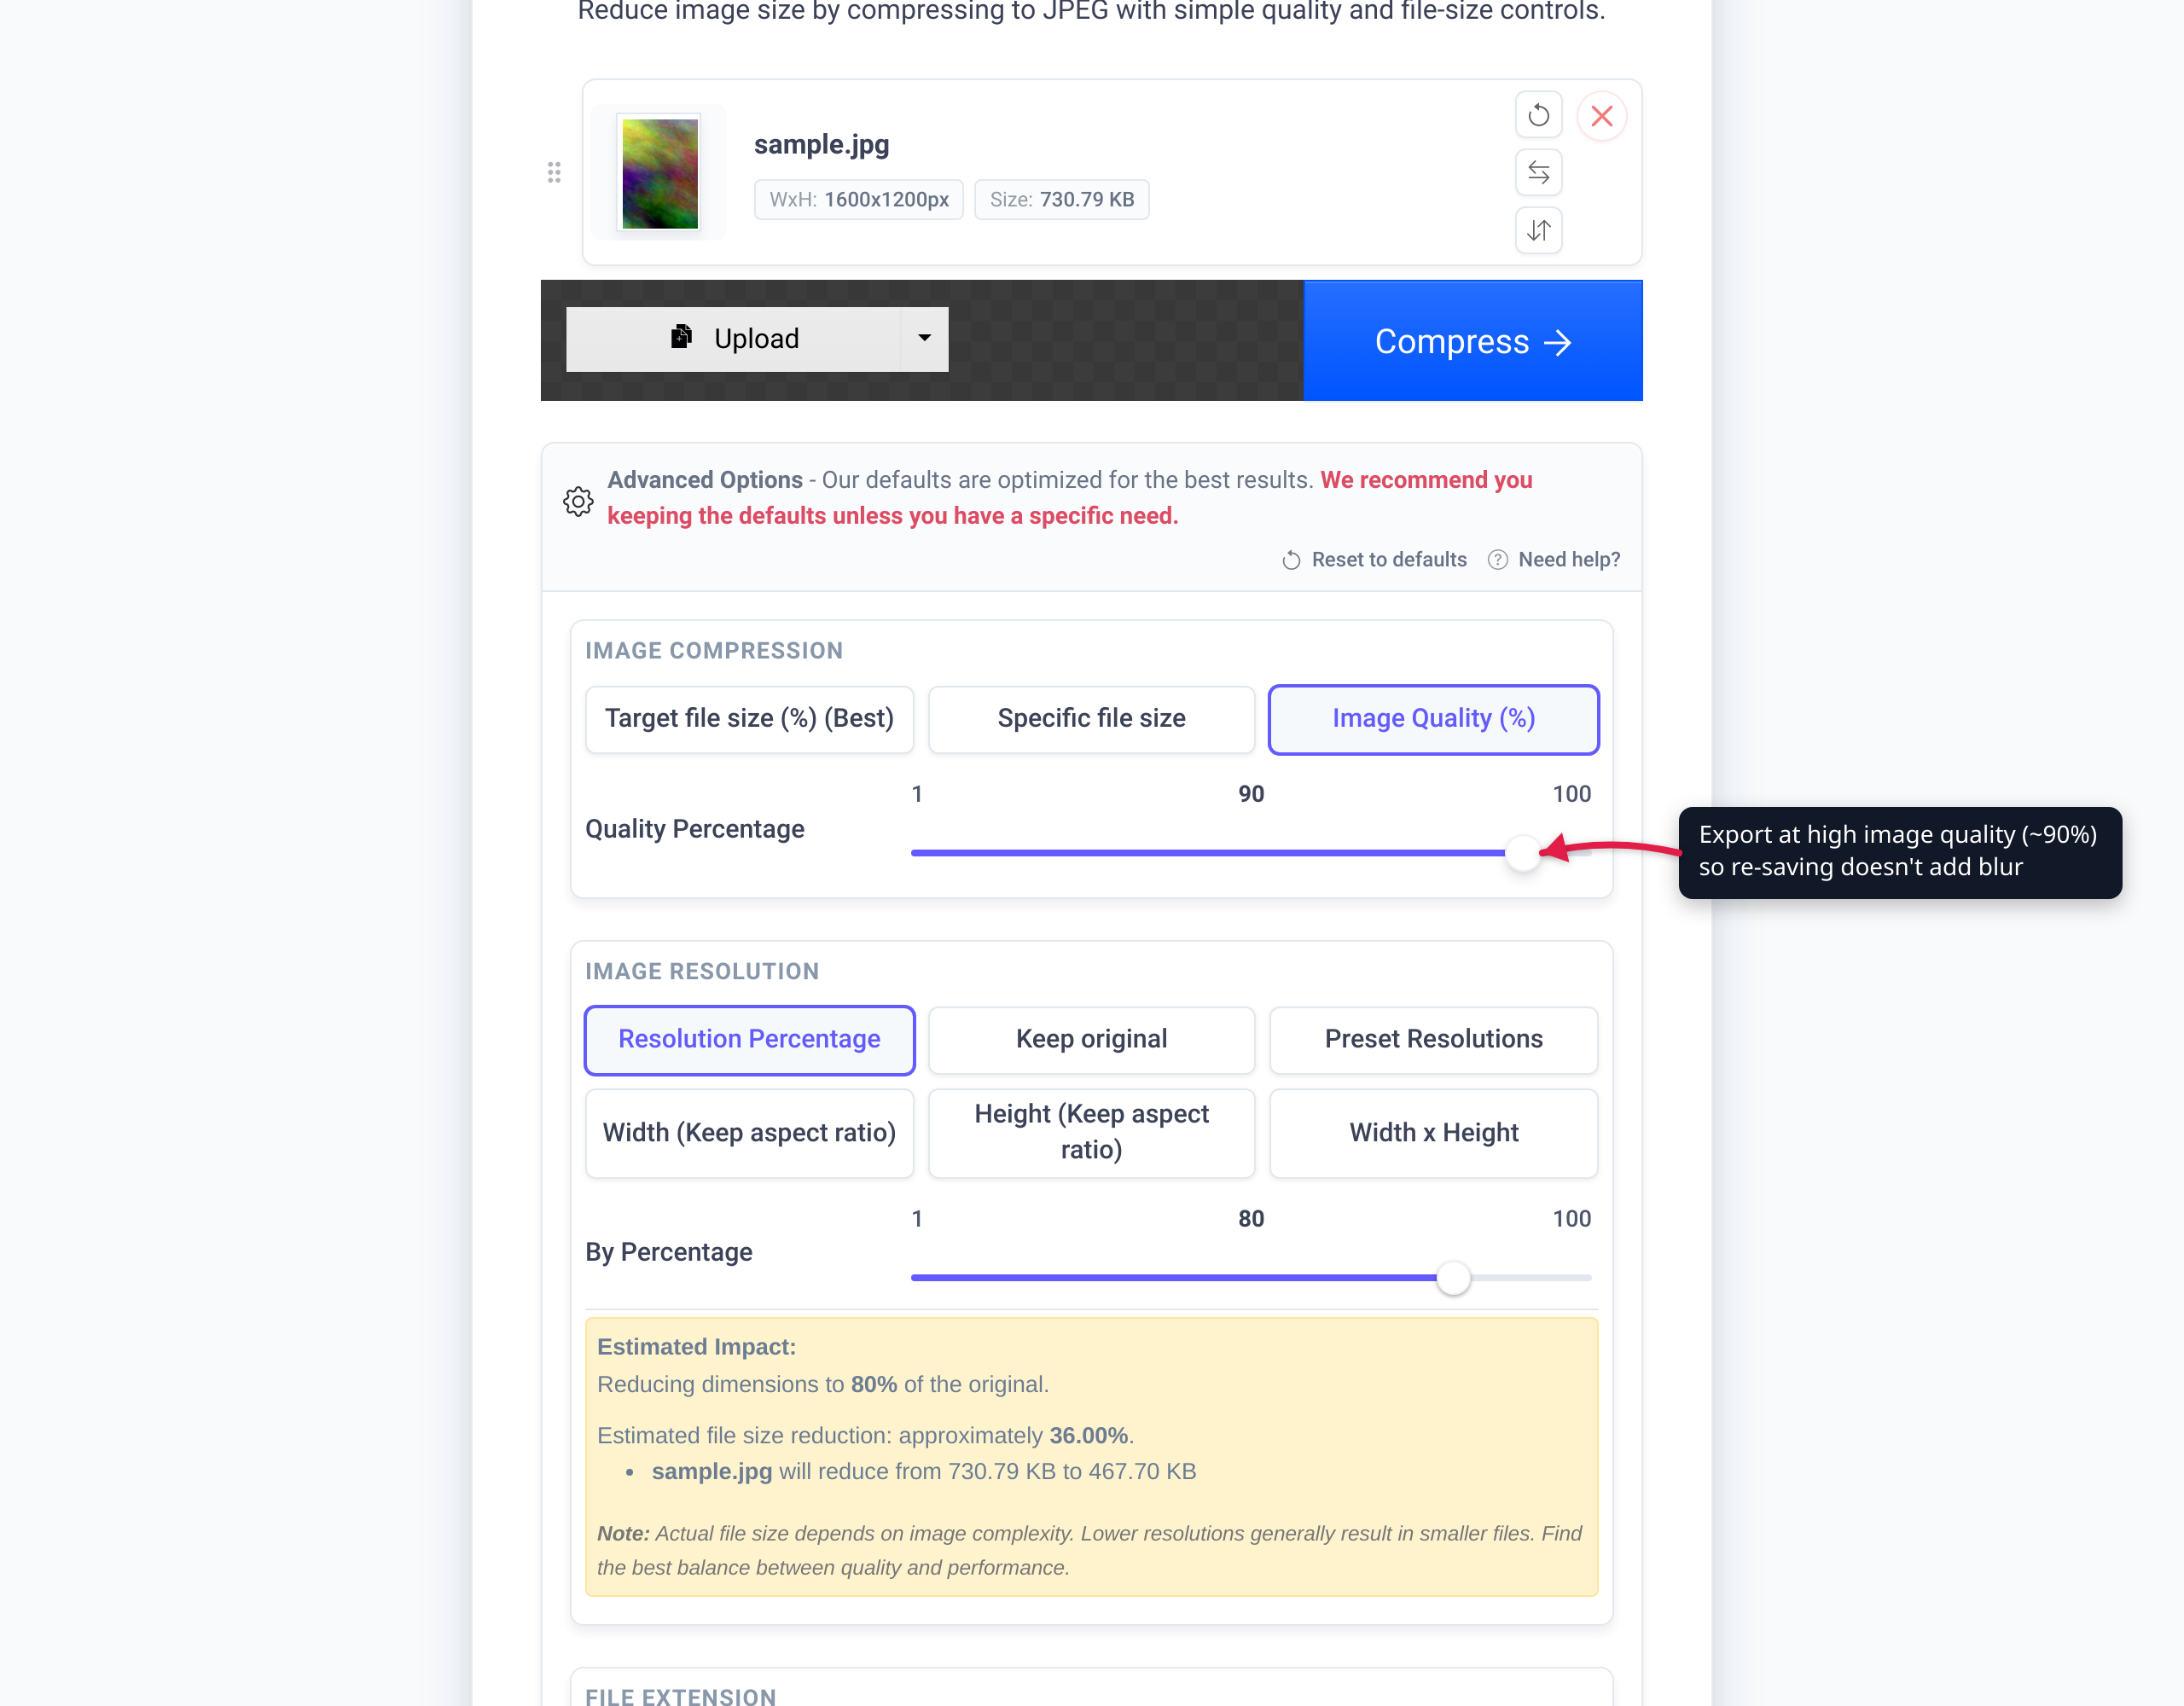
- JPEG Compressor — set Image Quality (%) or a target file size and export in one pass; ideal for shrinking a photo without repeated saves.
- Image Compressor — the same controls across 35+ input formats (PNG, AVIF, BMP, RAW, and more) when your source is not already a JPEG.
- Resize Image — change dimensions deliberately; downscale from the largest original rather than enlarging.
If crisp edges or exact colors matter, keep a lossless copy instead of a JPEG:
- PNG to JPG — convert your lossless master to JPEG only at the final distribution step.
- JPG to PNG — make a lossless working copy before a round of edits so the in-between saves lose nothing.
- Compress PNG — shrink a lossless image without introducing JPEG-style blur.
FAQ
Why does my JPEG get blurrier every time I save it?
Because JPEG is lossy and recompresses from scratch on every save. “Some image quality is lost each time the image is recompressed, particularly if the image is cropped or shifted, or if encoding parameters are changed” (Wikipedia: JPEG). The artifacts from the previous save become the input to the next one, so the blur compounds. This is called generation loss.
Can I recover the original quality of a blurry JPEG?
No. The detail discarded by quantization is permanently deleted, and no filter or quality setting brings it back. You can only stop further loss (edit a lossless copy and export once) or go back to a higher-quality original if you still have one. AI upscalers do not recover the original — they “invent, or at least recreate, details that were or were not there” (Wikipedia: Image scaling).
What JPEG quality setting should I use?
The slider runs 0–100 in the common Independent JPEG Group library, where the number controls how much frequency detail is kept (Wikipedia: JPEG). As a practical convention, roughly 85–90 keeps photos visually close to the source while compressing well; going higher mostly adds file size for little visible gain. The ideal value depends on the image, so treat it as a starting point and check the result.
Why does colored text or a logo look smeared in my JPEG?
JPEG usually stores color at lower resolution than brightness — “most commonly 4:2:0 (reduction by a factor of 2 in both the horizontal and vertical directions)” (Wikipedia: JPEG). Sharp colored edges suffer most because the fine color information there was downsampled. For text, logos, and graphics with crisp edges, use a lossless format like PNG instead of JPEG.
Is saving a JPEG at quality 100 lossless?
No. In most encoders even quality 100 still applies lossy DCT quantization — it just keeps more detail. It is not equivalent to a lossless format like PNG or TIFF. If you need pixel-exact output (for repeated editing or sharp graphics), save in a lossless format, not JPEG at 100.
Does converting JPEG to PNG fix the blur?
It will not restore detail already lost — the blur is baked into the JPEG’s pixels. But converting to PNG before editing means your subsequent saves are lossless, so you stop adding new generation loss. Convert to PNG to make a clean working copy, then export to JPEG once at the end (Wikipedia: JPEG).
Why does my image look blurry only after I enlarged it?
Enlarging a raster image generates new pixels by interpolation, which estimates values it cannot truly know; it “cannot truly add lost detail” and reads as softness (Wikipedia: Image scaling). The cure is to start from a higher-resolution source rather than upscaling a small one. Downscaling is safer because you are removing pixels, not inventing them.
Sources
Last verified 2026-06-18.
- Wikipedia — JPEG — lossy DCT compression, quantization, generation loss across re-saves, the 0–100 IJG quality scale, 10:1 indistinguishable-from-original benchmark, chroma subsampling ratios (4:4:4 / 4:2:2 / 4:2:0), and the “save lossless, edit, publish as JPEG” workflow. Cites the JPEG standard (ITU-T T.81 / ISO/IEC 10918) and the Independent JPEG Group library.
- MDN — Image file type and format guide — JPEG as the most widely used lossy still-image format, DCT-based, best for photographs and unsuitable for sharp/precision content.
- Wikipedia — Image scaling — interpolation (bilinear/bicubic) on upscaling, the limit that enlargement cannot add real detail, and that AI upscalers recreate rather than recover detail.