 By Stephanie Taylor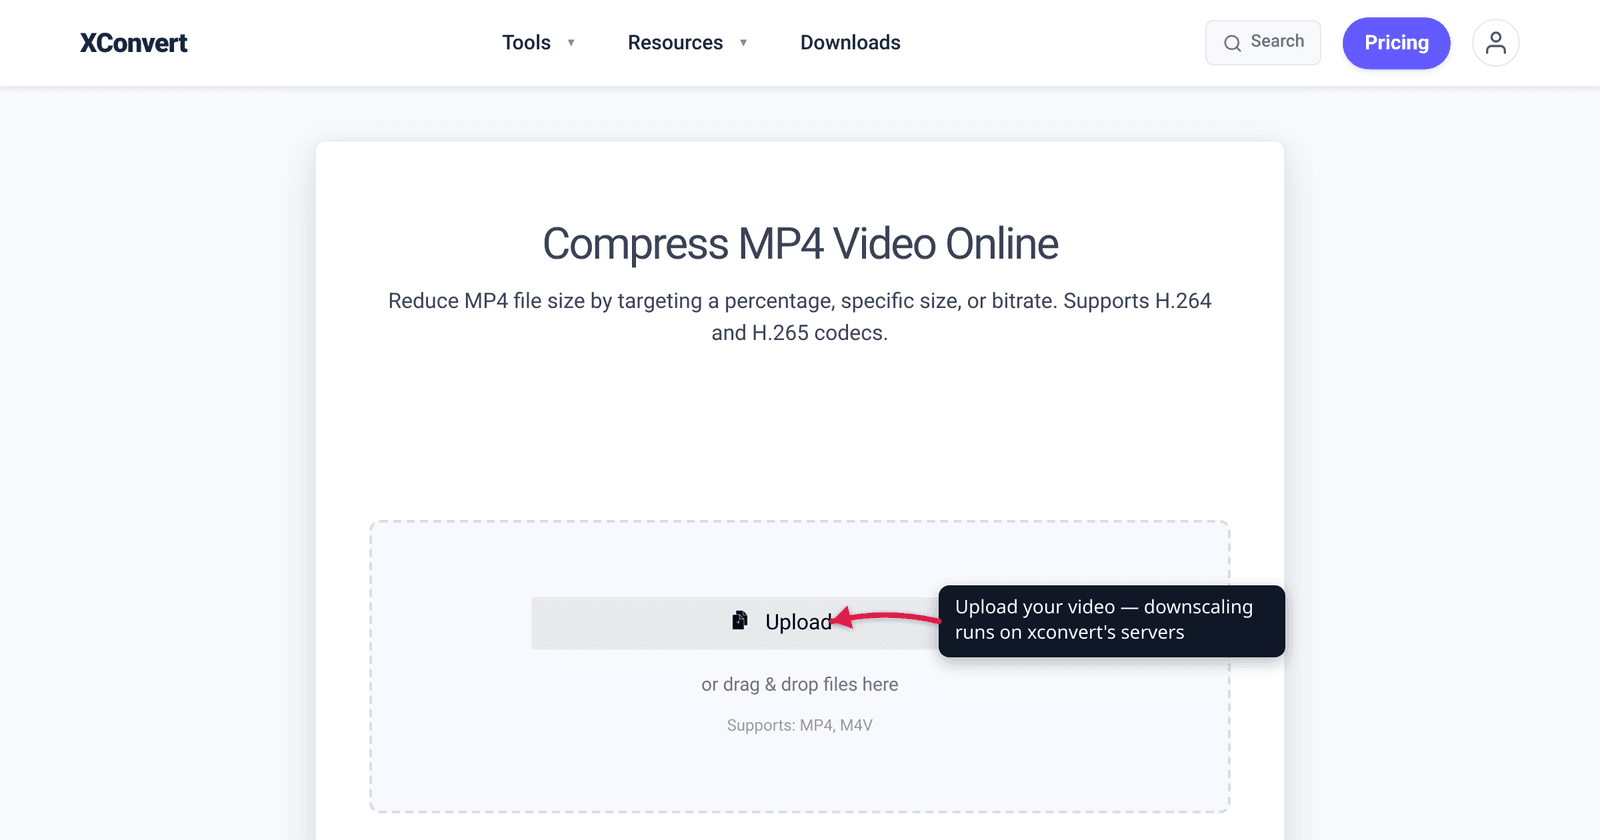
A 1080p phone video that won’t fit in a chat upload, a 4K screen recording too heavy to email, a clip you only need to play on a small window — in all three cases the single fastest fix is to lower the resolution. Dropping 1080p to 720p typically cuts the file by roughly 40–55%, and on a phone screen most people can’t tell the difference. The catch: downscaling permanently discards pixels — it shrinks the file and removes detail, and you can’t get that detail back. This guide explains exactly what each resolution means in pixels, how much smaller each step makes the file, which resolution to pick for which job, and how to do it. We verified every dimension against YouTube’s own encoding spec.
Quick answer: Resolution is the pixel grid of each frame — 1080p = 1920×1080, 720p = 1280×720, 480p = 854×480, 360p = 640×360, 144p = 256×144 (16:9). Lowering it is one of the strongest size levers there is, because file size scales roughly with pixel count: 720p has only ~44% as many pixels as 1080p. Use 1080p for general/archival, 720p for web and chat, 480p/360p for tiny files, 144p only for extreme size limits. Downscaling is destructive — keep your original.
Jump to a section
- What “resolution” actually means
- The standard resolutions, in pixels
- Why lowering resolution shrinks the file so much
- Which resolution should you pick?
- What you lose — and why it’s permanent
- Lower a video’s resolution on xconvert
- FAQ
What “resolution” actually means
A video frame is a grid of pixels. Resolution is the size of that grid — width × height. “1080p” is shorthand for a frame that is 1080 pixels tall (the p stands for progressive scan). The width is implied by the aspect ratio; for standard 16:9 widescreen video, 1080 lines tall means 1920 pixels wide.
So the familiar “p” numbers are all just heights:
- 2160p = 4K UHD
- 1440p = QHD (“2K”)
- 1080p = Full HD
- 720p = HD
- 480p / 360p / 240p / 144p = standard- and low-definition tiers
Lowering resolution means re-sampling every frame onto a smaller grid — downscaling. Going from 1080p to 720p turns each 1920×1080 frame into a 1280×720 frame. Fewer pixels per frame means fewer pixels to store, which is why it’s such an effective way to shrink a video.
The standard resolutions, in pixels
These are the standard 16:9 widescreen dimensions YouTube recommends for encoding — the de-facto reference for online video:
| Name | Common label | Dimensions (W×H) | Pixels per frame | Pixels vs 1080p |
|---|---|---|---|---|
| 2160p | 4K UHD | 3840 × 2160 | 8,294,400 | ~400% |
| 1440p | QHD / “2K” | 2560 × 1440 | 3,686,400 | ~178% |
| 1080p | Full HD | 1920 × 1080 | 2,073,600 | 100% |
| 720p | HD | 1280 × 720 | 921,600 | ~44% |
| 480p | SD | 854 × 480 | 409,920 | ~20% |
| 360p | SD | 640 × 360 | 230,400 | ~11% |
| 240p | LD | 426 × 240 | 102,240 | ~5% |
| 144p | LD | 256 × 144 | 36,864 | ~2% |
A note on 480p: the 16:9 streaming standard is 854×480 (sometimes rendered 852×480 or 858×480 to keep the width divisible by 16). The older DVD/NTSC “480p” was 720×480 and 4:3 VGA was 640×480 — so if you see different 480p numbers, that’s the source: aspect ratio and era, not an error. The modern web value is 854×480.
Why lowering resolution shrinks the file so much
File size tracks the pixel count, and pixel count scales with the square of the height (because you shrink both width and height at once). That’s why each step down is so powerful:
- 1080p → 720p: 720p has only ~44% of 1080p’s pixels — over half the data gone before any other setting changes. In practice this commonly cuts the file 40–55%.
- 1080p → 480p: ~20% of the pixels — roughly an 80% potential reduction.
- 1080p → 360p: ~11% of the pixels.
Resolution isn’t the only lever — bitrate and codec matter too, and the encoder won’t reduce the file by exactly the pixel ratio (motion, scene complexity, and your target bitrate all factor in). But resolution is the bluntest and strongest of the size levers: halving the height roughly quarters the raw pixel workload. If the file is still too big after picking a resolution, pair it with codec and bitrate tuning — the focus of our companion guide, reduce MP4 file size without losing quality.
Which resolution should you pick?
Match the resolution to where the video will actually be watched — there’s no point shipping 4K to a phone-sized window.
| Resolution | Best for |
|---|---|
| 1080p | The safe general default and archival master. Crisp on laptops, TVs, and phones. Use when you don’t know the audience or want to keep the best copy. |
| 720p | The sweet spot for web embeds, chat apps, and social uploads. On a phone held at arm’s length, most people can’t distinguish 720p from 1080p — so you halve the file for free. |
| 480p | Small files for email, slow connections, or thumbnails/previews. Visibly softer on a big screen but fine in a small window. |
| 360p | The classic “mobile data” tier — tiny, watchable on a small phone window, common for embedded background clips. |
| 144p | Extreme size limits only. Heavily pixelated; reserve it for the smallest possible upload or a placeholder. Not something to share if quality matters at all. |
Rule of thumb: ship at the resolution of the screen it’ll play on, not the resolution you captured. A talking-head clip for a chat app is fine at 720p; a previewable email attachment can drop to 480p; archival keeps 1080p (or the original 4K).
What you lose — and why it’s permanent
Downscaling is destructive and one-way. When you map a 1920×1080 frame onto a 1280×720 grid, the encoder throws away the pixels that don’t fit — fine textures, small text, distant detail. Those pixels are gone. Scaling back up to 1080p afterward does not restore them; it just stretches the smaller image, so the result looks soft or blocky. There is no “un-downscale.”
(AI-based upscaling, like invideo’s video upscaler, works differently: it uses AI to fill in convincing detail rather than just stretching pixels, so the result can look sharper than a basic resize, though it’s still not the original data.)
The practical rules:
- Always keep your original. Lower a copy, never your only master. If you later need 1080p, you’ll want the source.
- Don’t downscale then upscale. Round-tripping only loses detail; it never adds it back.
- Pick the lowest resolution that still looks acceptable on its target screen — going lower than the playback window buys you nothing visible but costs you detail.
The upside is that, used well, the loss is invisible: drop a 1080p clip to 720p for a phone audience and you get a much smaller file that looks identical in context. The skill is matching the resolution to the screen.
Lower a video’s resolution on xconvert
The xconvert MP4 compressor has a real resolution picker — you just switch off the size-targeting mode to reveal it:
- Open xconvert.com/compress-mp4 and click Upload to add your video — From my Computer, From Google Drive, or From Dropbox.
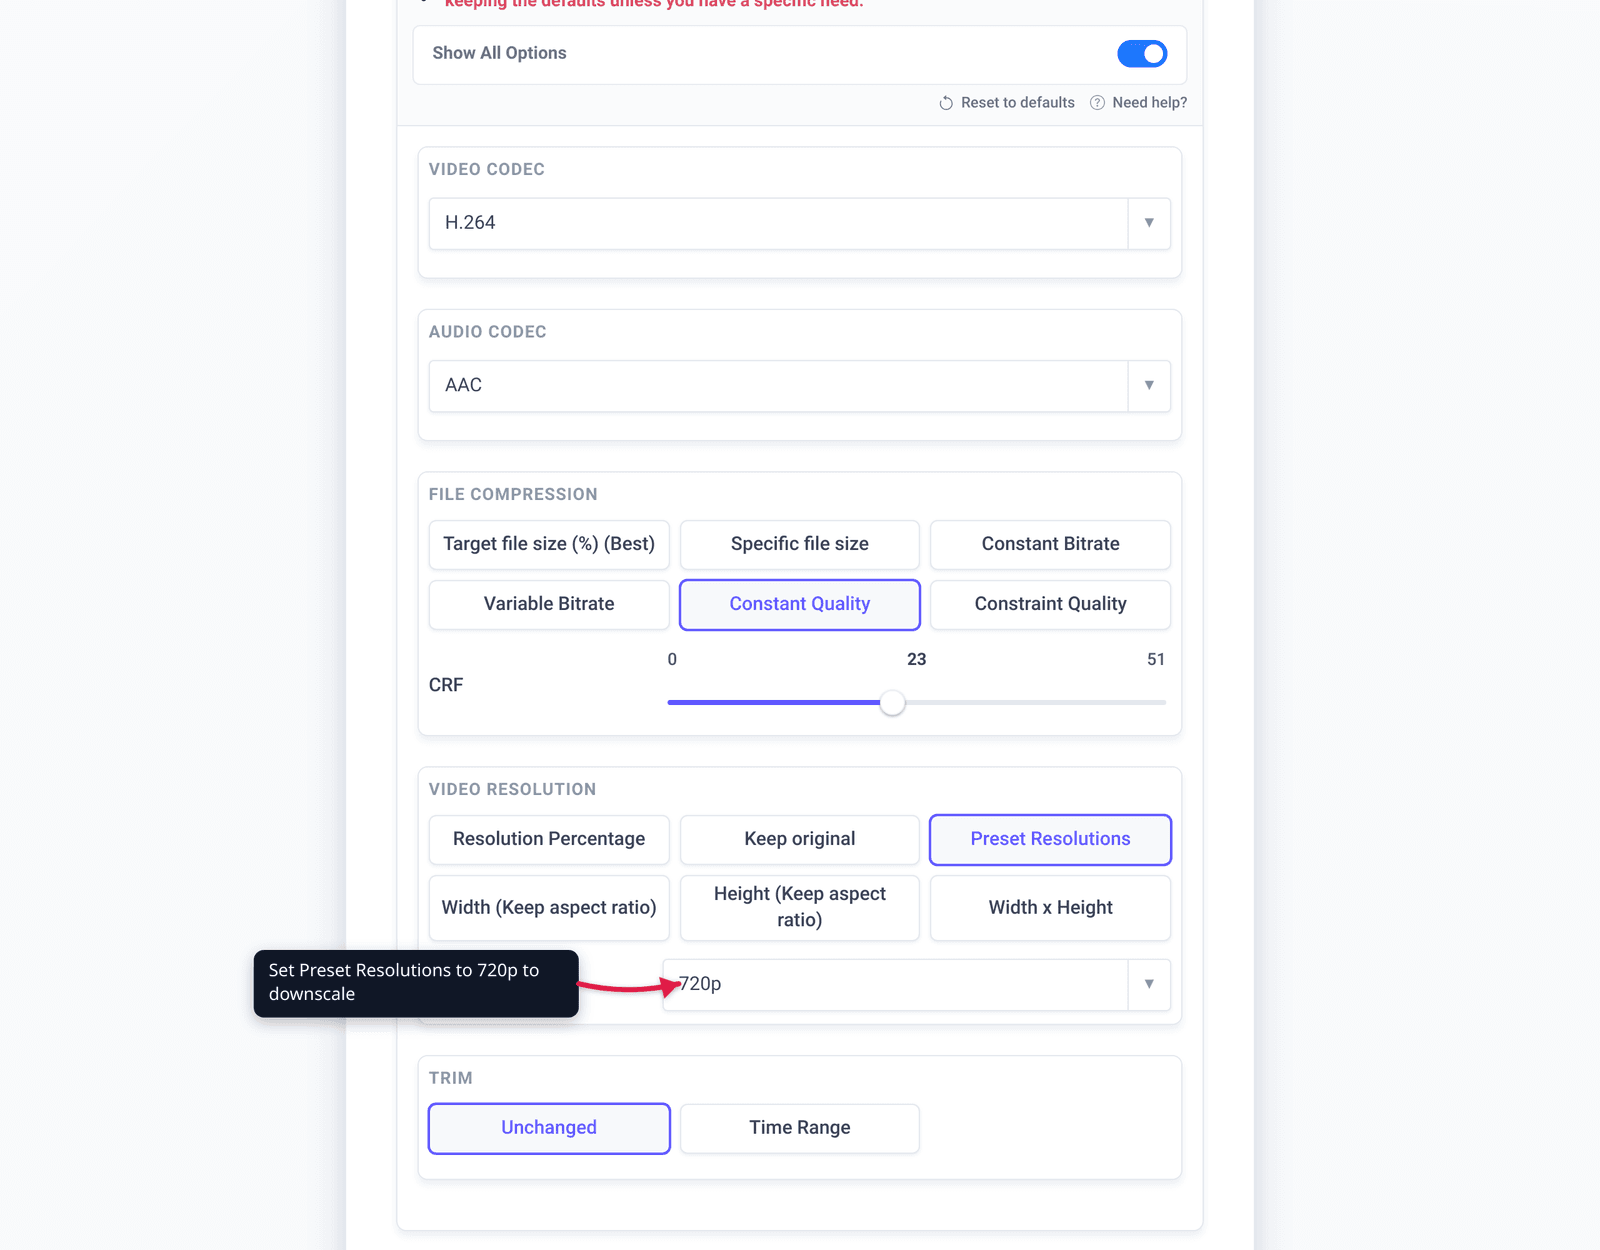
- Open Advanced Options (the gear icon) and click Show All Options to reveal every control.
- Under File Compression, switch from the default Target file size (%) to Constant Quality. The size-target modes downscale automatically (via Auto Scale / Smart Scaling) and keep the manual resolution menu hidden; Constant Quality reveals it.
- In the Video resolution section that appears, set Preset Resolutions to your target — e.g. 720p for a chat/web clip, or 480p for a small email-friendly file. (You can instead set Resolution Percentage or type an exact Width × Height — height follows to keep the aspect ratio.)
- Click Compress, then download the result. Compare it to the original before deleting your master.
Prefer to just hit a size? Pick Specific file size instead and leave Auto Scale on — Smart Scaling lowers the resolution for you to land under your target.
Your file uploads over an encrypted connection, is processed on our servers, and is deleted automatically a few hours later. Nothing stays around.
If you’d rather shrink without dropping resolution — keeping the full pixel grid and leaning on bitrate and codec instead — see reduce MP4 file size without losing quality.
FAQ
Does lowering video resolution reduce file size?
Yes — significantly. File size scales with the number of pixels per frame, so a smaller grid means a smaller file. Dropping 1080p to 720p keeps only ~44% of the pixels and commonly cuts the file 40–55%; going to 480p can cut it ~80%. It’s one of the strongest single size levers available.
Is 1080p to 720p a big quality drop?
On a small screen, usually no. On a phone held at normal distance, most people can’t tell 720p from 1080p, so you halve the size for free. On a large monitor or TV the difference becomes visible — fine text and distant detail soften. Match the resolution to the screen it’ll play on.
Can I increase a video’s resolution back after lowering it?
No. Downscaling permanently discards pixels. Upscaling a 720p clip back to 1080p just stretches the smaller image — it can’t recover the detail that was thrown away, and the result looks soft or blocky. Always keep your original high-resolution file.
What is 144p and when would I use it?
144p is 256×144 pixels — the lowest standard streaming tier and heavily pixelated. Use it only when you’re up against an extreme size limit (a tiny upload cap, a placeholder, or a slow connection where any playback beats none). For anything you actually want to look at, 360p or above is the floor.
What’s the difference between resolution and bitrate?
Resolution is the pixel grid of each frame (1920×1080, etc.); bitrate is how much data per second the encoder spends. Lowering resolution removes pixels; lowering bitrate compresses the pixels you keep harder. Both shrink the file — resolution is the bluntest lever, bitrate the finer one. They work best together; see reduce MP4 file size without losing quality.
What resolution should I use for a video sent over chat or social?
720p (1280×720) is the practical sweet spot — small enough to upload easily, sharp enough that the drop from 1080p is imperceptible on a phone. Drop to 480p if you need it even smaller for email or a slow connection.
Sources
Last verified 2026-06-25.
- YouTube Help — Video resolution and aspect ratios — official recommended encoding dimensions for 16:9: 3840×2160 (2160p), 2560×1440 (1440p), 1920×1080 (1080p), 1280×720 (720p), 854×480 (480p), 640×360 (360p), 426×240 (240p).
- Wikipedia — Display resolution standards — confirms Full HD 1920×1080, HD 1280×720, QHD 2560×1440, 4K UHD 3840×2160, and that the “p” number is the number of vertical lines (progressive scan).
- Wikipedia — Low-definition television — 144p (256×144) and 240p (426×240) as the low-definition streaming tiers.