 By James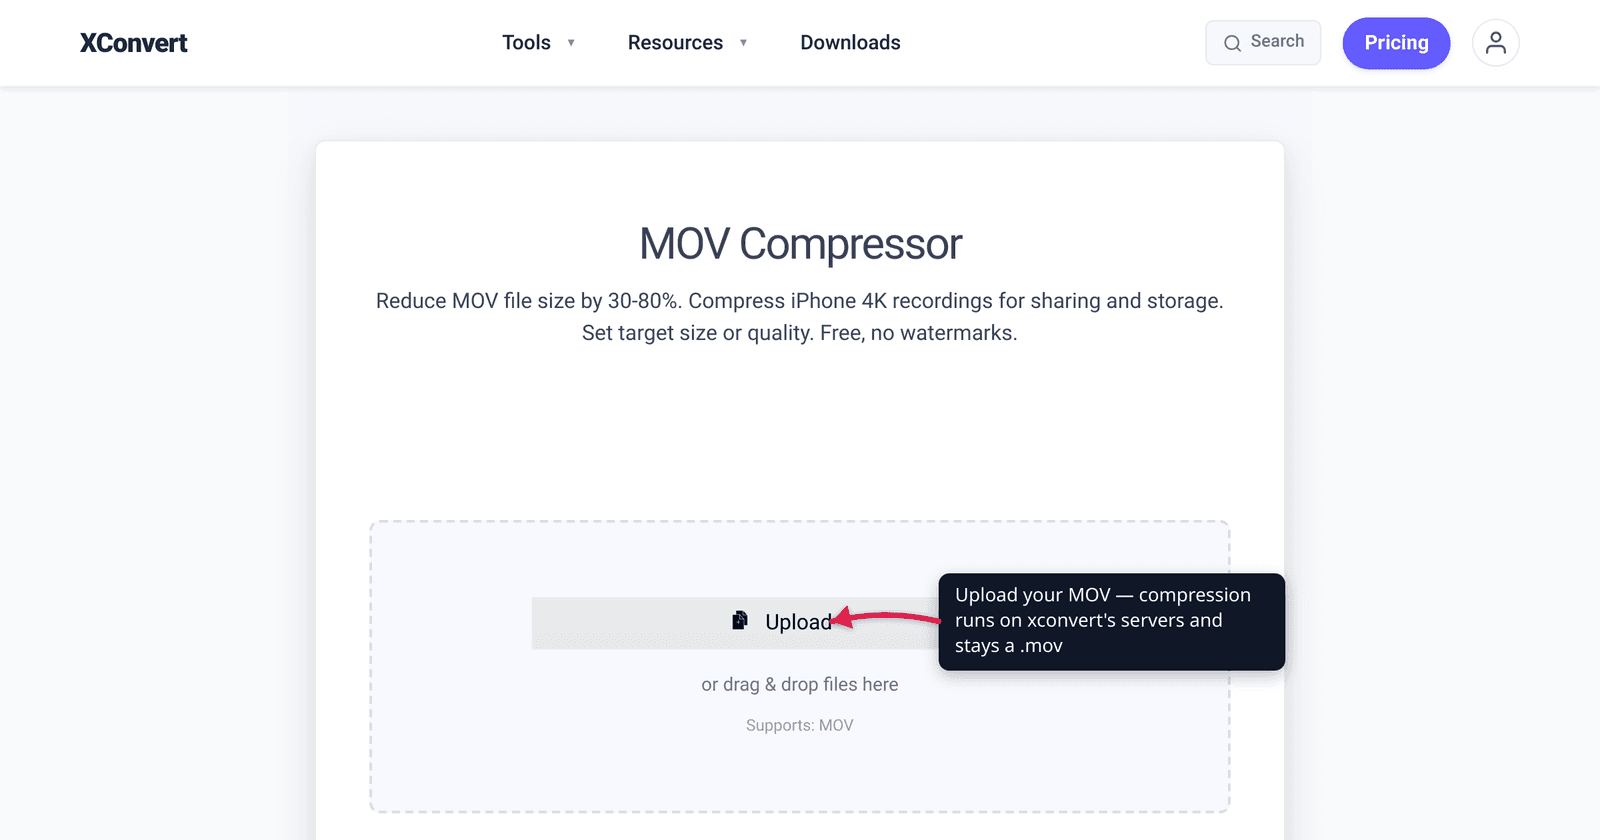
You shot a two-minute 4K clip on your iPhone, went to text it or attach it to an email, and got the dreaded “file too large.” That .mov is huge for predictable reasons: high resolution (often 4K), a high frame rate (60 fps), and a high recording bitrate — sometimes in the heavyweight ProRes codec. The good news is you can shrink it dramatically without leaving the MOV format, and this guide shows exactly which levers to pull. We verified the codec behavior and the recording-format facts against Apple’s own support documentation.
Quick answer: MOV files from iPhones and cameras are large because of high resolution, frame rate, and bitrate (and sometimes the ProRes codec). To compress one, re-encode the video to an efficient codec (H.265/HEVC) at a sane bitrate or quality (CRF), and if you can spare the detail, lower the resolution or frame rate. This keeps it a .mov — compressing is not the same as converting to MP4. The biggest single win usually comes from re-encoding a ProRes or high-bitrate clip down to HEVC.
Jump to a section
- Why your MOV file is so big
- The levers that actually shrink a MOV
- Compressing ≠ converting to MP4
- The iPhone recording angle
- Compress a MOV file on xconvert
- FAQ
Why your MOV file is so big
MOV is Apple’s QuickTime container — a wrapper. What makes the file big isn’t the .mov extension; it’s what’s inside it. An iPhone or camera records video into that container using a codec at a chosen resolution, frame rate, and bitrate, and each of those decisions multiplies the data.
- Resolution. 4K (3840×2160) packs four times as many pixels as 1080p. More pixels, more data per frame.
- Frame rate. A 60 fps clip records twice as many frames per second as 30 fps — roughly double the data for the same length.
- Bitrate. This is the real driver: how many bits the encoder spends per second of video. Phone cameras record at a high bitrate to keep footage clean for editing.
- Codec. The heaviest case is Apple ProRes, a high-bitrate editing codec available on iPhone 13 Pro and later. Apple states ProRes files are “up to 30 times larger than HEVC files” — a one-minute ProRes clip can run into the gigabytes. Most everyday clips instead use HEVC (H.265) or H.264, which are already compressed but still large at 4K60.
The takeaway: a big MOV is the sum of these choices. Compressing it means dialing them back down — re-encoding more efficiently, and optionally trimming resolution or frame rate.
The levers that actually shrink a MOV
There are three you can pull, in rough order of impact-without-visible-damage:
1. Re-encode to an efficient codec (the biggest, safest win). If your MOV holds ProRes or a high-bitrate H.264 stream, re-encoding to H.265/HEVC is the single most effective move. HEVC’s design target is roughly 50% bit-rate reduction at the same subjective quality versus H.264 (per Fraunhofer HHI, one of the institutes behind the standard) — real-world savings run about 25–50% depending on the footage. Coming down from ProRes, the reduction is far larger because you’re leaving an uncompressed-style editing codec entirely.
2. Set a sane bitrate or quality target. Rather than guess, you can either:
- Pick a target quality (CRF) — a constant-quality setting that lets the encoder spend bits only where the picture needs them. Lower CRF = higher quality and larger file; higher CRF = smaller.
- Pick an exact output size or a percentage of the original — useful when you have a hard cap (an email or chat limit) to hit.
3. Lower resolution or frame rate — only if you can spare the detail. Dropping 4K to 1080p, or 60 fps to 30 fps, each roughly halves the data before the codec even starts. This is the most aggressive lever and the one most likely to be noticeable, so use it when the footage will only ever be watched on a phone or shared casually, not when you might edit or print frames later.
A practical recipe for “still looks great, much smaller”: keep the resolution, re-encode to HEVC, and let a constant-quality setting do the work. For “needs to fit under a strict limit”: pick a specific output size and let the encoder lower quality as needed to hit it.
Compressing ≠ converting to MP4
This trips a lot of people up. Compressing a MOV makes the file smaller but keeps it a .mov. Converting to MP4 changes the container — and on its own, a container swap does not shrink the file, because the same video and audio streams are simply re-wrapped.
So the two are different goals:
- You want it smaller, still plays on your Mac/iPhone: compress it and keep
.mov. - You want it to play reliably on Windows, Android, smart TVs, or upload to social platforms: convert the container to MP4. iPhone MOVs usually hold H.264 or HEVC plus AAC, which MP4 also supports, so this is often a lossless re-wrap. Use the MOV to MP4 converter for that.
You can also do both — re-encode to a smaller HEVC stream and output to MP4 — but recognize they’re two separate decisions: one is about size, the other about compatibility.
The iPhone recording angle
If your oversized MOVs come straight from an iPhone, two settings explain most of the size, and one of them you can change before you even start recording.
High Efficiency vs Most Compatible. In Settings → Camera → Formats, Apple offers two recording formats. High Efficiency records in HEVC (this is the default on modern iPhones); Most Compatible records in H.264. Apple notes that HEIF/HEVC “offer better compression than JPEG and H.264, so they use less storage space … while preserving the same visual quality.” If your iPhone is set to Most Compatible, your clips are H.264 — already larger than they’d be in HEVC, so they’re prime candidates for re-encoding down.
Resolution and frame rate. In Settings → Camera → Record Video, the higher modes (4K and 60 fps) produce the biggest files, and Apple’s in-app settings screen lists the approximate storage each mode uses per minute. Community measurements put a one-minute 4K30 HEVC clip around ~170 MB versus ~350 MB for the same clip in H.264 — roughly the 2× factor HEVC is designed to deliver. (These are content-dependent estimates, not a fixed constant.)
Already-recorded footage is done deciding, so re-encoding is your tool for those clips. To prevent oversized clips going forward, our guide to compressing a video on iPhone walks through both the on-device settings and after-the-fact options.
Compress a MOV file on xconvert
The xconvert MOV compressor keeps the file a .mov and lets you choose exactly how to shrink it:
- Open xconvert.com/compress-mov and click Upload (the Add files button) to add your video — From my Computer, From Google Drive, or From Dropbox.
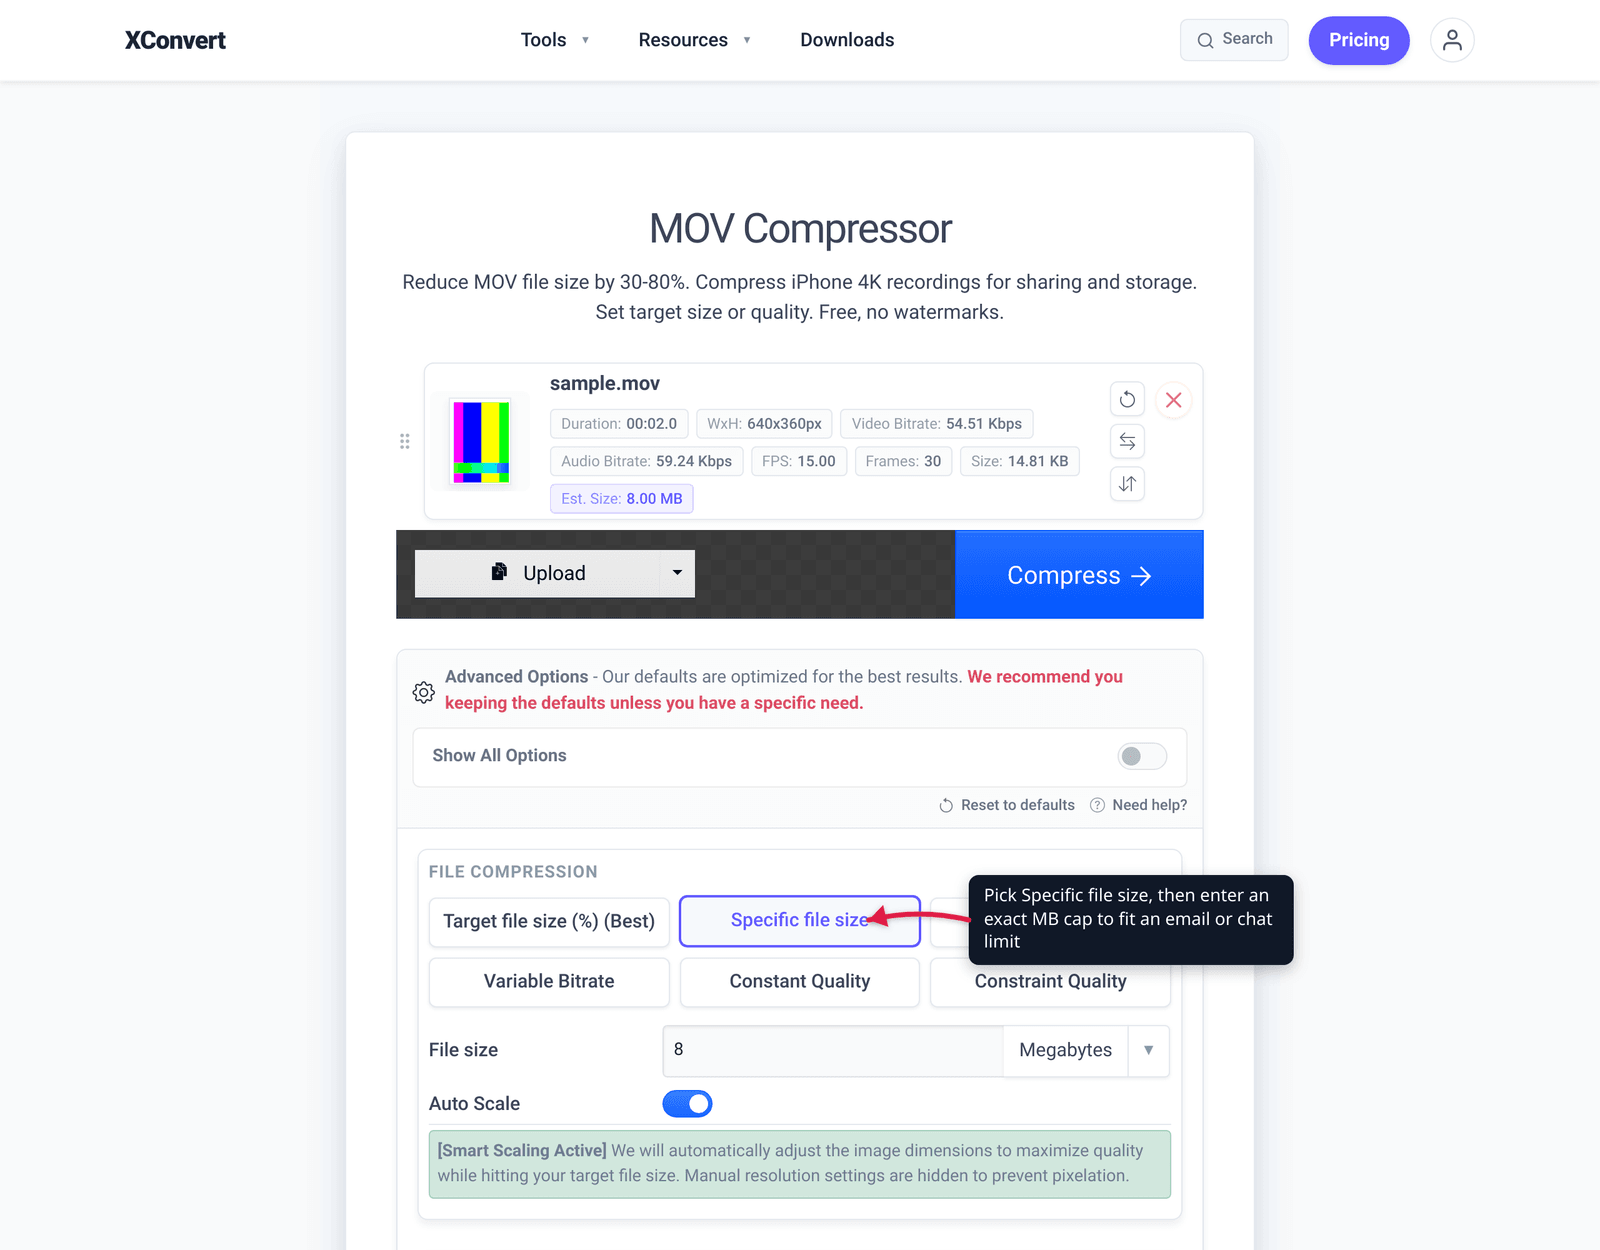
- Open Advanced Options (the gear icon labeled Options).
- Choose how to control size: Target file size (%) (the Best default — drag the File size (%) slider), Specific file size for an exact MB cap, Constant Quality / Constraint Quality for a quality-first result, or Constant Bitrate / Variable Bitrate to set the bitrate directly.
- For the biggest savings on a ProRes or high-bitrate clip, re-encode to H.265/HEVC. Leave Auto Scale on for smart resolution scaling, or use Trim → Time Range to keep only the part you need.
- Click Compress, then download your smaller
.mov. HEVC encodes more slowly than H.264, so allow a little extra time.
Your file is uploaded over an encrypted connection, processed on our servers, and deleted automatically a few hours later. Nothing stays around.
If you also need it to play on non-Apple devices, run the result through the MOV to MP4 converter afterward.
FAQ
Does compressing a MOV file lose quality?
It depends on how hard you push. Re-encoding to HEVC at a high quality setting is visually near-transparent while cutting size significantly. Lowering resolution or frame rate, or forcing a very small target size, will soften detail. The safest “looks the same, much smaller” recipe is to keep the resolution and let a constant-quality setting do the work.
Why are my iPhone MOV files so big?
Three reasons stacked together: high resolution (often 4K), high frame rate (up to 60 fps), and a high recording bitrate. If you shoot in ProRes (iPhone 13 Pro and later), files are far larger still — Apple says ProRes is up to 30× larger than HEVC. Setting the camera to High Efficiency (HEVC) and a lower resolution reduces the size of future recordings.
Should I compress the MOV or convert it to MP4?
Two different goals. Compress to make it smaller while keeping it a .mov for Apple devices. Convert to MP4 to make it play reliably on Windows, Android, TVs, and social platforms — but note a container swap alone doesn’t shrink the file. Many iPhone MOVs convert to MP4 losslessly because the codec inside (H.264/HEVC + AAC) is MP4-compatible.
How do I make an iPhone video small enough to email or text?
Pick a hard target. In the compressor, choose Specific file size and enter a cap (for example, under your email provider’s attachment limit), or use Target file size (%) and pull the slider down. Re-encoding to HEVC first gives the encoder more room to keep quality at small sizes. Trimming to just the part you need helps a lot too.
Will compressing a ProRes MOV ruin it for editing?
If you’re still actively editing or color-grading, keep the ProRes original — it’s an editing codec for a reason. Compress a copy to HEVC for sharing or archiving. Once you re-encode ProRes to HEVC you can’t recover the discarded data, so treat the compressed version as a delivery file, not a master.
Does converting MOV to MP4 reduce the file size?
Not by itself. MP4 and MOV are both containers; swapping the wrapper around the same video and audio streams produces a similar-sized file. Size only drops when you actually re-encode the video — to a more efficient codec, a lower bitrate, or a smaller resolution. Do that during the compress step, then output to MP4 if you also need broad compatibility.
Sources
Last verified 2026-06-25.
- Apple Support — Using HEIF or HEVC media on Apple devices — “High Efficiency” records HEVC (default) / “Most Compatible” records H.264; HEVC uses less storage at the same visual quality.
- Apple Support — About Apple ProRes on iPhone — ProRes availability (iPhone 13 Pro+), supported resolutions/frame rates, and “ProRes files are up to 30 times larger than HEVC files.”
- Fraunhofer HHI — H.265 / HEVC — HEVC achieves about 50% bit-rate reduction at the same subjective video quality vs H.264.
- caniuse — HEVC / H.265 video format — current playback-support state for HEVC across browsers/devices (relevant to the MP4/compatibility note).