 By James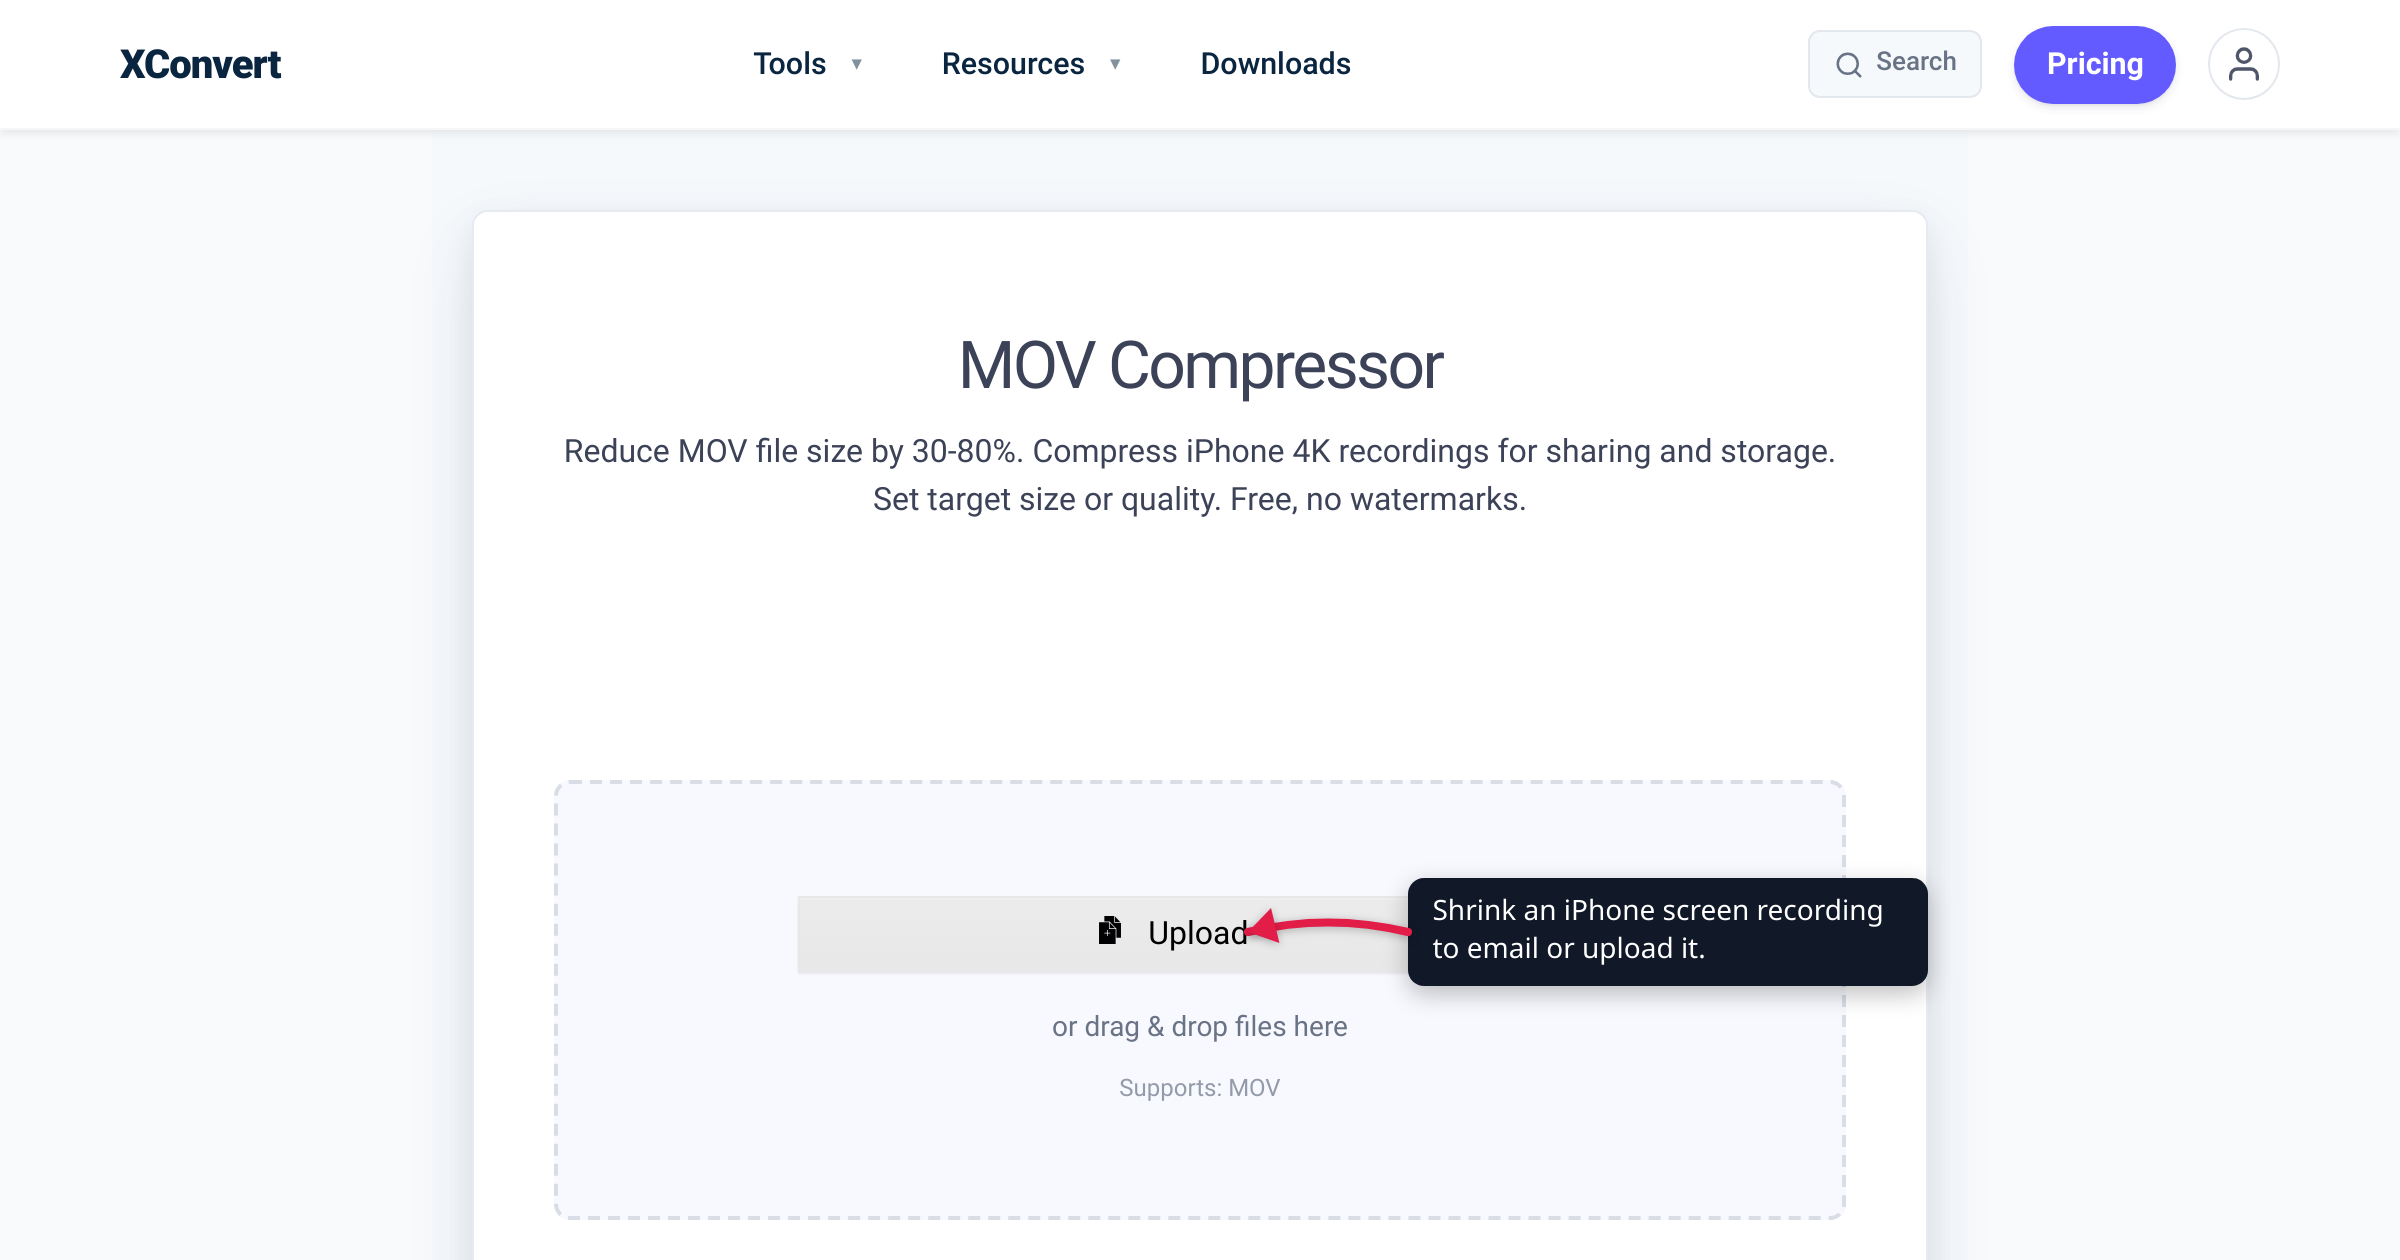
You recorded a twelve-minute app walkthrough to send a teammate, opened Photos to share it, and the .mov is the better part of a gigabyte — too big to attach to an email, too big for the size-capped upload form on your bug tracker, and big enough to make AirDrop the only thing that works. Screen recordings balloon faster than camera clips for reasons that are specific to how iPhone captures the screen, and the good news is that the same specifics make them unusually easy to shrink. This guide explains why they get so large and which levers actually work, verified against Apple’s own support pages, the iPhone 15 Pro tech specs, and the live xconvert compressor.
Quick answer: An iPhone screen recording is big because it captures at the phone’s full native resolution (about 3 megapixels per frame — more than 1080p), at up to 60 fps, for however long you record, in a lightly compressed stream. Apple’s recorder gives you no quality setting to change that. To shrink one, trim the dead time, then downscale the resolution (a phone-native capture is overkill for a shared clip) and/or set a target file size. Upload the clip to xconvert’s MOV compressor, pick Specific file size or lower the Video resolution, and download a much smaller .mov.
Jump to a section
- Why an iPhone screen recording balloons
- Screen content compresses better than camera video
- The levers that actually shrink one
- Shrink a screen recording on xconvert
- FAQ
Why an iPhone screen recording balloons
When you start a recording from Control Center’s Record button, iOS captures the screen at the device’s native pixel resolution and saves the result to the Photos app as a .mov file, per Apple’s screen-recording support page. That native resolution is the first reason the file is large. An iPhone 15 Pro display is 2556 by 1179 pixels, per Apple’s tech specs — about 3 megapixels per frame, more than a 1080p (2.1-megapixel) video, and every single frame of the recording carries that many pixels.
Three more factors stack on top:
- Frame rate. Recent iPhones capture the screen at a high frame rate — up to about 60 fps. Apple doesn’t publish the exact rate for screen recording, and the recorder gives you no way to change it, but 60 fps means the file stores twice as many frames per second as a 30 fps clip.
- Duration. Screen recordings tend to run long. A camera clip is usually a few seconds; a tutorial, a bug repro, or a gameplay capture can run many minutes, and file size scales roughly with length.
- Light compression. The recorder favors a clean capture over a small file, writing at a high bitrate. Apple doesn’t publish that bitrate; community reports put multi-minute captures in the hundreds of megabytes and long sessions into the gigabytes (content- and length-dependent, not a fixed number) on the Apple discussion forums.
Apple’s page makes one thing clear by omission: the screen recorder has no quality, resolution, or frame-rate setting. The only option you can change is the microphone (long-press the Record button), and some apps block recording entirely. There’s no “record smaller” toggle — so shrinking happens after the fact.
Screen content compresses better than camera video
Here’s the part that’s specific to screen recordings, and the reason they’re easier to tame than a busy 4K camera clip: flat, mostly static UI compresses extremely well.
Video codecs save space two ways — within a frame (a big region of one solid color, like a white background or a toolbar, costs almost nothing to store) and between frames (if the screen doesn’t change, the codec just says “same as last frame”). A screen recording is full of both: solid backgrounds, crisp text on flat panels, and long stretches where nothing moves because you’re reading, typing, or the menu is just sitting there. A handheld camera video, by contrast, has sensor noise and motion in every pixel of every frame, which is expensive to encode.
Two practical consequences:
- Re-encoding a screen recording at a sensible quality often shrinks it more than the same treatment would shrink a camera clip, because the encoder has so much redundancy to exploit.
- Downscaling barely hurts. Screen text is high-contrast and geometric, so it survives a resolution drop far better than fine camera detail. A recording captured at 2556×1179 re-rendered at 1080p still reads cleanly on a laptop or in a chat window.
That’s why the winning strategy for a screen recording isn’t the same as for a camera video. With camera footage you lean on efficient codecs; with a screen recording, the biggest, safest wins come from cutting resolution and trimming length.
The levers that actually shrink one
In rough order of impact-without-visible-damage:
1. Trim the dead time (biggest easy win on long clips). Because size scales with length, cutting a twelve-minute capture down to the three minutes you actually need to show removes roughly three-quarters of the file before you compress anything. You can do a rough trim on the phone — open the clip in Photos → Edit, drag the timeline handles, tap Done — or trim to an exact range during the compress step.
2. Downscale the resolution. A phone-native capture is overkill for something that will be watched in an email, a chat window, or embedded in a doc. Dropping from the native resolution to 1080p or 720p removes a large share of the pixels — and, as above, screen text stays readable. This is usually the single most effective lever for a screen recording.
3. Set a target size. When you have a hard cap to hit (an email attachment limit, a form that rejects anything over a set size), the most direct route is to tell a compressor the exact number and let it solve the bitrate for you, rather than guessing at resolution tiers.
One honest caveat about frame rate. Dropping 60 fps to 30 would roughly halve the frames, and a UI walkthrough is perfectly readable at 30 — but Apple’s recorder can’t set it, and xconvert’s MOV compressor doesn’t expose a frame-rate control for video. In practice you don’t need it: a target-size or quality re-encode already reduces the data spent per second, and downscaling plus trimming will get you under almost any limit. If you specifically need to force a lower frame rate, that’s a job for a desktop encoder like HandBrake or FFmpeg.
And a note on codecs. Your recording is already in a compressed codec (Apple doesn’t publish which — file inspections commonly show HEVC/H.265 on recent iPhones, H.264 on older ones), so “converting the codec” isn’t the reliable win it is for a raw source. Re-encoding at a lower resolution or size target is what moves the needle. If your clip is H.264, switching to H.265/HEVC can help — HEVC targets roughly 50% bitrate reduction at the same subjective quality, per Fraunhofer HHI — but treat that as a bonus.
Shrink a screen recording on xconvert
The xconvert MOV compressor keeps the file a .mov and gives you the two levers that matter most for screen content — resolution and a size target — with no app to install. It runs from any browser, including Safari on the iPhone itself.
- Open xconvert.com/compress-mov and click Upload — From my Computer, From Google Drive, or From Dropbox — and choose your screen recording.
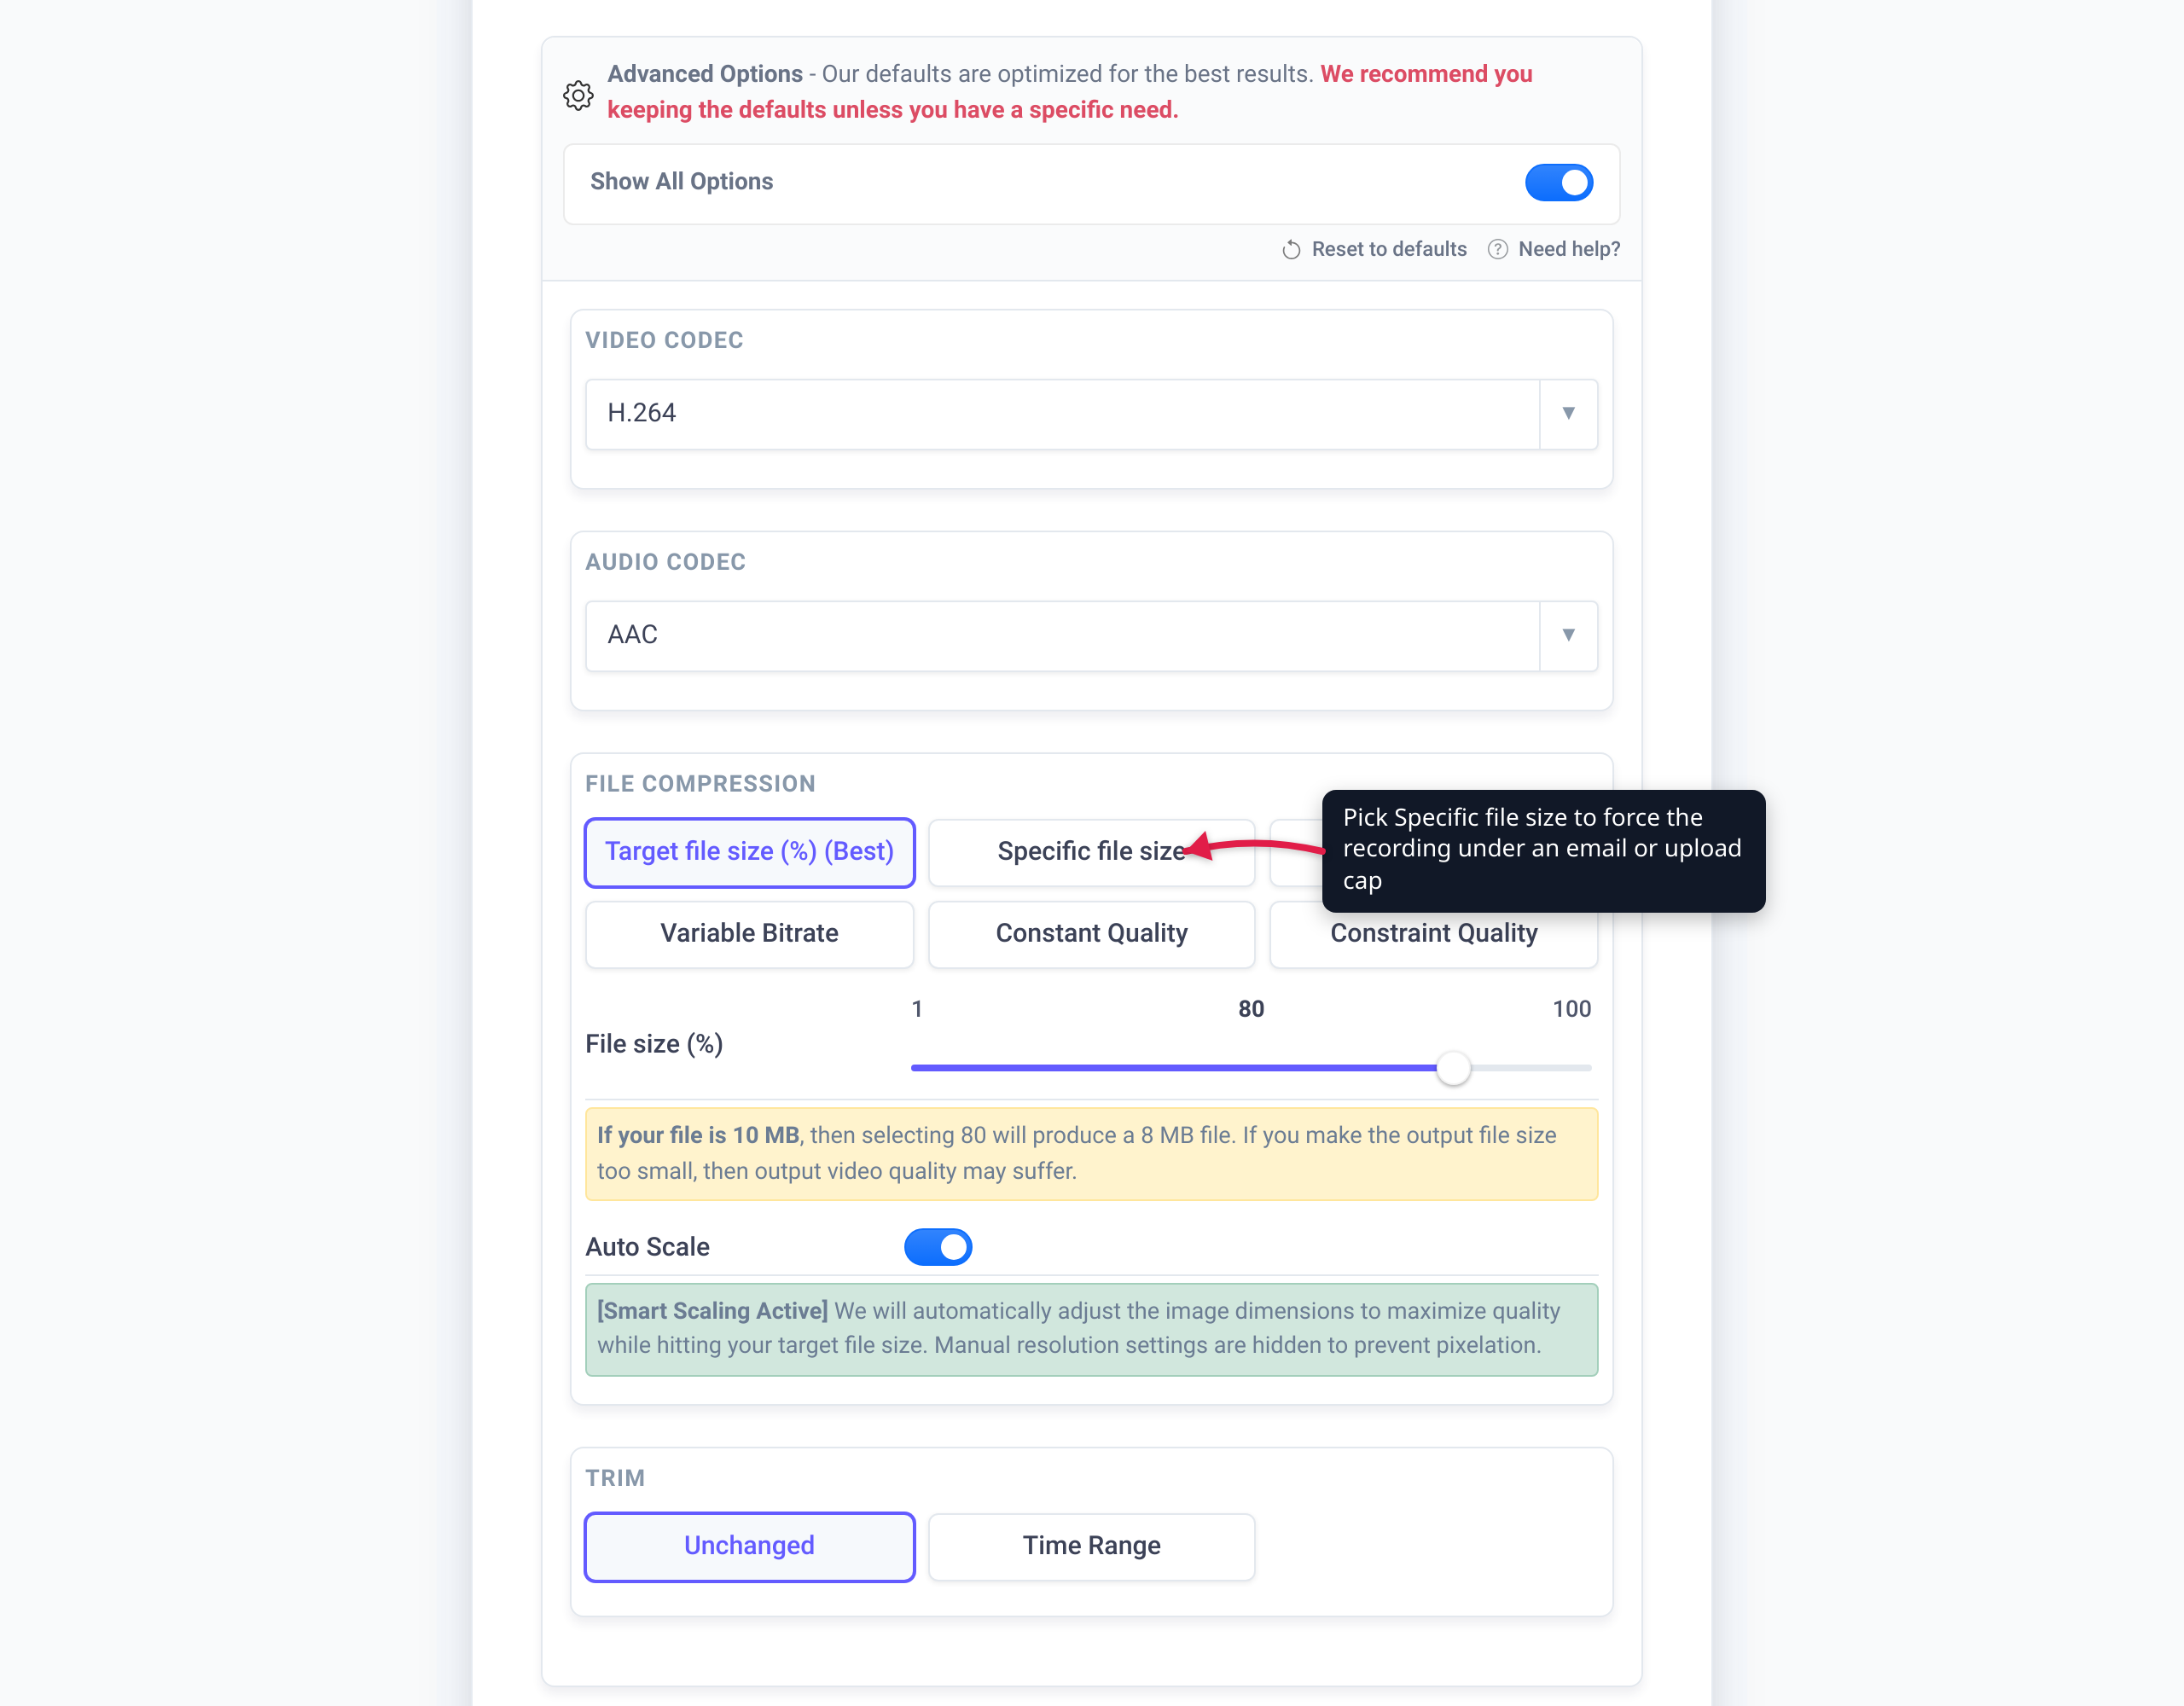
- Pick how to control size. The default is Target file size (%) with Auto Scale on, which downscales the resolution intelligently as it compresses. To hit an exact number instead — say, comfortably under an email limit — choose Specific file size and type your target.
- To set the resolution yourself, turn Auto Scale off (or switch File Compression to Constant Quality) to reveal the Video resolution controls — a Resolution Percentage slider and Preset Resolutions. Drop a screen recording to 1080p or 720p; the text stays sharp and the file shrinks a lot.
- Optionally open Advanced Options (the gear) to set the Video Codec to H.265/HEVC, or use Trim to keep only the range you need — often the biggest win on a long capture.
- Click Compress, then download your smaller
.mov.
Your file is uploaded over an encrypted connection, is processed on our servers and deleted automatically a few hours later. Nothing stays around.
If the recording came from your camera rather than the screen recorder, our guide to compressing a video on iPhone covers the on-device Settings, iMovie, and Shortcuts options too.
FAQ
Why is my iPhone screen recording so big?
Because it captures the screen at the phone’s full native resolution (about 3 megapixels per frame on a recent iPhone — more than 1080p), at up to 60 fps, in a lightly compressed stream, for the entire length of the recording. Long captures add up fast. Apple’s recorder has no quality or resolution setting to make it smaller (Apple), so you shrink it afterward by trimming and re-encoding at a lower resolution or size target.
Can I make the iPhone screen recorder produce smaller files?
Not directly — the built-in recorder exposes only a microphone toggle, with no resolution, frame-rate, or quality control, per Apple’s support page. The practical approach is to keep recordings short and compress the ones you need to share. For camera clips there are a few on-device tricks too, covered in how to compress a video on iPhone.
Are iPhone screen recordings .mov or .mp4?
They save to the Photos app as .mov (Apple’s QuickTime container). That’s why a MOV compressor is the right tool. The .mov extension is just the wrapper — the compressed video lives inside it — so shrinking the file and converting it to .mp4 are two different jobs; see MOV vs MP4 for iPhone video if you also need broad playback compatibility.
What’s the best way to shrink a long screen recording?
Trim first, then downscale. Because file size scales with length, cutting a long capture down to the part you actually need often removes most of the size before any compression. Then lower the Video resolution to 1080p or 720p and/or set a Specific file size. Trimming has outsized impact on screen recordings precisely because they tend to run long.
Will compressing make the text and UI blurry?
Much less than you’d fear. Screen content is high-contrast and geometric, so it survives compression and downscaling better than fine camera detail. Keep the resolution reasonable — 1080p for a phone-native capture, 720p if you need it smaller — and use a quality or target-size mode rather than the most aggressive setting. Only very low resolutions (say 480p) start to soften small text.
How do I get a screen recording small enough to email?
Set a hard cap. Upload the clip to xconvert’s MOV compressor, choose Specific file size, and enter a value comfortably under your email provider’s attachment limit. Trimming to just the relevant part first gives the compressor more room to keep quality at a small size.
Sources
Last verified 2026-07-16.
- Apple — Record the screen on your iPhone, iPad, or iPod touch — the Control Center Record button, recordings saving to the Photos app, the microphone toggle, and the absence of any quality/resolution/frame-rate setting.
- Apple — iPhone 15 Pro Tech Specs — the 2556-by-1179-pixel resolution at 460 ppi display, used as the native screen-recording capture resolution reference.
- Apple — Using HEIF or HEVC media on Apple devices — HEVC (H.265) context and the High Efficiency camera format (Apple does not separately document the screen recorder’s codec).
- Fraunhofer HHI — H.265 / HEVC — HEVC achieves roughly 50% bitrate reduction at the same subjective quality versus H.264.
- Apple Support Community — screen recordings taking up too much space — community-reported (content- and length-dependent) file sizes for screen recordings; used only as a hedged size illustration, not an official figure.
- xconvert — MOV compressor — the Upload flow, Target file size (%) / Specific file size modes, Auto Scale, the Video resolution controls (Resolution Percentage, Preset Resolutions), Video Codec, Trim, and Compress.