A 10-page legal document scanned at 600 DPI lands as a TIFF around 45 MB — too big for Gmail’s 25 MB cap and most enterprise email systems. TIFF is the archival format: lossless, multi-page, color-accurate. Those same properties make it impractical for email. This guide shows how to compress or convert TIFFs to email-friendly sizes while keeping text legible and signatures intact.
Quick answer: Most office-scanner TIFFs shrink 70–90% by converting to PDF (multi-page) or JPG (single-page). In xconvert: pick JPG quality 85 for single-page scans, PDF for multi-page archives. Text and signature legibility hold at quality 80+.
Jump to a section
- Why TIFF files are so big
- Compress TIFF or convert to PDF/JPG?
- Settings cheat sheet
- Step by step: compress TIFF in place
- Step by step: convert TIFF to PDF
- Step by step: convert TIFF to JPG
- Worked example: 10-page legal doc for email
- FAQ
Why TIFF files are so big
TIFF (Tagged Image File Format) is designed for archival storage. Unlike JPG (lossy) or PNG (lossless but compressed), TIFF supports:
- Lossless compression (LZW, ZIP) or uncompressed storage
- Multiple pages in a single file (rare in JPG/PNG)
- High bit depth (up to 16 bits per channel integer; 32-bit floating point for HDR / scientific imaging)
- Color profiles for accurate reproduction
A typical office scan at 600 DPI in 24-bit color produces ~5 MB per letter-size page. Multiply by 10 pages = 50 MB. The same scan at 300 DPI grayscale would be ~700 KB per page = 7 MB total. The size hit is largely about resolution and color depth, not just the file format.
Compress TIFF or convert to PDF/JPG?
Three viable paths:
1. Compress TIFF in place (keeps TIFF format)
- Pros: format compatibility maintained, lossless compression preserves quality
- Cons: limited size reduction (typically 20–40%), still TIFF-format issues for some recipients
2. Convert to PDF
- Pros: universal recipient compatibility, multi-page support, dramatic size reduction (often 5–10×)
- Cons: format change, slight quality loss with JPG-encoded PDF
- Best for: legal docs, contracts, multi-page forms
3. Convert to JPG
- Pros: smallest files (often 10–20× reduction)
- Cons: lossy, single-page only (multi-page TIFF becomes multiple JPGs), no archival value
- Best for: single-page scans, web display
For email of multi-page documents, Path 2 (TIFF → PDF) wins almost every time.
Settings cheat sheet
TIFF compress (in place)
| Setting | Value | Effect |
|---|---|---|
| Compression | LZW (lossless) | 30–40% smaller than uncompressed |
| Color | Same as source | No quality loss |
| Output | TIFF | Maintains format |
TIFF → PDF (recommended for multi-page)
| Setting | Value | Effect |
|---|---|---|
| Output format | Universal compatibility | |
| Image compression | JPEG quality 85 | Visually identical to source |
| Color | Same as source | Preserves color scans |
| Page size | Letter or A4 | Standard PDF size |
TIFF → JPG (single-page documents)
| Setting | Value | Effect |
|---|---|---|
| Output format | JPG | Smallest file |
| Quality | 85% | High visual quality |
| Color | Convert to RGB | JPG doesn’t support CMYK |
Step by step: compress TIFF in place
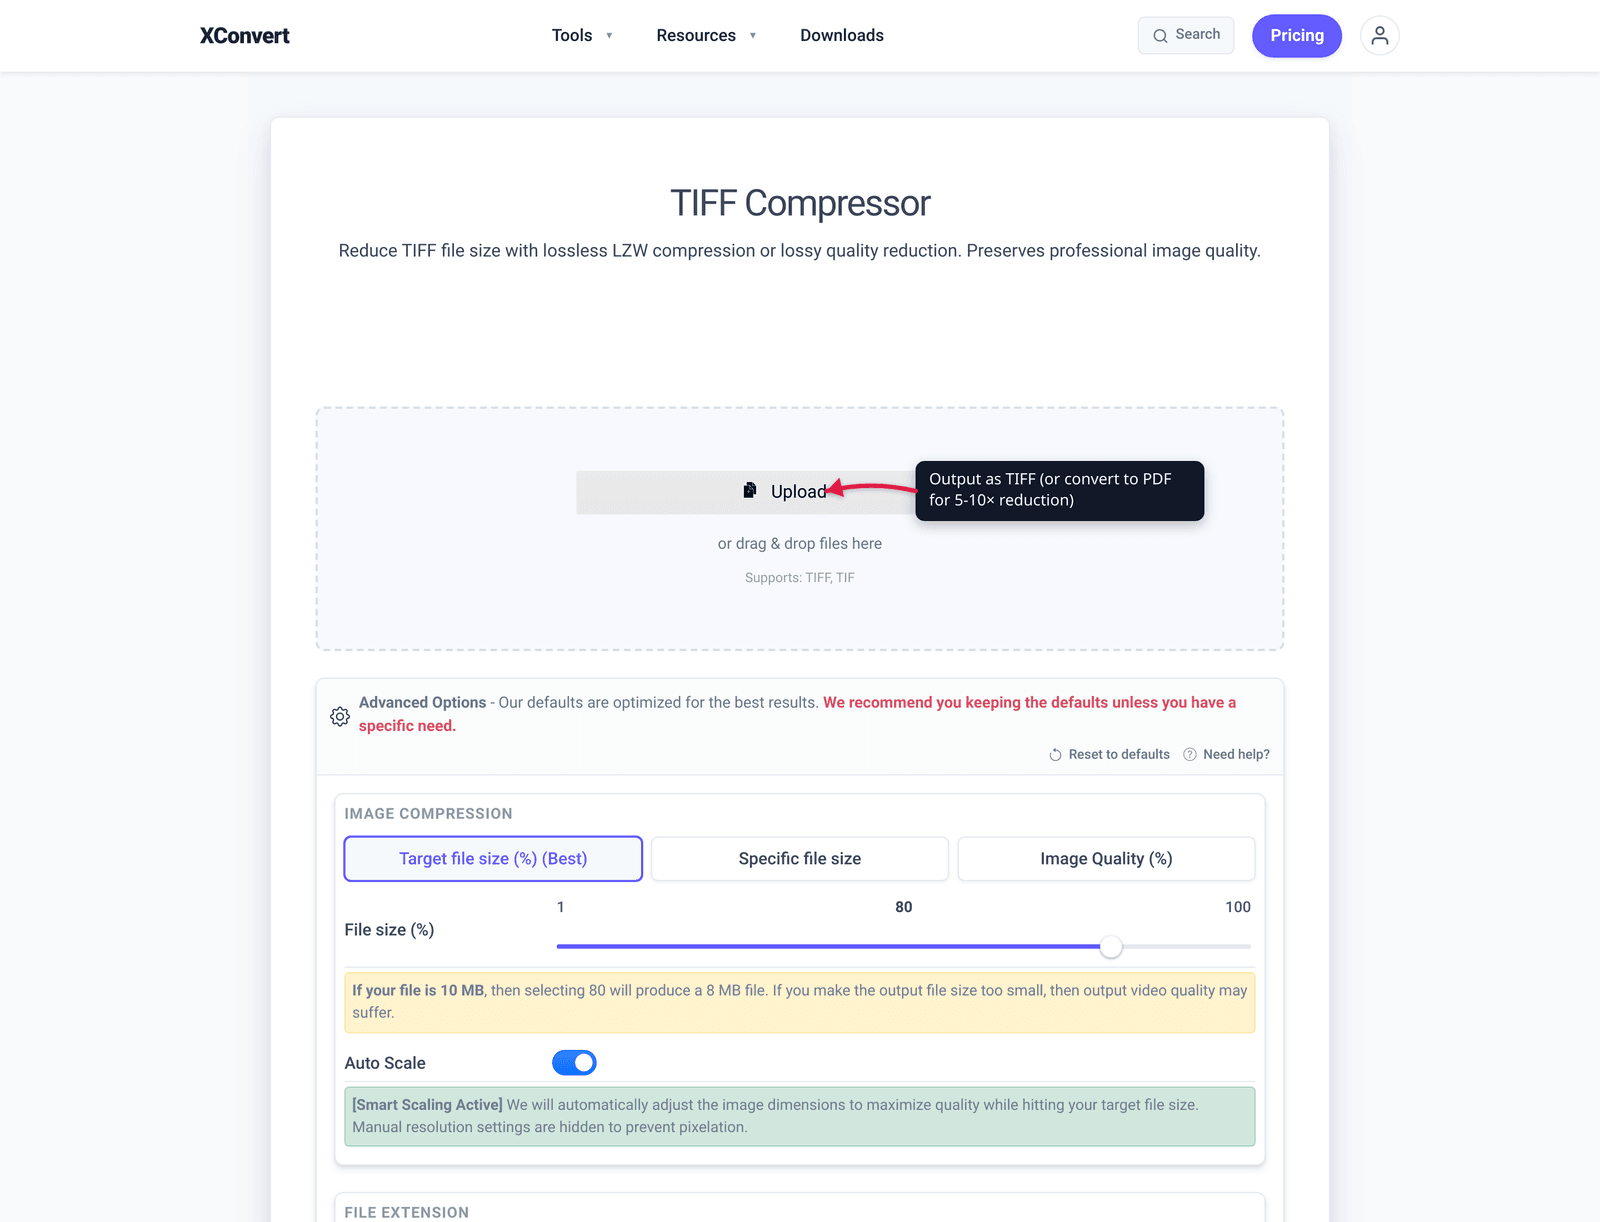
- Open xconvert.com/compress-tiff.
- Click + Add Files and pick your TIFF.
- The default LZW compression gives the best lossless result.
- Click Compress. Wait. Download.
- The output is still TIFF, just smaller.
Typical reduction: 20–40% smaller than uncompressed source. For a 50 MB uncompressed TIFF, expect ~30–35 MB output.
Step by step: convert TIFF to PDF
For multi-page documents this is the dominant choice:
- Open xconvert.com/convert-tiff-to-pdf.
- Click + Add Files and pick your TIFF (multi-page TIFF preserved as multi-page PDF).
- Set Image Compression to ~85% quality (transparent for text documents).
- Click Convert. Download the PDF.
Typical reduction: 5–10× smaller than source TIFF. A 50 MB TIFF often becomes a 5–10 MB PDF.
Step by step: convert TIFF to JPG
For single-page or non-document images:
- Open xconvert.com/convert-tiff-to-jpg.
- Click + Add Files and pick your TIFF.
- Set quality to 85% for documents, 75% for photos.
- Click Convert. Download.
A multi-page TIFF becomes one JPG per page. Bundle them in a ZIP if needed.
Worked example: 10-page legal doc for email
Source: 10-page legal contract scanned at 600 DPI color TIFF. Original: 52 MB.
Goal: Send via Gmail (25 MB cap).
Step 1 — Pick path. Multi-page document → convert to PDF for best size reduction with full compatibility.
Step 2 — Convert. Use xconvert TIFF to PDF at 85% quality.
Step 3 — Result. ~7 MB PDF (7× reduction). Way under Gmail’s 25 MB cap. Text remains crisp; signature scans look identical to the source.
Step 4 — Verify. Open the PDF, page through every page at 100% zoom. Confirm:
- All text legible
- Signatures clear
- Stamps and seals visible
- No banding or compression artifacts on color portions
Step 5 — Attach. 7 MB PDF attaches to Gmail without complaint. Done.
If the recipient specifically requested TIFF (uncommon, but happens for certain legal/medical workflows), use Path 1 (compress TIFF in place) — it’ll get you to ~30 MB, still over Gmail but works for enterprise email systems with higher caps.
Frequently Asked Questions
Will compression reduce text quality?
LZW lossless compression: no quality change. JPG-encoded PDF at 85% quality: imperceptible for text and most documents — you’d need to zoom to 400%+ to spot any difference. For very small text (< 8 pt), keep quality at 95% or higher to avoid edge artifacts.
Should I keep the original TIFF for archival?
Yes. Archival policies (legal, medical, government) typically require the lossless TIFF original. The compressed PDF is a “working copy” for sharing. Don’t replace the source TIFF with the PDF.
Can I OCR the PDF after conversion?
Yes — and it’s often better than OCRing the TIFF directly. PDFs can carry both the image and a hidden text layer. Tools like Adobe Acrobat, ABBYY FineReader, or open-source ocrmypdf can add a searchable text layer to the PDF after conversion. The image quality at 85% JPG is fine for OCR accuracy.
What about multi-page TIFFs becoming separate JPGs?
If you convert a 10-page TIFF to JPG, you get 10 separate JPG files. To send these as a single attachment, ZIP them or use the merge images to PDF tool to combine them into one PDF.
Is there a way to convert without quality loss?
Yes — use TIFF → PDF with lossless compression mode (FLATE-encoded image data instead of JPG-encoded). xconvert supports this in the advanced options. The trade-off: lossless mode produces a larger PDF (typically 50% of source TIFF size, vs 10–20% for JPG-encoded). For legal / medical workflows where quality is paramount, use lossless.
What about color profile?
TIFFs from professional scanners often embed an ICC color profile (Adobe RGB, sRGB, ProPhoto). Conversion to JPG or JPG-encoded PDF strips the profile, which means colors render slightly differently on color-managed displays. For document scans this is rarely visible. For photo TIFFs, embed the sRGB profile in the converted output if your software supports it.
Why is my TIFF still big after compression?
Two common causes: (1) the source TIFF is uncompressed AND high-resolution (600 DPI color) — the dominant factor is resolution, not compression. Try converting to 300 DPI grayscale equivalent. (2) The TIFF has many pages and even after compression, accumulates. Convert to PDF for dramatic multi-page reduction.
Try it now
Compress a TIFF with the xconvert TIFF compressor. For email-friendly sizes, convert to PDF using xconvert TIFF to PDF — usually 5-10× smaller. For PNG vs WebP vs JPG decisions on web images, see PNG vs WebP vs JPG: Which to Use When.
Related guides
- Combine Documents Into One PDF for USCIS Upload (12 MB)
- Compress PDF for SBA, IRS, and US Government Portals
- PNG vs WebP vs JPG: Which Format to Use When (2026)
Sources
Last verified 2026-05-19.
- Library of Congress — TIFF Format Description
- TIFF Format Reference (Wikipedia)
- ITU-T Recommendation T.6 — CCITT Group 4 compression used by TIFF