 By James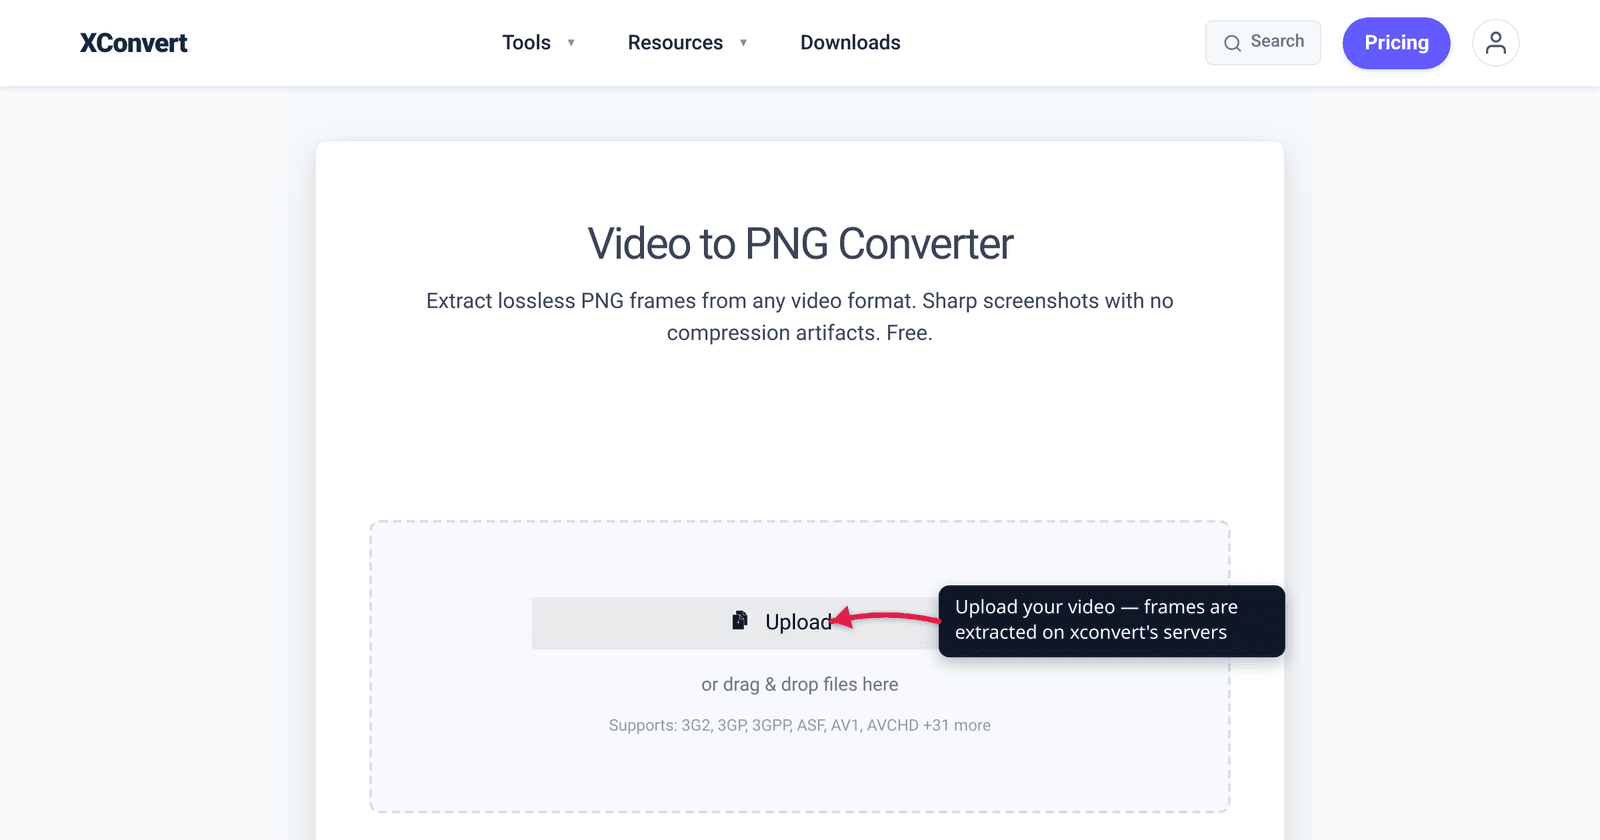
You paused a video on the exact frame you wanted — a clean product shot, a readable whiteboard, the one moment your subject’s eyes were open — and now you need that single moment as an actual image file. Or you’re the opposite case: you want a strip of stills, one every second, to build a thumbnail sheet or scrub a scene frame by frame. Both are the same job — pulling frames out of a video and saving them as images — and the only real decisions are which frames you want and which format keeps them sharp. We verified the lossless-vs-lossy tradeoff against MDN, checked the real extraction controls on the tool, and worked out how many files you actually get so you don’t accidentally generate thousands.
Quick answer: To pull images out of a video, decide two things. Which frames — one exact moment (a single image) or a series (one every N seconds). Which format — PNG for the sharpest, lossless, editable still (bigger file, supports transparency); JPG for a smaller file when a little compression is fine. A video plays many frames per second, so extracting every frame of even a short clip produces a flood of images — pick an interval (e.g. one frame per second) unless you genuinely need them all. xconvert extracts either a single frame at a timestamp or multiple frames at a chosen capture rate, downloadable individually or as a ZIP.
Jump to a section
- One frame or many?
- PNG or JPG: which format for your stills
- How many images will I actually get?
- Common reasons to extract frames
- Extract frames from a video on xconvert
- FAQ
One frame or many?
“Extracting frames” covers two genuinely different tasks, and getting clear on which one you want saves you from drowning in files.
- A single frame — you want one image: the perfect freeze-frame for a thumbnail, a profile picture grabbed from a clip, a still of a slide or a license plate. You know roughly when it happens (say, 2.1 seconds in), and you want exactly that moment as a sharp image.
- A sequence of frames — you want several images sampled across the video: a contact sheet of thumbnails, stills every second to drop into an edit, or frame-by-frame images for motion analysis. Here you don’t pick one moment; you pick an interval (one image per second, two per second, etc.) and let the tool sample the whole clip.
The distinction matters because of how video works: it’s a rapid sequence of still images shown fast enough to look like motion. A typical clip runs at 24, 30, or 60 frames per second, so “all the frames” of even a 10-second clip is hundreds of images. Most of the time you don’t want all of them — you want the frame, or a frame every so often. Decide that first.
PNG or JPG: which format for your stills
Both PNG and JPG store a single still image; the difference is in how they compress it.
- PNG is lossless. Per MDN, “the PNG … image format uses lossless compression … featuring full alpha transparency support.” Nothing is thrown away — every pixel of that frame is preserved exactly, and you can re-save and edit it repeatedly without quality drift. PNG also supports transparency (an alpha channel). The cost is a larger file.
- JPG (JPEG) is lossy. MDN lists its compression as “Lossy; based on the discrete cosine transform,” and notes plainly that JPEG does not support an alpha channel (no transparency). It permanently discards some image data to shrink the file — usually invisibly at high quality, but it compounds if you re-edit and re-save. The upside is a much smaller file.
| PNG | JPG | |
|---|---|---|
| Compression | Lossless — no data discarded | Lossy — some data permanently removed |
| Per-frame sharpness | Maximum (crisp edges, text, UI) | Very good, softens slightly at lower quality |
| File size | Larger | Smaller |
| Transparency | Yes (alpha channel) | No |
| Re-editing | No quality loss on re-save | Degrades with each re-save |
| Best for | Screenshots of text/UI/charts, frames you’ll edit or zoom into, anything needing transparency | Photographic frames, many stills where size matters, fast downloads |
Rule of thumb: if the frame has sharp edges, text, a UI, a chart, or you plan to edit/zoom into it — or you need a transparent background — choose PNG. If it’s a photographic scene and you want smaller files (or you’re extracting a long sequence), JPG is the practical pick. MDN’s own guidance: “PNG is preferred over JPEG for more precise reproduction of source images, or when transparency is needed.” For a deeper format comparison see PNG vs WebP vs JPG.
How many images will I actually get?
This is the number that surprises people, so do the arithmetic before you extract a sequence.
Video frame rate is measured in frames per second (fps). If you ask for every frame:
- A 30 fps video produces 30 images per second — so a 1-minute clip is 1,800 images, and a 10-minute clip is 18,000.
- A 60 fps video doubles that. An hour of 60 fps footage is well over 200,000 frames.
That’s almost never what you want — it’s slow, it’s gigabytes of files (especially as lossless PNGs), and you’ll never look at most of them. Instead, pick a capture rate that matches the job:
- One frame per second is a sensible default for a thumbnail strip or a quick scrub — a 5-minute clip becomes 300 images, manageable.
- One frame every 5 or 10 seconds for a long video you just want an overview of.
- A single frame when you only need one specific moment — no math required.
xconvert’s sequence mode samples at a chosen capture rate rather than dumping every frame, with the fastest preset around 0.1 s (10 fps), so you stay in control of the file count. Start coarse; you can always re-run at a finer interval.
Common reasons to extract frames
- Video thumbnails and cover images — grab the most representative single frame for a YouTube thumbnail, a course-video poster, or a social preview.
- Stills for editing or design — pull a clean frame into Photoshop/Canva as a reference, background, or composite element (PNG keeps edges crisp and supports transparency).
- Frame-by-frame analysis — sports technique, scientific footage, security review, or checking the exact moment something happens; a tight interval gives you the sequence to step through.
- Documenting on-screen content — a readable still of a slide, a whiteboard, a chart, or a UI demo. These are text/edge-heavy, so PNG is the right call.
- Building a contact sheet — one frame every few seconds across a clip gives a quick visual index of what’s in it.
If your goal is the reverse — turning a batch of images back into a video, or comparing video file formats — those are different workflows; this one is strictly video → still images.
Extract frames from a video on xconvert
The xconvert Video to PNG converter extracts frames as lossless PNGs; there’s a sibling Video to JPG converter if you’d rather have smaller files. The flow is the same on both:
- Open xconvert.com/convert-video-to-png and click + Add Files to upload your video (from your computer, Google Drive, or Dropbox).
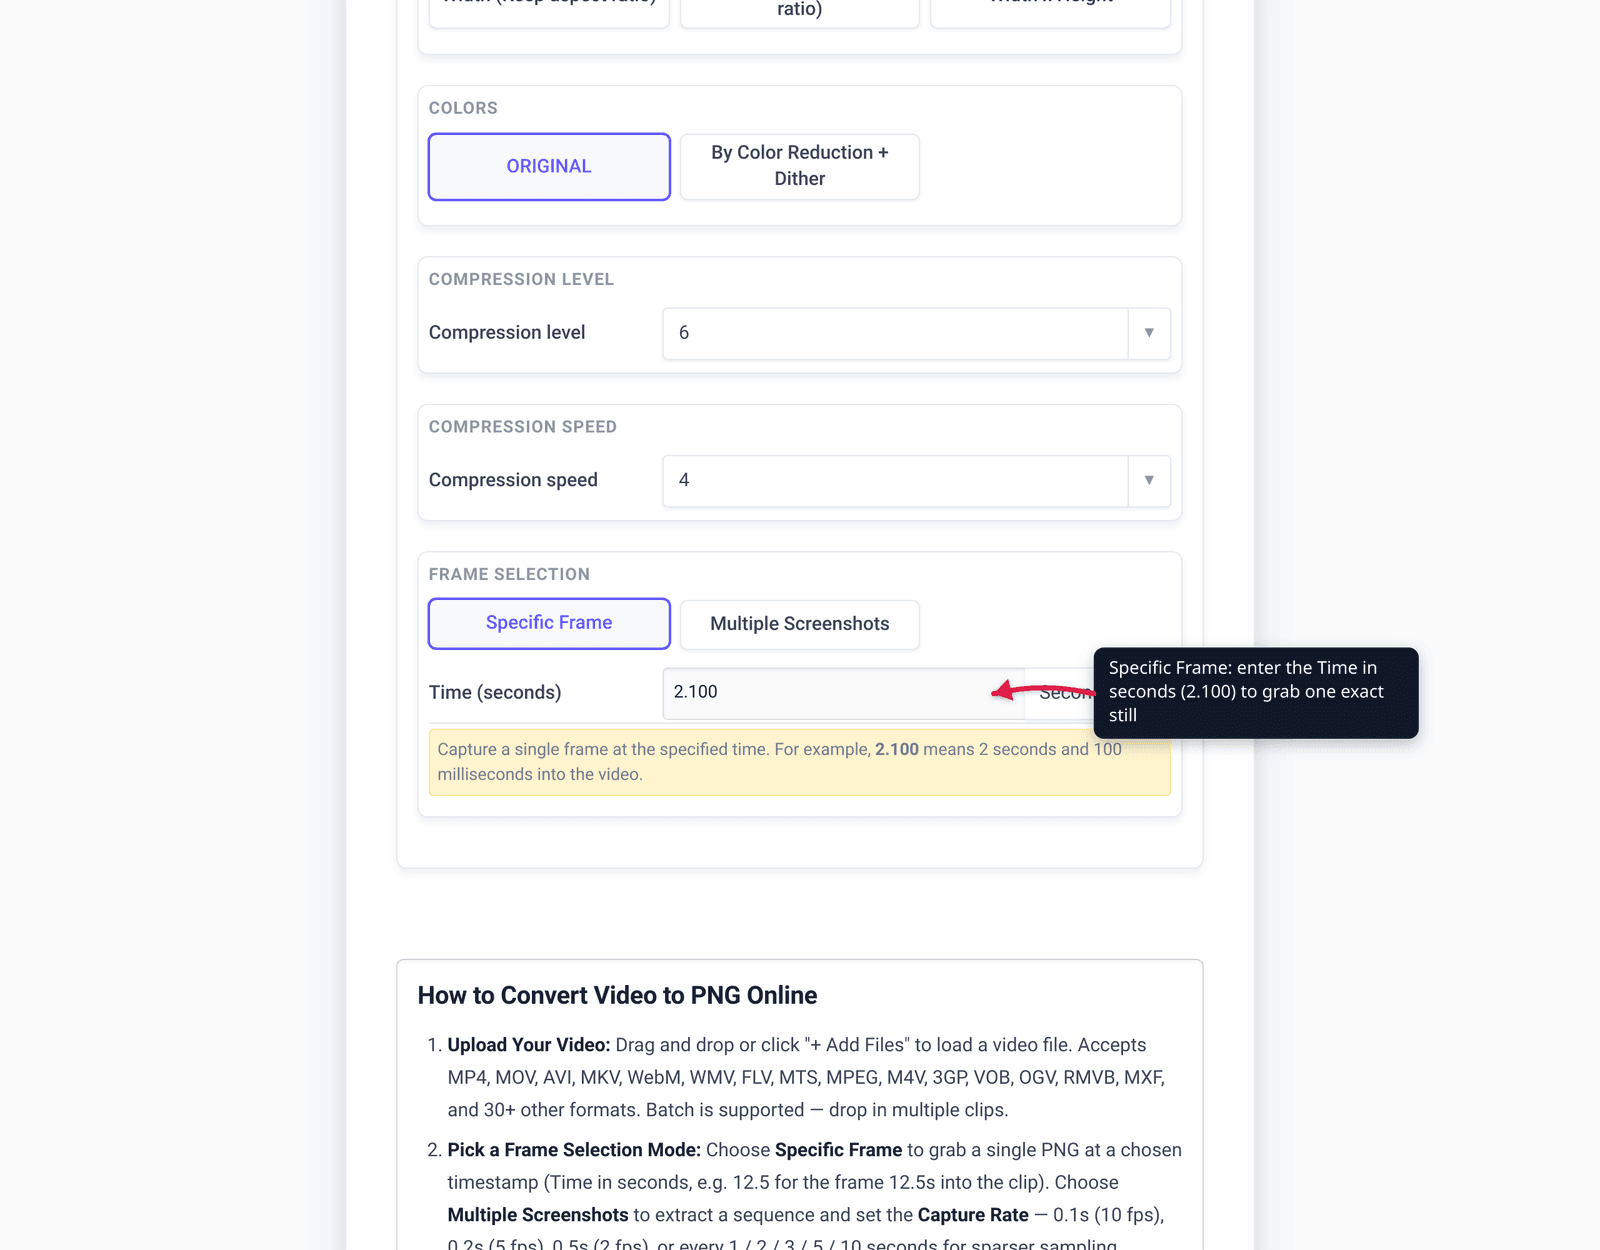
- Choose your extraction mode:
- Specific Frame — to grab one image. Enter the Time (seconds) — for example
2.100means 2 seconds and 100 milliseconds into the video. - Multiple Screenshots — to grab a series. Pick a Capture Rate:
0.1s (10 fps),0.2s (5 fps),0.5s (2 fps), or every1 / 2 / 3 / 5 / 10seconds. Coarser intervals mean fewer files. - (Optional) Open Advanced Options (the gear icon) to tune the Quality Preset (default Very High (Recommended)), compression level/speed, resolution, or color settings. The defaults are tuned for sharp output, so you can leave them.
- Click Convert to extract.
- Download your frames — individually, or as a ZIP when you’ve pulled a whole sequence.
Your video uploads over an encrypted connection, is processed on our servers, and is automatically deleted a few hours later. Nothing stays around.
For related stills work: convert a PDF to JPG without losing quality and the format deep-dive in PNG vs WebP vs JPG.
FAQ
How do I extract a single frame from a video as an image?
Pick the Specific Frame mode, enter the exact Time (seconds) of the moment you want (e.g. 5.250 for 5.25 seconds in), and convert. You get one image at that timestamp — PNG for a lossless, editable still, or JPG for a smaller file. No need to extract the whole video.
Should I extract frames as PNG or JPG?
PNG for maximum sharpness and editing — it’s lossless, keeps text/edges/UI crisp, supports transparency, but makes larger files. JPG for smaller files — it’s lossy (some detail is discarded) and has no transparency, but it’s ideal for photographic frames or when you’re pulling a long sequence and want to keep the total size down.
How many images do I get if I extract every frame?
A lot. Video runs at a frame rate (often 24/30/60 fps), so extracting every frame of a 30 fps clip gives you 30 images per second — 1,800 for a one-minute clip. That’s rarely useful. Instead, choose a capture rate (e.g. one frame per second) so you only get the frames you’ll actually use.
Can I get one frame per second instead of all of them?
Yes — that’s what the Multiple Screenshots mode is for. Set the Capture Rate to 1s (one image per second), or coarser (every 2/3/5/10 s) for long videos, or finer down to 0.1s (10 fps). The tool samples at that interval rather than dumping every single frame.
What’s the best format for a video thumbnail?
If the frame is photographic, JPG at high quality is fine and smaller. If it contains text, a logo, a UI, or sharp graphics — or you’ll edit it or need a transparent background — use PNG so nothing is softened or thrown away. Many platforms accept both; match the format to the content.
Does extracting a frame reduce its quality?
Extracting to PNG does not — it’s lossless, so the saved still is a pixel-exact copy of that video frame. Extracting to JPG applies lossy compression, which discards a little data (usually invisible at high quality). Note that the frame can only be as sharp as the source video; a low-resolution or heavily compressed clip yields a correspondingly soft still in either format.
Sources
Last verified 2026-06-25.
- MDN — Image file type and format guide — PNG is lossless with full alpha transparency; JPEG is lossy and has no alpha channel; “PNG is preferred over JPEG for more precise reproduction … or when transparency is needed.”
- xconvert Video to PNG converter — real UI: + Add Files, Specific Frame vs Multiple Screenshots modes, Time (seconds), Capture Rate presets, Advanced Options, individual/ZIP download.
- xconvert Video to JPG converter — sibling tool for smaller, lossy stills.