 By Stephanie Taylor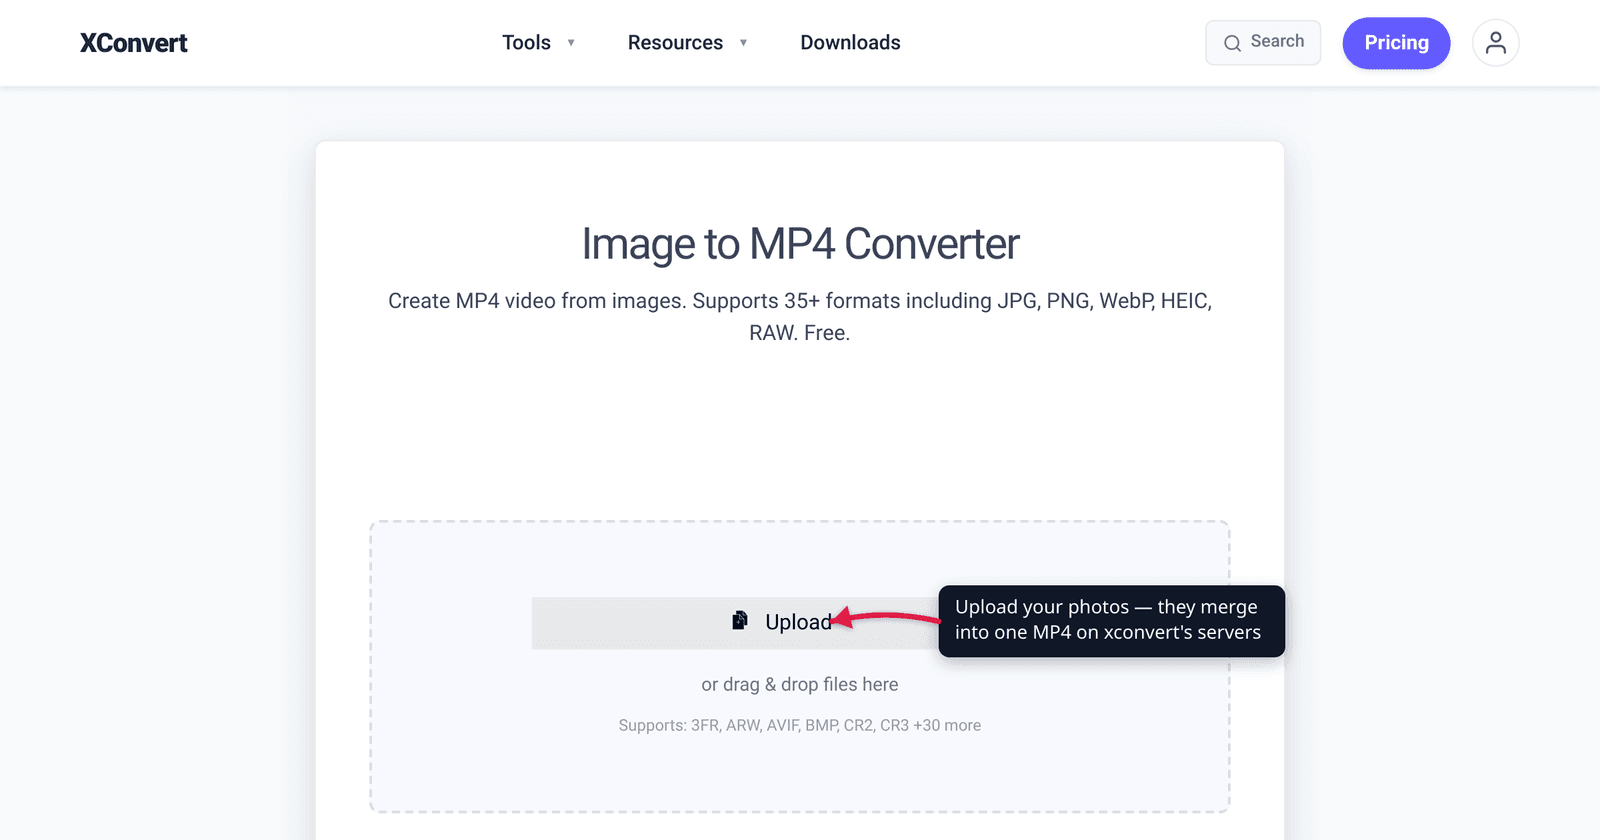
You have a folder of photos and you need a single video file: a wedding slideshow to play on a TV, a timelapse from 500 numbered frames, or just one product shot you want to post to a video-only feed like Reels or TikTok. The catch is that those platforms accept video, not a JPEG — so the picture has to become an MP4 first. This guide explains how that conversion actually works, how long each photo should stay on screen, and the one number (frame rate) that quietly controls whether your slideshow looks smooth or stutters. We verified the frame-rate conventions against the standards and confirmed the exact controls on the tool before describing them.
Quick answer: Combining photos into a video means assembling each image into a sequence of frames and encoding them as MP4 (H.264) so they play anywhere. Decide how long each photo shows (1–10 seconds for a slideshow, a fraction of a second for a timelapse) and let the tool repeat each image across the frame rate — typically 24 fps (film) or 30 fps (the web/TV norm). The xconvert Image to MP4 converter takes multiple images, sets a per-frame duration, and merges them into one silent MP4 — add music afterward if you want it.
Jump to a section
- What “turning photos into a video” actually does
- How long should each photo stay on screen?
- Frame rate: the number that controls smoothness
- Why MP4 (H.264) is the format to pick
- Get the order right before you convert
- Turn your photos into an MP4 on xconvert
- FAQ
What “turning photos into a video” actually does
A video is just a stream of still images (frames) played fast enough to read as motion. So “making a video from photos” is mechanically simple: line your images up in order, decide how long each one is on screen, and encode the whole sequence into a video container — almost always an .mp4 file.
There are two distinct jobs people mean by this, and they need different settings:
- A slideshow — a handful of photos, each held on screen for several seconds (a wedding montage, a product carousel, a “year in review”). Here you want a long per-image duration.
- A timelapse or animation — many sequential frames, each shown for a fraction of a second, so they blur into motion (a sunset shot every few minutes, a stop-motion sequence, exported render frames
frame_0001.png…frame_0500.png). Here you want a short per-image duration.
Both produce the same kind of file. The only real decisions are how long each image shows and at what frame rate — covered next. (Worth knowing up front: a photos-to-video conversion produces a silent MP4 — there’s no audio track on the image side, so music is something you add afterward in a video editor. That’s also true if you want a single photo to pan, zoom, or animate rather than sit static: an AI image to video tool handles the motion, and you’d still add music afterward the same way.)
How long should each photo stay on screen?
This is the decision that defines the feel of the result, and it’s set per image.
| Use case | Per-photo duration | Why |
|---|---|---|
| Wedding / event slideshow | 4–6 seconds | Long enough to actually look at each face |
| Product or portfolio carousel | 2–4 seconds | Keeps it moving without feeling rushed |
| Social “still as a video” post | 3–7 seconds (one image) | One photo, long enough to satisfy a minimum video length |
| Timelapse | 1/30 – 1/5 second | Fast enough to read as continuous motion |
| Stop-motion / animation | 1/24 – 1/12 second | Matches traditional animation timing |
A common slideshow mistake is making each slide too short — at one second per photo, a 30-image montage is over in half a minute and feels frantic. For anything people are meant to look at, 4–6 seconds per image is the safe default. For motion (timelapse), you flip to fractions of a second so the frames flow together.
The xconvert tool exposes exactly this range: from 1/60 second per frame (cinema-style 60-fps timelapse) through 1/30, 1/24, 1/10, 1/5, 1/3, 1/2 second, up to 1–10 seconds per slide. Pick the row above that matches your goal.
Frame rate: the number that controls smoothness
Frame rate (frames per second, fps) is “the frequency at which consecutive images are displayed,” per the standard definition. It’s why a slow per-photo duration and a fast one are really the same control viewed from two ends: a photo held for N seconds is just that frame duplicated N × fps times.
The conventions are worth knowing because they’re what “looks right” to a human eye:
- 24 fps — the cinema standard since the late 1920s for 35 mm sound film. It’s the “film look.”
- ~30 fps (29.97) — the NTSC television rate in North America, Japan, and parts of South America. It’s also the de-facto default for web and social video.
- 25 fps — the PAL television rate used across most of Europe and elsewhere.
- 60 fps — used for smooth, high-motion content like games and sports, and for fast timelapses.
For a still-photo slideshow, the frame rate barely matters to the viewer — a photo that doesn’t move looks identical at 24 or 30 fps — but it still determines the output’s technical fps. For a timelapse, the frame rate is the smoothness: more frames per second of footage means smoother motion. That’s the whole reason the tool’s shortest durations are expressed as fractions like 1/30 (30 fps) and 1/60 (60 fps).
Why MP4 (H.264) is the format to pick
You’ll be offered several output codecs, but for “make a video from my photos that plays anywhere,” MP4 with the H.264 codec is the default for a reason: it plays on essentially every browser, phone, smart TV, and social platform with no extra software. Per caniuse, H.264 in MP4 has near-universal browser and device support — there is no meaningful 2026 device that can’t play it.
The other codecs have niche uses: H.265 (HEVC) and AV1 make smaller files at the same quality but play in fewer places (HEVC is partial and hardware-gated in Chrome/Firefox), and VP9 is a web-oriented open codec. For a slideshow you’re going to upload to a phone, a TV, or a social feed, stick with H.264 / MP4 unless you have a specific reason not to. If you’re weighing the smaller-file codecs, our H.264 vs H.265 guide lays out the tradeoff, and MP4 vs WebM covers the open-web case.
Get the order right before you convert
The single most common surprise: photos appear in the video in the order they’re listed on the upload screen — typically alphabetical by filename. Not the order you clicked them, and not the order they were taken.
That means two things:
- Numbered sequences just work. Files like
frame_0001.pngthroughframe_0500.pngsort correctly because zero-padded numbers sort the same alphabetically as numerically. This is why timelapse and render exports drop straight in. - Camera filenames may not be the order you want.
IMG_2031.jpgandIMG_209.jpgwill sort by text, not by the moment you took them, if the digit counts differ. If sequence matters, rename your files with a consistent zero-padded prefix (01_,02_,03_…) before uploading. Two minutes of renaming saves re-doing the export.
Turn your photos into an MP4 on xconvert
The xconvert Image to MP4 converter takes a single image, a handful for a slideshow, or hundreds of sequential frames, and merges them into one MP4. It supports 35+ image formats (JPG, PNG, WebP, HEIC, RAW). Here’s the workflow:

- Open xconvert.com/convert-image-to-mp4 and click Upload to add your photos (from your computer, Google Drive, or Dropbox). Drop in the whole set at once — single image, several, or a full folder.
- Set Merge strategy to Merge images (one combined video). The alternative, Video per image, makes a separate clip for each file — only use that if you want individual videos.
- Set Image Duration — how long each photo stays on screen. Choose 1–10 seconds per slide for a slideshow, or a fraction like 1/30 second for a timelapse.
- (Optional) Adjust Background Color (default black, used to letterbox photos that don’t match the video’s aspect ratio), Video resolution (keep original, a preset, or a fixed Width/Height), and Quality Preset.
- (Optional) Set Video Codec — leave it on H.264 for maximum compatibility, or pick H.265/AV1 for a smaller file you’ll only play on modern devices.
- Click Convert, then download your MP4. The result is silent — add music afterward in a video editor if you want a soundtrack.
Your photos upload over an encrypted connection, are processed on our servers, and are automatically deleted a few hours later. Nothing stays around.
FAQ
How do I turn a series of photos into one MP4 video?
Upload all the images together to an image-to-video converter, set a per-photo duration (how long each shows), choose Merge images so they combine into one file, and export as MP4 (H.264). On the xconvert Image to MP4 tool that’s a four-step flow: Upload → set Image Duration → keep Merge strategy on “Merge images” → Convert.
How long should each photo show in a slideshow?
For a slideshow people are meant to look at, 4–6 seconds per photo is the comfortable default — long enough to register each image without dragging. Product carousels can go faster (2–4 seconds). For a timelapse, you flip to a fraction of a second per frame (e.g. 1/30) so the images flow into motion.
What frame rate should I use?
For a still-photo slideshow it barely matters to the eye — pick 30 fps, the web and TV norm, or 24 fps for a film feel. For a timelapse, frame rate is the smoothness: higher fps (30 or 60) gives smoother motion. The 24/30/25 fps conventions come from cinema, NTSC, and PAL respectively.
Why would I convert a single photo to a video?
Mostly to post to video-only formats — Instagram Reels, TikTok, and YouTube Shorts accept video files, not static JPEGs, so a still has to become a short MP4 first (give it a few seconds of duration). It’s also handy for sending a “video” greeting or meeting a platform’s minimum-length requirement with one image.
Will my photos play in the right order?
Images appear in the order they’re listed on the upload screen — typically alphabetical by filename, not the order you took them. Zero-padded numbered files (frame_0001, frame_0002, …) sort correctly automatically; if your camera filenames are inconsistent, rename them with a 01_, 02_ prefix before uploading.
Can I add music to the slideshow?
Not in the conversion itself — turning photos into a video produces a silent MP4 (there’s no audio on the image side). Add a soundtrack afterward in any video editor by laying a music track over the exported MP4.
Which format should the output be?
MP4 with H.264 for anything you’ll share or upload — it plays on virtually every device and platform with no extra codecs. Only choose H.265/HEVC or AV1 if you specifically need a smaller file and control where it plays; see H.264 vs H.265.
Sources
Last verified 2026-06-25.
- Wikipedia — Frame rate — definition of fps; 24 fps became the 35 mm sound-film standard from ~1927–1930; NTSC/PAL broadcast rates.
- caniuse — MPEG-4 / H.264 video format — H.264-in-MP4 near-universal browser and device support.
- caniuse — HEVC / H.265 video format — H.265 support is partial and hardware-gated in Chrome/Edge/Firefox, full only in Safari.
- xconvert Image to MP4 converter — the tool’s real controls: Merge strategy, Image Duration range (1/60 s to 10 s per slide), codec choices, alphabetical-by-filename ordering, silent output.