 By James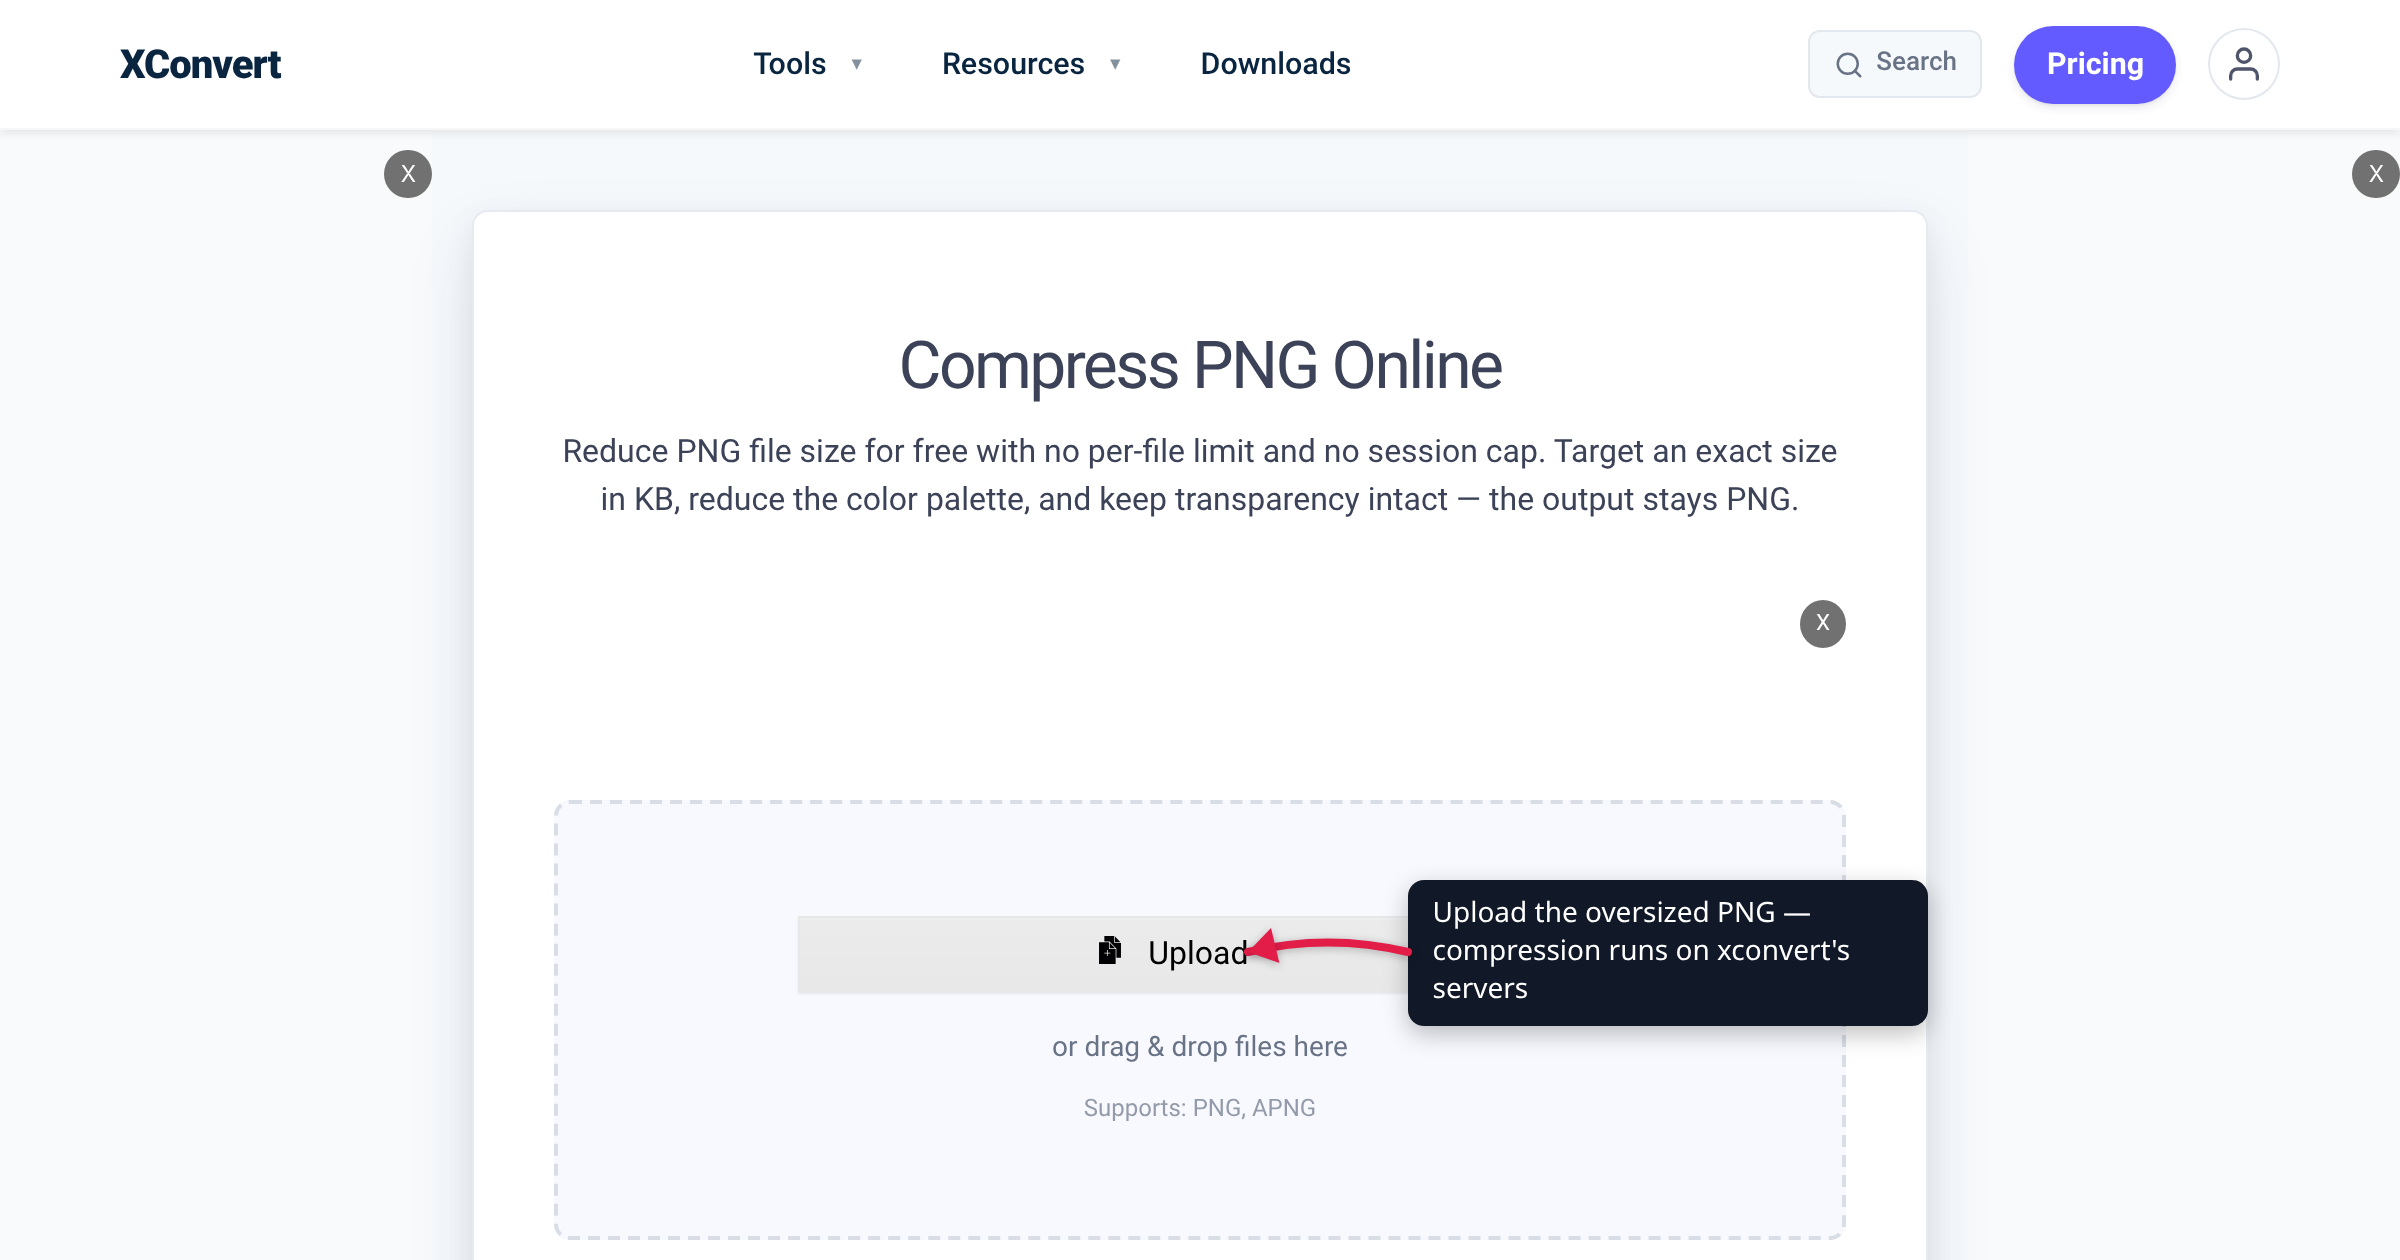
You took a screenshot. It’s 8 MB. The photo you exported as a PNG “to keep the quality” is 24 MB, and the same picture as a JPEG is 900 KB. Nothing is broken — PNG is doing exactly what it was designed to do, which is store every single pixel exactly as you gave it. The useful question isn’t “how do I make it smaller” but which of six specific things made yours big, because the fix is different for each. There’s a one-line calculation below that tells you which one you’ve got.
Quick answer: PNG is lossless, so it can’t throw away detail the way JPEG does. A truecolour-with-alpha PNG stores 4 bytes per pixel before compression, and PNG’s compression only exploits repetition — flat colour, straight edges, repeated rows. Divide your file’s raw byte count (width × height × bytes per pixel) by its actual size: if the ratio is under about 2, your image is photographic or noisy and PNG is the wrong format for it. If it’s 4 or more, PNG is doing its job and the size is coming from pixel count, a 16-bit depth, an unnecessary alpha channel, or embedded metadata.
Jump to a section
- Do the arithmetic first
- The six things that make a PNG big
- Colour type is the biggest single factor
- What to do about each cause
- Compress a PNG on xconvert
- FAQ
Do the arithmetic first
Every PNG has an uncompressed size that you can work out from its dimensions alone, because the PNG specification fixes how many bytes each pixel takes. A truecolour pixel is “an R,G,B triple” — 3 bytes at the usual 8 bits per sample. Truecolour with alpha is “an R,G,B triple followed by an alpha sample” — 4 bytes. Everything else in the file is PNG’s filtering and DEFLATE compression squeezing that raw block down.
So take your image’s pixel dimensions, multiply, multiply again by 4 (assume alpha unless you know otherwise), and divide by the actual file size:
compression ratio = (width × height × 4) ÷ file size in bytesA 2560 × 1440 screenshot is 3,686,400 pixels — about 14.7 MB raw. If the file on disk is 8 MB, your ratio is 1.8. If it’s 1.5 MB, your ratio is 9.8. Same dimensions, completely different diagnosis:
| Ratio | What it means | What’s actually going on |
|---|---|---|
| 10 or more | PNG is thriving | Flat colour, line art, UI, logos. Large blocks of identical pixels compress enormously. The size is pixel count, nothing else. |
| 4 – 10 | Normal for a screenshot | Text, chrome and solid panels compress well; any photo or gradient inside the frame drags it down. |
| 2 – 4 | Mixed content | Part interface, part photograph — or a gradient. Some headroom left, but not a lot. |
| Under 2 | PNG is losing | Photographic detail, film grain, noise or dithering. There is almost no repetition to exploit. This image should not be a PNG. |
These bands are rules of thumb derived from the raw byte layout, not measurements — but the boundary that matters is real: a ratio under 2 means DEFLATE found almost nothing to work with, and no PNG optimizer is going to rescue it.
The six things that make a PNG big
1. It’s lossless, and you asked for a photograph. This is the big one. JPEG achieves its size by discarding high-frequency detail your eye doesn’t miss. PNG is forbidden from doing that — the spec lists losslessness as a design goal: “filtering and compression should preserve all information.” PNG’s five filter types (None, Sub, Up, Average, Paeth) all work by predicting a pixel from its neighbours and storing the difference. On a flat blue panel the difference is zero and DEFLATE collapses it to nothing. On a photograph of leaves, every difference is a fresh random number.
2. The pixel count isn’t what you think. A screenshot on a HiDPI or Retina display is captured at the physical resolution, not the logical one — a window that looks 1440 pixels wide is often 2880 pixels of actual image data, which is four times the pixels and roughly four times the bytes. Phone screenshots have the same problem at 3×. This is the most common cause of “why is a screenshot 8 MB.”
3. There’s an alpha channel you don’t need. Colour type 6 (truecolour with alpha) stores a fourth byte per pixel for every pixel, whether or not any of them are transparent. Export a fully opaque image with alpha and you’ve added 33% to the raw size for no benefit. Many editors default to writing alpha.
4. It’s 16 bits per channel. The spec allows 16-bit samples for truecolour, which doubles everything: 6 bytes per pixel, or 8 with alpha. Some editors and scientific tools write 16-bit PNGs by default. Unless you’re doing colour grading, 8 bits is what you want, and the file halves.
5. Metadata chunks. ICC colour profiles, EXIF blocks, editor previews and text chunks all ride along inside the PNG. On a small icon they can outweigh the image data. They’re invisible in a viewer and easy to miss.
6. It’s interlaced. PNG’s Adam7 interlacing “defines seven distinct passes over the image,” so the file is stored as seven interleaved sub-images instead of one. That progressive fade-in effect costs compression efficiency, because each pass has far less local redundancy to exploit than the whole image would.
Colour type is the biggest single factor
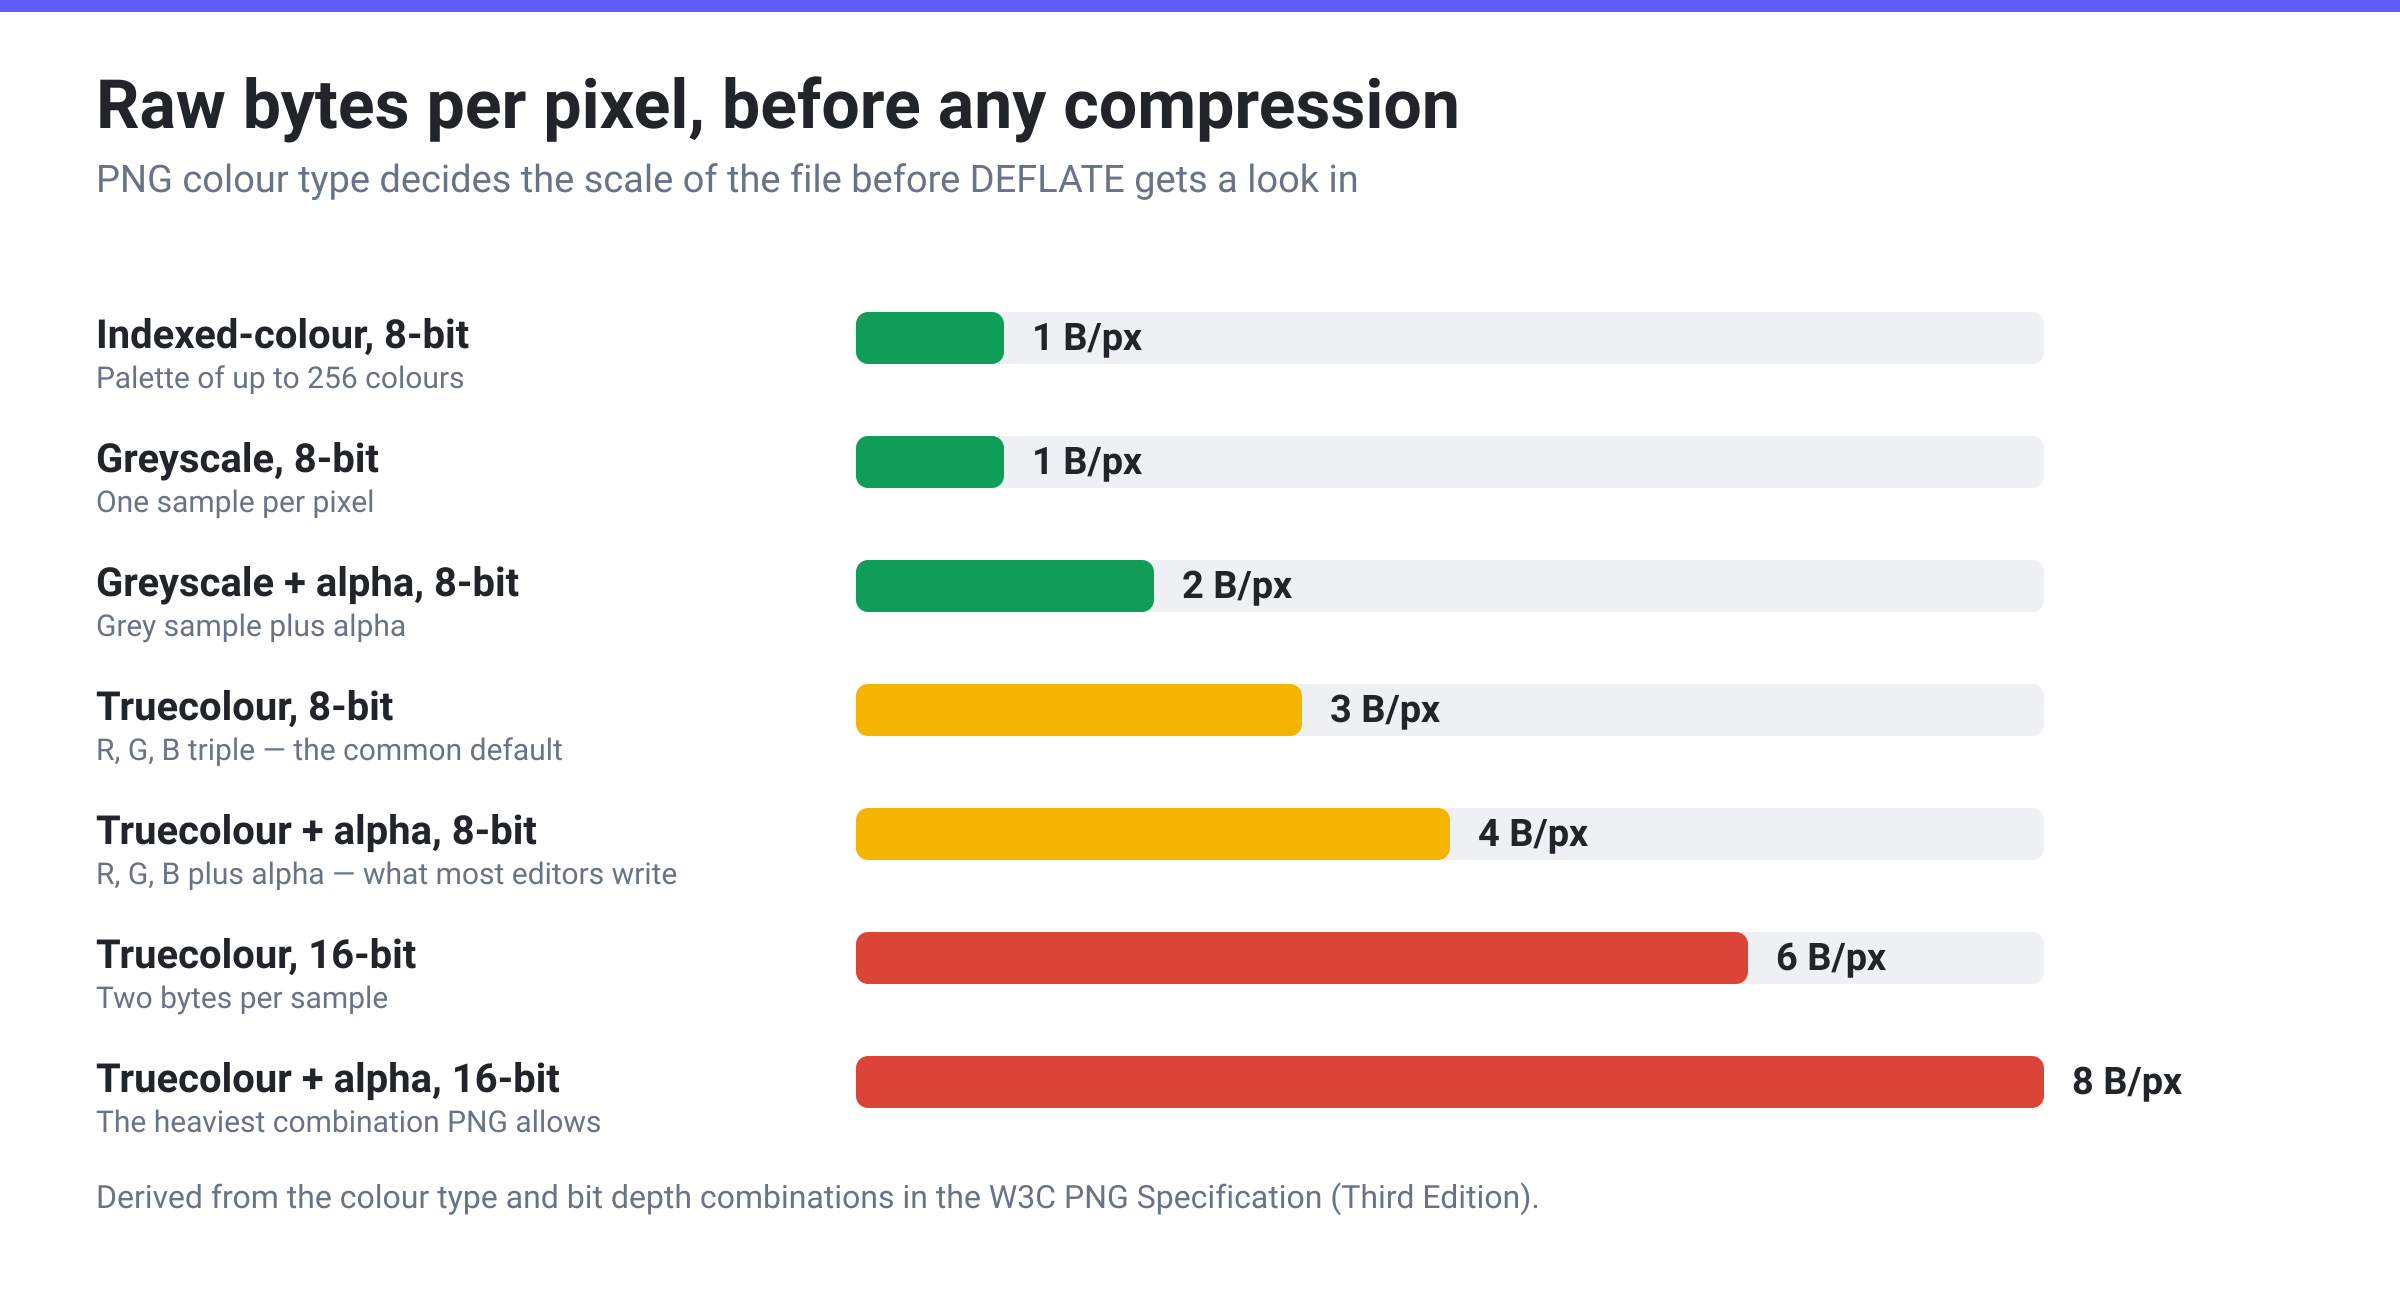
Before a single byte of compression happens, your choice of colour type has already decided the scale of the file. The spec’s own table of permitted combinations makes the spread obvious: an indexed-colour PNG stores one byte per pixel — a pointer into a palette of up to 256 colours — while truecolour with 16-bit alpha stores eight.
That 8× spread is why “convert this to an indexed PNG” is the single most effective thing you can do to a screenshot or a logo, and why it does nothing useful for a photograph — a photograph has far more than 256 distinct colours, so forcing it into a palette produces visible banding instead of a good result.
What to do about each cause
| Cause | How to spot it | Fix |
|---|---|---|
| Photographic content | Compression ratio under 2 | Change format — JPEG or WebP is commonly several times smaller for the same picture |
| HiDPI pixel count | Dimensions are 2× or 3× what you see on screen | Resize to the size it will actually be displayed at |
| Unneeded alpha | No transparency visible, but the file reports 32-bit | Re-save without alpha, or accept the 33% and compress |
| 16-bit depth | File is roughly double what the ratio predicts | Re-save at 8 bits per channel |
| Metadata | Tiny image, surprisingly large file | Any PNG optimizer strips ancillary chunks |
| Interlacing | The image “fades in” as it loads in a browser | Re-save non-interlaced |
| Too many colours for the content | Flat graphic stored as truecolour | Reduce to a palette — see PNG compression: lossless vs lossy |
Compress a PNG on xconvert
Before you start, one thing worth knowing about this tool specifically: every compression run on this page goes through palette quantization, so the output is an indexed PNG holding at most 256 colours. Transparency survives it — the alpha channel is preserved — but that is the mechanism, and it’s why the savings are large on screenshots and why a photographic PNG can come back with visible banding. If your ratio calculation said “under 2,” change format instead of compressing.
- Open xconvert.com/compress-png and click Upload, or drag the file in.
- Open Advanced Options. Image Compression opens on Target file size (%) (Best) — a percentage of the original — with Auto Scale switched on, meaning an aggressive target is allowed to reduce the pixel dimensions as well as the colours. Turn Auto Scale off if the dimensions must not change.
- Prefer an absolute number? Switch to Specific file size and type a value with a B / KB / MB unit. Prefer a manual dial? Image Quality (%) exposes a Quality Percentage slider instead.
- For flat graphics, set Colors to By Color Reduction + Dither and pick a Color Palette Size — the dropdown runs 256 down to 2, and 64 or 32 is often invisible on a logo or a UI capture. Leave Dither on for gradients, off for flat colour.
- Compression level (1–10, default 6) and Compression speed (1–10, default 4) trade encoder effort against time. Raising the level and lowering the speed spends more CPU looking for a smaller result.
- Click Compress and download.
Your file uploads over an encrypted connection, is processed on our servers, and is deleted automatically a few hours later — nothing stays around. If the real answer for your image is a different format, converting it usually beats compressing the PNG at all.
FAQ
Why is my screenshot such a big PNG?
Almost always pixel count. Screenshots on HiDPI and Retina displays are captured at the physical resolution — a window that looks 1440 pixels wide can be 2880 pixels of real image data, four times the pixels and roughly four times the bytes. Resizing to the dimensions the image will actually be shown at is a bigger win than any compression setting.
Why is my PNG bigger than the JPEG I made from it?
Because PNG is lossless and JPEG isn’t. JPEG’s size comes from discarding high-frequency detail; PNG’s specification requires that “filtering and compression should preserve all information,” so it can only exploit repetition. For photographic content there is very little repetition, and the PNG can easily be several times the JPEG.
Does converting a photo to PNG improve its quality?
No — and if the source was already a JPEG, converting to PNG just stores the JPEG’s existing artefacts losslessly in a much larger file. There’s a whole post on that trap: convert JPG to PNG — it won’t improve quality.
Will compressing a PNG remove my transparency?
No. The alpha channel is preserved through palette quantization — indexed PNGs can carry per-palette-entry transparency. What you may notice on a soft, semi-transparent edge is slightly coarser stepping, because the alpha values are quantized along with the colours.
Why did my PNG barely get smaller?
Two likely reasons. Either it was already optimized — a PNG that has been through pngquant or TinyPNG has little left to give — or your ratio is under 2, meaning the content is photographic and there was never much redundancy to exploit. Compare the raw size (width × height × 4) against the file size before blaming the tool.
What is a “16-bit PNG” and how do I know if I have one?
It’s a PNG storing 16 bits per colour sample instead of 8, which the spec permits for greyscale and truecolour. Raw, that’s 6 bytes per pixel, or 8 with alpha — double the usual. Image editors and scientific tools sometimes write it by default. If your file is roughly twice what the compression-ratio arithmetic predicts, this is the likely reason; re-saving at 8 bits per channel halves it with no visible change for normal photographic or screen content.
Sources
Last verified 2026-08-31.
- W3C — Portable Network Graphics (PNG) Specification (Third Edition) — permitted colour type / bit depth combinations (Table 12: greyscale 1/2/4/8/16; truecolour 8/16; indexed-colour 1/2/4/8; greyscale-with-alpha 8/16; truecolour-with-alpha 8/16); “Each pixel is an R,G,B triple” and “an R,G,B triple followed by an alpha sample”; the five filter types (None, Sub, Up, Average, Paeth); Adam7 interlacing “defines seven distinct passes over the image”; and the design goal that “filtering and compression should preserve all information.”
- xconvert PNG compressor — live tool; verified the controls and defaults named above: Image Compression → Target file size (%) (Best) (default, with Auto Scale on) / Specific file size (B / KB / MB) / Image Quality (%); Image resolution; Colors (default ORIGINAL; By Color Reduction + Dither with a Color Palette Size dropdown from 256 to 2, and a Dither toggle); Compression level (default 6); Compression speed (default 4).
- xconvert implementation note — the PNG-to-PNG compression path runs
pngquantpalette quantization, so output from this page is an indexed PNG of at most 256 colours (the Colors control sets that ceiling) with the alpha channel preserved.