“Resize without losing quality” hides a quiet contradiction. Make an image smaller and you can almost always keep it sharp; make it bigger and no tool can restore detail that was never captured. The phrase means different things in each direction, and that difference decides whether you reach for the Photos app, Paint, or a browser-based resizer. This guide covers what “without losing quality” can and cannot mean, the native Windows 11 routes and their limits, and when to switch to a no-install online tool.
Quick answer: Downscaling preserves quality; upscaling cannot create real detail. Shrinking discards pixels carefully, so the result stays sharp; enlarging invents new pixels by guessing from neighbors, so detail looks soft no matter what. To resize cleanly on Windows 11, use Photos (See more → Resize image → Pixels or Percentage, aspect ratio stays linked) or Paint (Resize → tick Maintain aspect ratio). For batch resizing or hitting an exact size with format control, use a browser resizer like the xconvert Image Resizer.
Why “without losing quality” means two different things
The key thing to understand: the direction of the resize changes what is physically possible.
- Downscaling (a 6000×4000 camera photo → 1920×1280 for the web) condenses existing pixel data into fewer pixels. You discard some information, but the remaining pixels are still real captured detail, so a good resize barely shows the loss — usually a hint of softening that light sharpening fixes. This is where “without losing quality” is realistic.
- Upscaling (a 600×400 thumbnail → 2400×1600 for print) asks the software to produce pixels that were never recorded. It interpolates — guesses from surrounding pixels — so the output has more pixels but no more real detail, and edges look soft. Standard upscaling cannot add quality.
So the honest answer is: if you are shrinking, yes — follow the two rules below; if you are enlarging, manage your expectations. AI “super-resolution” upscalers can invent plausible detail, but that is a different operation from a plain resize and is outside the native Windows tools.
Resampling: how resizing actually works
Changing an image’s pixel dimensions is called resampling: the tool builds a new grid of a different size and decides each new pixel’s color. The method it uses — the interpolation algorithm — is the biggest lever on quality. Per Cloudinary’s reference on interpolation, the methods differ mainly in how many surrounding pixels they consult:
| Method | Pixels sampled | Typical result |
|---|---|---|
| Nearest-neighbor | 1 | Fast, blocky — fine for pixel art, bad for photos |
| Bilinear | 2×2 (4) | Smoother than nearest-neighbor, can look soft |
| Bicubic | 4×4 (16) | Smoother gradients, more natural — the photo default |
| Lanczos | larger window | Preserves fine detail and clean edges |
You rarely pick an algorithm by hand — most tools default to bicubic. What matters is why the directions differ: downscaling averages real pixels into each output pixel, smoothing aliasing and staying faithful, while upscaling spreads a little real data across more pixels — filling blanks rather than condensing facts.
The two rules that protect quality
No matter which tool you use, two habits do most of the work:
- Lock (maintain) the aspect ratio. Change width and height by different proportions and the image stretches or squashes — faces widen, circles become ovals. This is the most common and most visible quality failure, and it has nothing to do with resampling. Keep width and height linked so one updates the other automatically. Every tool below offers this.
- Resize once, from the largest original you have. Each resize is a fresh round of resampling, and each adds a little softening — 4000px → 1000px → 2000px is worse than 4000px → 2000px directly. Start from the biggest source and reach your target in one step. When you save, match format to use: PNG or high-quality JPEG to keep detail; heavier compression only when you want a smaller file.
Route 1: The Windows 11 Photos app
Photos is built into Windows 11 and is the fastest native route for a single image. The steps, per current Windows how-to guides:
- Open the image in Photos (double-click, or right-click → Open with → Photos).
- Click See more — the three-dots (
...) menu in the top toolbar. - Choose Resize image.
- At the top of the dialog, pick Pixels or Percentage.
- Enter a new Width or Height. Photos keeps the aspect ratio linked by default — set one dimension and the other updates automatically, so the image will not stretch.
- Optionally adjust the Quality slider (this controls saved-file compression, not pixel count).
- Click Save (or Save a copy) and choose where to write the file.
Photos is ideal for quick one-off downscales — trimming a phone photo for an email or forum post. Because it links the aspect ratio for you, it sidesteps the most common quality mistake.
Route 2: Microsoft Paint
Paint is the other tool that ships with Windows 11, handy when you want a resize dialog with an explicit aspect-ratio checkbox. Based on Microsoft’s Paint help and long-standing Paint behavior:
- Open the image in Paint (right-click → Open with → Paint).
- On the Home tab, click Resize (in older builds this dialog is labeled Resize and Skew; shortcut
Ctrl+W). - Choose Pixels or Percentage.
- Make sure Maintain aspect ratio is ticked. With it on, a new horizontal value updates the vertical one automatically (and vice versa), so proportions stay correct.
- Enter the new Horizontal / Vertical value, then click OK.
- Use File → Save as and pick your format (PNG keeps the most detail; JPEG is smaller).
Paint’s Maintain aspect ratio checkbox is the explicit version of rule #1 — leave it on unless you deliberately want to distort the image.
Where the native tools fall short
Photos and Paint are fine for one image at a time, but they hit walls:
- No batch resizing. Neither resizes a folder in one pass. (PowerToys adds an “Image Resizer” right-click option, but it is a separate download.)
- No “hit an exact file size” mode. They resize by dimensions, not by a target like “under 2 MB,” so meeting a size cap is guesswork.
- Limited format coverage. RAW camera files, HEIC, or rarer formats can need extra codecs or fail, and saving to WebP is not consistently available.
- Tied to one PC. On a managed work machine, a Chromebook, a phone, or someone else’s computer, you may not have Photos or Paint at all.
When any of those apply, a browser-based resizer is more flexible.
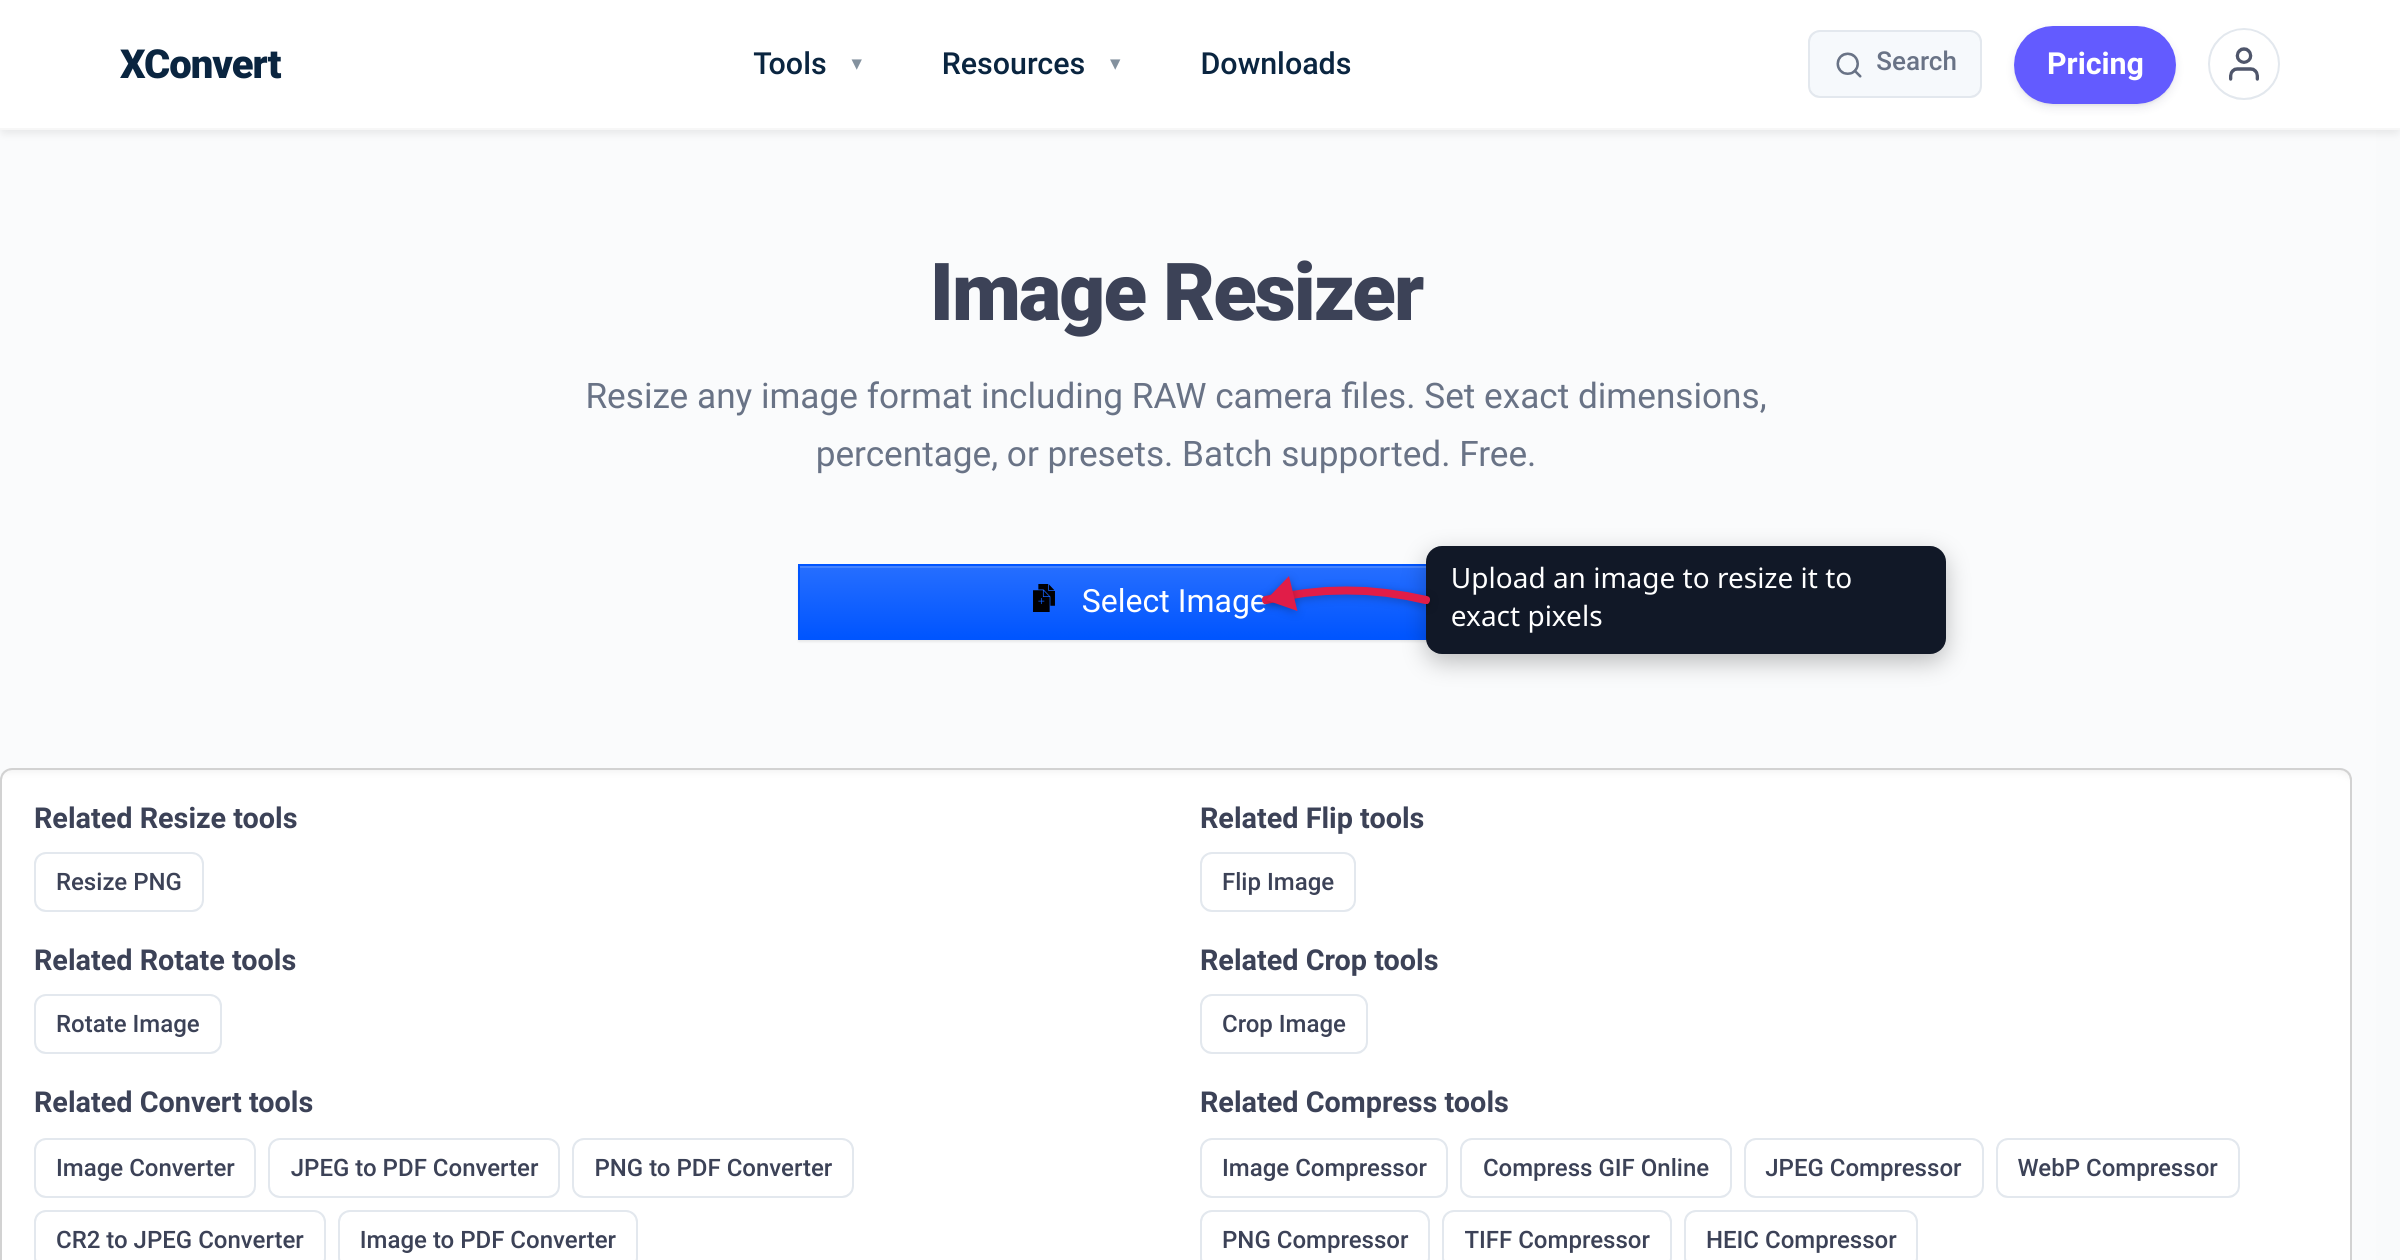
Route 3: A browser-based resizer (no install)
The xconvert Image Resizer handles the cases the native tools struggle with, and it works the same on any operating system without installing anything:
- Open the Image Resizer and click Select Image (you can also pull files from Google Drive or Dropbox).
- Your file is sent over an encrypted connection to the xconvert servers, where the resize runs. It is handled server-side, and the uploaded file is deleted automatically after a few hours.
- Set the target by exact dimensions, by percentage, or with a preset, keeping the aspect ratio linked so the image does not distort.
- Batch is supported, so you can resize many images in one pass.
- Download the resized result.
Because the work runs on the server, capabilities do not depend on your PC having the right codecs — the tool supports a wide range of image formats including RAW camera files. And since it is just a web page, it is the natural answer when you are not on your own Windows machine.
A common companion task is reducing file size rather than dimensions. To get a photo under an upload limit while keeping it sharp, the xconvert Image Compressor lets you target a specific file size or quality level directly — something Photos and Paint cannot do. Resize to the dimensions you need first, then compress if you still need to shave off kilobytes.
FAQ
Can I really resize an image without losing any quality on Windows 11?
When downscaling (making it smaller), yes for practical purposes — you discard some pixels, but the rest are real detail, and a single resize with the aspect ratio locked stays sharp. When upscaling (making it bigger), no — a standard resize cannot add detail that was never captured, so enlarged images look softer. The phrase is realistic for shrinking and aspirational for enlarging.
Why does my image look stretched after resizing?
You changed width and height by different proportions. Keep the aspect ratio linked: in Photos it stays linked by default, and in Paint make sure Maintain aspect ratio is ticked. This is the most common resize mistake, unrelated to resampling quality.
Should I resize in Pixels or Percentage?
Use Pixels when you have a specific target like 1920px wide for a banner or 800px for a thumbnail. Use Percentage when you just want “half the size.” Both are offered in Photos, Paint, and the xconvert resizer and reach the same place — pick whichever matches how you’re thinking about the target.
Does resizing reduce the file size too?
Reducing pixel dimensions usually shrinks the file as a side effect, but they are not the same control. If your real goal is a smaller file (e.g. to clear an email or upload cap), resize to the dimensions you need first, then use a compressor — the xconvert Image Compressor can target an exact file size or quality, which the native Windows tools cannot.
What’s the best format to save a resized image in?
For maximum detail with no compression artifacts, PNG is safest (files are larger). For photos where a smaller file matters, a high-quality JPEG is the usual choice. Avoid re-saving the same JPEG repeatedly — each save re-compresses and degrades it, so work from the original and export once.
How do I batch-resize many images on Windows 11?
Photos and Paint do one image at a time. For bulk jobs, install Microsoft PowerToys (its Image Resizer adds a right-click option), or use a browser tool that batches without any install — the xconvert Image Resizer accepts multiple files in one pass.
Is it safe to resize images online?
With xconvert, files are uploaded over an encrypted connection, processed on the server, and deleted automatically after a few hours. For routine photos this is fine. For genuinely sensitive documents you may prefer a local app — one reason the native routes remain useful.
Sources
Last verified 2026-06-18.
- Microsoft Support — Help in Paint — Paint’s Resize option, in pixels or percentage.
- How-To Geek — How to Resize an Image on Windows 11 — step-by-step for Photos and Paint.
- Cloudinary — Bicubic Interpolation — resampling methods, pixel-sampling counts, upscaling vs downscaling.
- xconvert Image Resizer — exact-dimension, percentage, and preset resizing with batch support.
- xconvert Image Compressor — target-file-size and quality-percentage compression.