 By Stephanie Taylor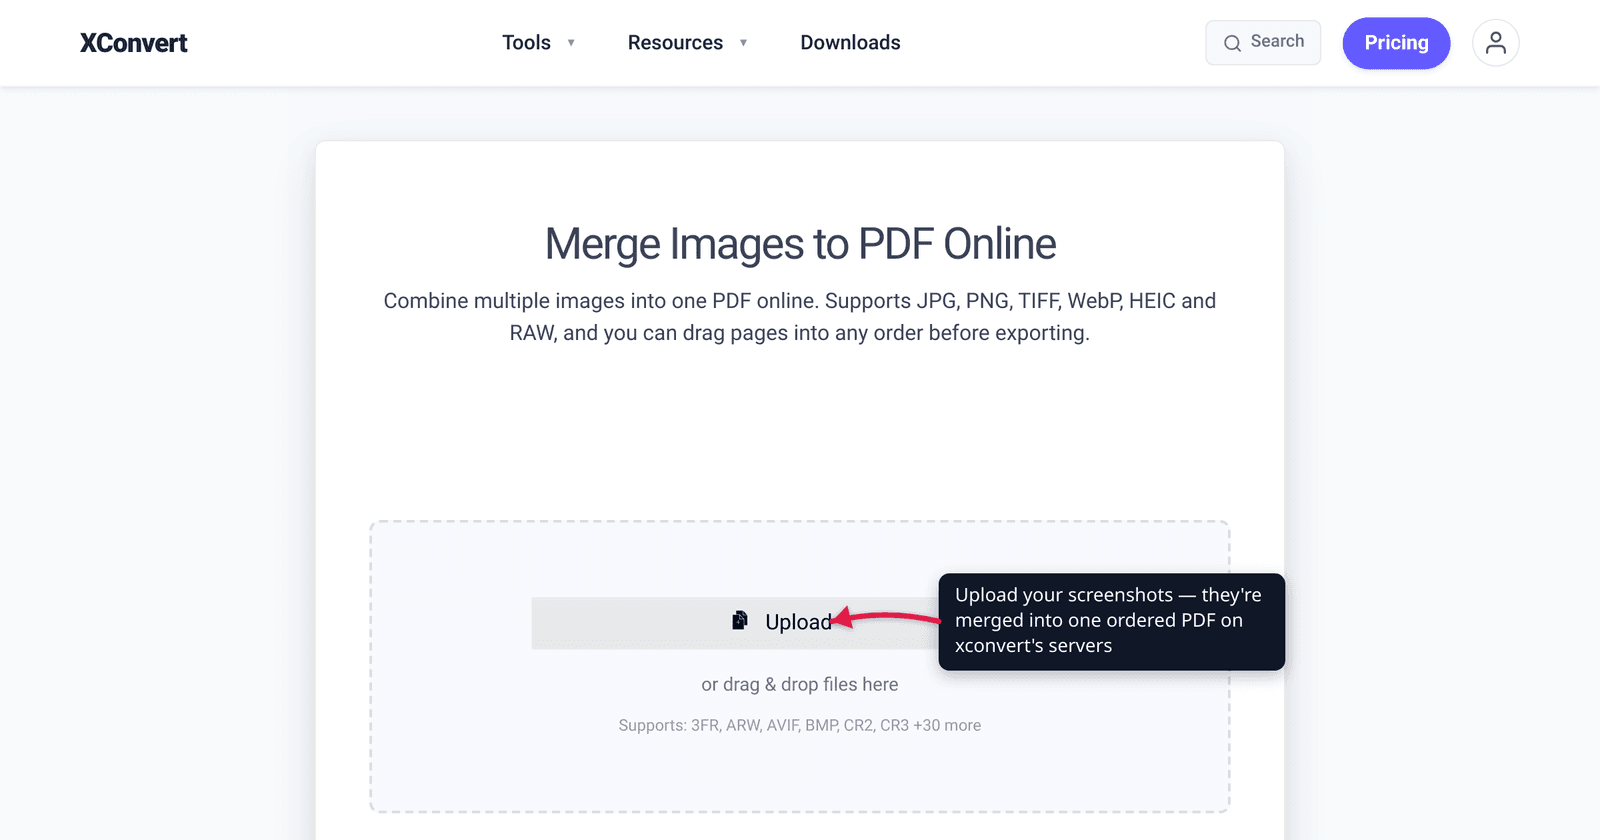
You captured a dozen screenshots for a bug report — the error toast, the console, the network tab, the steps to reproduce — and now they’re a scattered pile of PNGs in your Downloads folder. The reviewer wants one file, in order, that scrolls top to bottom. Stitching them into a single PDF fixes that: one attachment, page 1 through page 12 exactly as the story unfolds, and the screenshots stay pixel-crisp. This guide covers how to order them so they don’t shuffle, how to get one screenshot per page, and why PNG screenshots don’t go blurry on the way in. We verified the ordering behavior on the actual tools — xconvert, macOS Finder, and the built-in OS options — rather than guessing.
Quick answer: Get the screenshots in the right order first, then merge them into one PDF with one screenshot per page. On the xconvert image-to-PDF tool you upload the PNGs/JPGs, drag the thumbnails to set the page order, and click Merge — each image becomes its own page. Keep screenshots as PNG (lossless) so the text stays sharp; don’t down-convert them to low-quality JPEG first. On a Mac, Quick Actions > Create PDF does the same thing and uses the order you selected the files in.
Jump to a section
- Why order is the whole game
- One screenshot per page (and why)
- Will PNG screenshots stay crisp?
- Combine screenshots into one PDF on xconvert
- Built-in options on Windows, Mac, and phone
- FAQ
Why order is the whole game
For a pile of vacation photos, page order barely matters. For screenshots it’s the entire point: a bug report, a receipt thread, an exported chat log, or a step-by-step walkthrough only makes sense in sequence. Page 4 before page 3 turns a clear narrative into a puzzle.
The trap is that most “combine images” tools don’t sort by what’s inside the screenshot (the chat timestamp, the step number you can see). They order by one of two things:
- The order you add/select the files — macOS Finder’s Create PDF, Windows’ print flow, and most “select then combine” mobile flows work this way. Apple states it plainly: “The files appear in the PDF in the same order that you select them.”
- Filename sort — some batch tools sort by filename. This is why
Screenshot 9can land afterScreenshot 10(string sort: “10” < “9”).
The robust fix is to set the order explicitly before you merge. A tool that lets you drag thumbnails into position — like xconvert’s — sidesteps both pitfalls: you arrange each page by eye, so it doesn’t matter what they’re named or which one you clicked first. If you’re stuck with a filename-sorting tool, zero-pad the names (01-…, 02-…, 03-…) to keep it honest.
One screenshot per page (and why)
For screenshots you almost always want one screenshot = one page. That keeps each image at full size and readable, instead of two half-size shots crammed onto a sheet where the small UI text becomes a squint-fest.
This is exactly how image-to-PDF merge tools behave by default: each image you add becomes its own separate page in the output PDF. On xconvert, the upload area spells it out — drag thumbnails to set the page order, and each image becomes one separate page. You don’t have to configure anything to get one-per-page; it’s the default.
Two things worth setting if your screenshots vary in shape:
- Orientation. Full-window desktop screenshots are wide (landscape); phone screenshots are tall (portrait). Picking the page layout that matches your shots avoids big empty margins.
- Fit vs. fill. A “contain” / “fit” placement shows the whole screenshot inside the page with margins; a “cover” placement fills the page and may crop the edges. For screenshots you almost always want the whole image visible — fit, don’t crop — because a cropped-off error message defeats the purpose.
If you genuinely need a contact-sheet look (several thumbnails per page — say, a visual changelog), that’s a different layout and most one-image-per-page mergers won’t do it; a tool with an explicit grid/contact-sheet mode is the right pick there.
Will PNG screenshots stay crisp?
Yes — if you don’t throw away quality on the way in. Screenshots of UI, text, and code are full of hard edges, and hard edges are exactly what lossy JPEG compression smears into halos and mush. Two rules keep them sharp:
- Keep screenshots as PNG. PNG uses lossless compression, so saving and reopening never degrades the pixels. MDN’s own guidance is blunt: “you should use a lossless format for screenshots… text easily becomes fuzzy and unclear under lossy compression. PNG is probably your best bet.” Most OS screenshot tools already save PNG by default — don’t pre-convert them to low-quality JPEG before merging; that’s where the blur comes from, not the PDF step.
- Don’t crank down quality in the merge tool. Image-to-PDF tools embed each picture into the page, and some re-compress it. If the tool exposes an image-quality control, leave it high for screenshots. On xconvert the Advanced Options panel has an Image Quality slider (1–100); the default sits at 75, and for crisp UI text you can push it higher. (For photos, mid-range is fine and keeps the PDF smaller — but screenshots are the case where you pay the few extra KB for legible text.)
The honest caveat: a PDF is still a fixed-resolution container. If you embed a small screenshot and then someone zooms in past 100%, it gets soft — same as any raster image. The fix is to capture at a decent resolution to begin with, not to expect the PDF to add detail. For the format-level tradeoffs, see PNG vs WebP vs JPG.
Combine screenshots into one PDF on xconvert
The xconvert image-to-PDF tool takes a batch of PNG/JPG screenshots and stitches them into one ordered PDF, one screenshot per page:
- Open xconvert.com/merge-image-to-pdf and click Upload to add your screenshots (from your computer, Google Drive, or Dropbox). It accepts PNG, JPG, TIFF, WebP, HEIC and more.
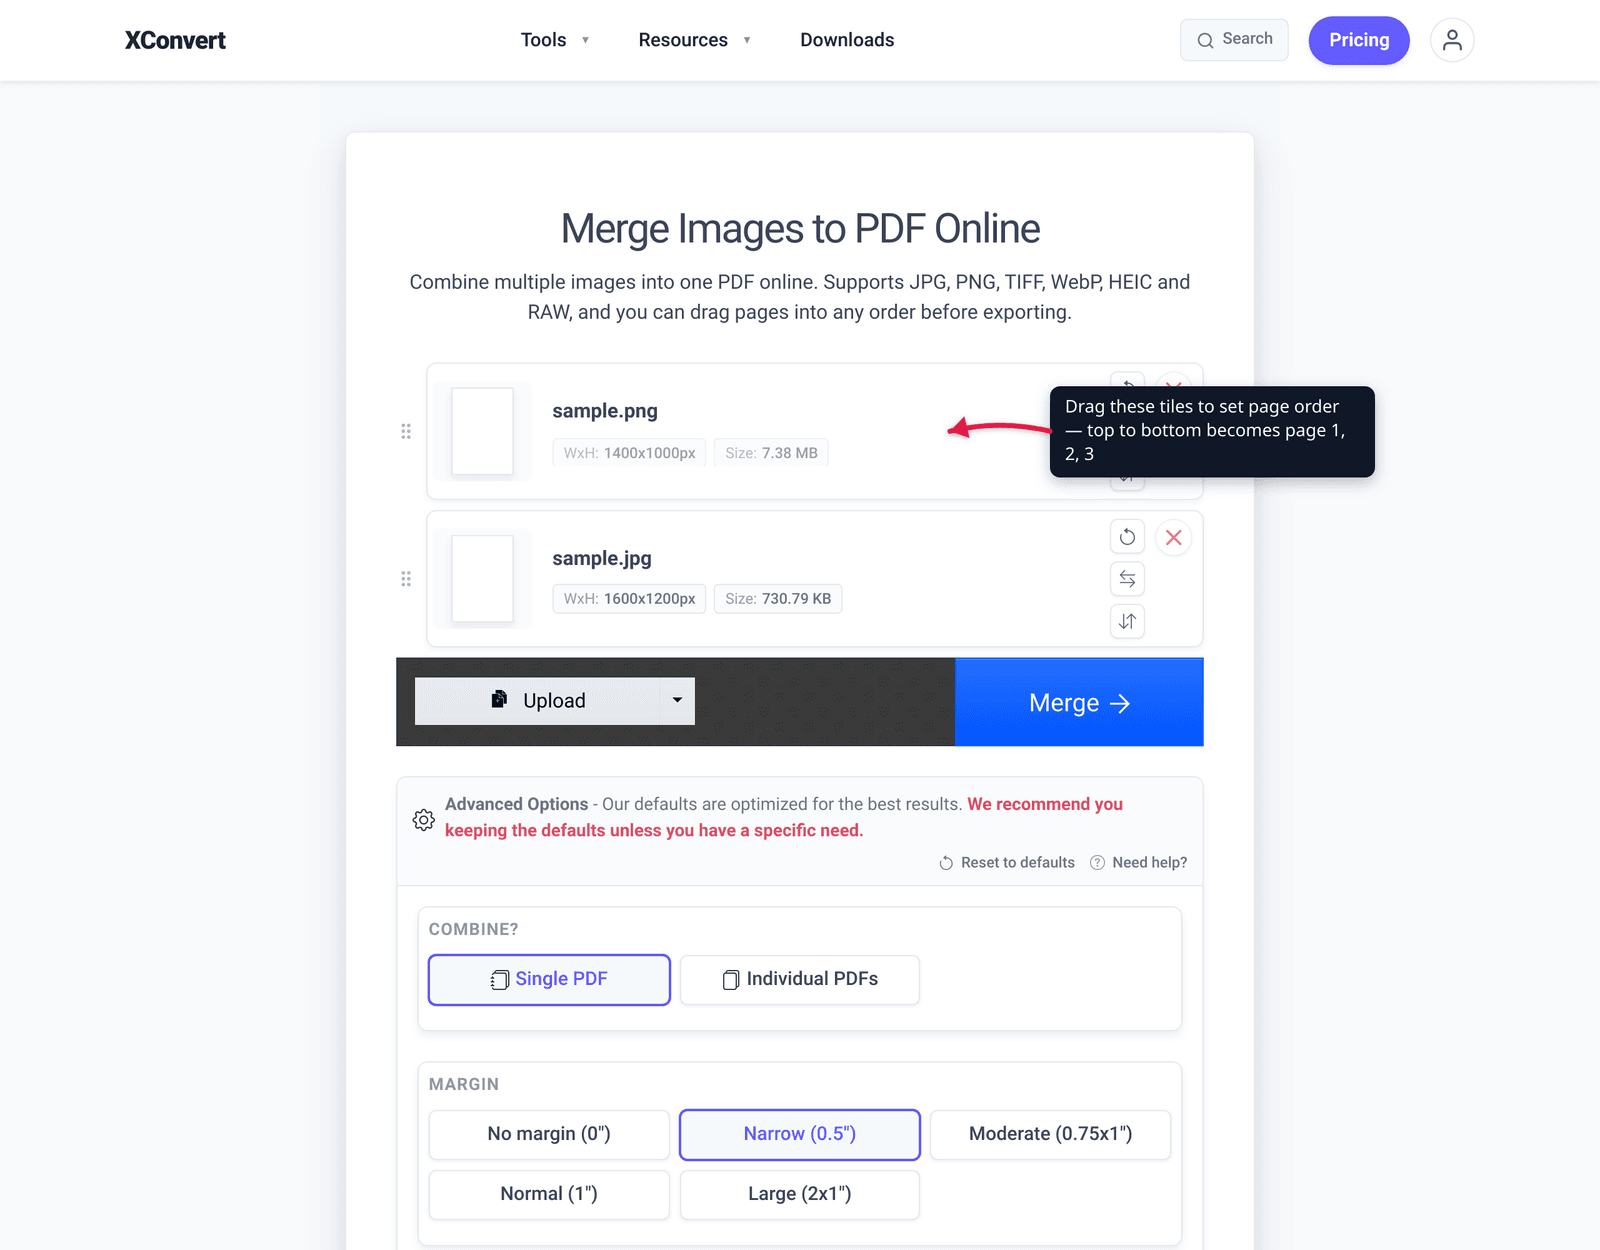
- Drag the thumbnails to set the page order — left-to-right is page 1, 2, 3… This is the step that guarantees the sequence; arrange them before you merge.
- (Optional) Open Advanced Options. Confirm Combine: Single PDF (so you get one file, not separate PDFs), set Page layout to Landscape for wide desktop shots or Portrait for tall phone shots, and choose Image placement: Contained to keep the whole screenshot visible.
- (Optional) For crisp UI text, nudge the Image Quality slider up from its default of 75.
- Click Merge to build the PDF, then download your single, ordered file.
Your screenshots upload over an encrypted connection, are processed on our servers, and are automatically deleted a few hours later. Nothing stays around.
This is the screenshots workflow — pile of UI/error/receipt captures into one ordered document. If you’re instead combining camera photos straight off a phone, the device-native routes are covered in How to combine photos into one PDF on iPhone, Android & PC.
Built-in options on Windows, Mac, and phone
You don’t always need a tool — every modern OS can make a PDF from images. The catch is ordering control, which is exactly where they’re weakest.
| Platform | How | Ordering behavior |
|---|---|---|
| Mac | Select screenshots in Finder, Control-click → Quick Actions > Create PDF | Uses the order you selected them in — Apple: “The files appear in the PDF in the same order that you select them.” Click them in sequence. |
| Mac (reorder) | Open the combined PDF in Preview, show thumbnails, drag pages | Lets you fix the order after the fact by dragging page thumbnails. |
| Windows | Select images in File Explorer → right-click Print → choose Microsoft Print to PDF | Microsoft Print to PDF is a built-in Windows “printer.” The combine-multiple-images behavior isn’t crisply documented by Microsoft, and order generally follows the File Explorer sort — so name files 01-, 02-… first. |
| iPhone | Select screenshots in Photos → Share → Print → pinch-out the preview, or Save to Files | Follows your selection/sort order; reordering after isn’t supported in Photos. |
| Android | Google Photos → select → Print → Save as PDF | Follows selection order. |
The built-ins are great when the order is already correct (sequential timestamps, well-named files). The moment you need to rearrange — drop page 5 between 2 and 3 — a drag-the-thumbnails web tool or Preview’s page reordering is far less fiddly than re-selecting files in the perfect order.
FAQ
How do I combine screenshots into one PDF for free?
Upload them to a free image-to-PDF merge tool like xconvert, drag the thumbnails into the order you want, and click Merge — each screenshot becomes one page in a single PDF. On a Mac you can skip the upload: select the screenshots in Finder and Control-click → Quick Actions > Create PDF.
How do I control the page order?
Set the order before you merge. Most tools sort by either the order you add/select the files or by filename — not by anything inside the screenshot. A tool that lets you drag thumbnails (like xconvert) is the most reliable, because you arrange the pages visually. If you’re using filename sort, zero-pad the names (01-, 02-, … 10-) so “10” doesn’t sort before “9”.
Will my screenshots look blurry in the PDF?
Not if you keep them as PNG and don’t compress them hard. PNG is lossless, so the pixels don’t degrade — ideal for the sharp text and edges in screenshots. Blur usually comes from converting to low-quality JPEG first, or from a low image-quality setting in the merge tool. Keep PNGs as PNGs and leave quality high.
One screenshot per page or several?
For readability, one screenshot per page — that’s the default of image-to-PDF mergers, and it keeps each shot full-size so small UI text stays legible. Only use a multi-image-per-page (contact-sheet) layout when you specifically want a thumbnail overview, and pick a tool that offers a grid mode for that.
Can I combine screenshots into one PDF on my iPhone?
Yes. In the Photos app, select your screenshots, tap Share, then Print; pinch outward on the print preview to turn it into a PDF, or use Save to Files. The pages follow your selection order, and Photos doesn’t let you reorder after — so select them in sequence, or use a merge tool with drag-to-reorder.
My PNGs are huge — will the PDF be enormous?
It can be, since each screenshot is embedded into the page. If the file is too big to email, compress the PDF afterward rather than degrading the screenshots up front — see how to email a large PDF file for size-trimming options that keep the document usable.
Sources
Last verified 2026-06-25.
- Apple Support — Combine files into a PDF on Mac — the
Quick Actions > Create PDFflow and the exact ordering rule: “The files appear in the PDF in the same order that you select them.” - Apple Support — Perform quick actions in the Finder on Mac — confirms Create PDF is a built-in Finder Quick Action.
- xconvert — Merge Images to PDF — live tool: Upload, drag thumbnails to set page order, one image per page, Single PDF / Page layout / Image placement / Image Quality controls, Merge button.
- MDN — Image file type and format guide — PNG is a lossless raster format; MDN explicitly recommends a lossless format (PNG) for screenshots so text doesn’t go “fuzzy and unclear.”