 By Stephanie Taylor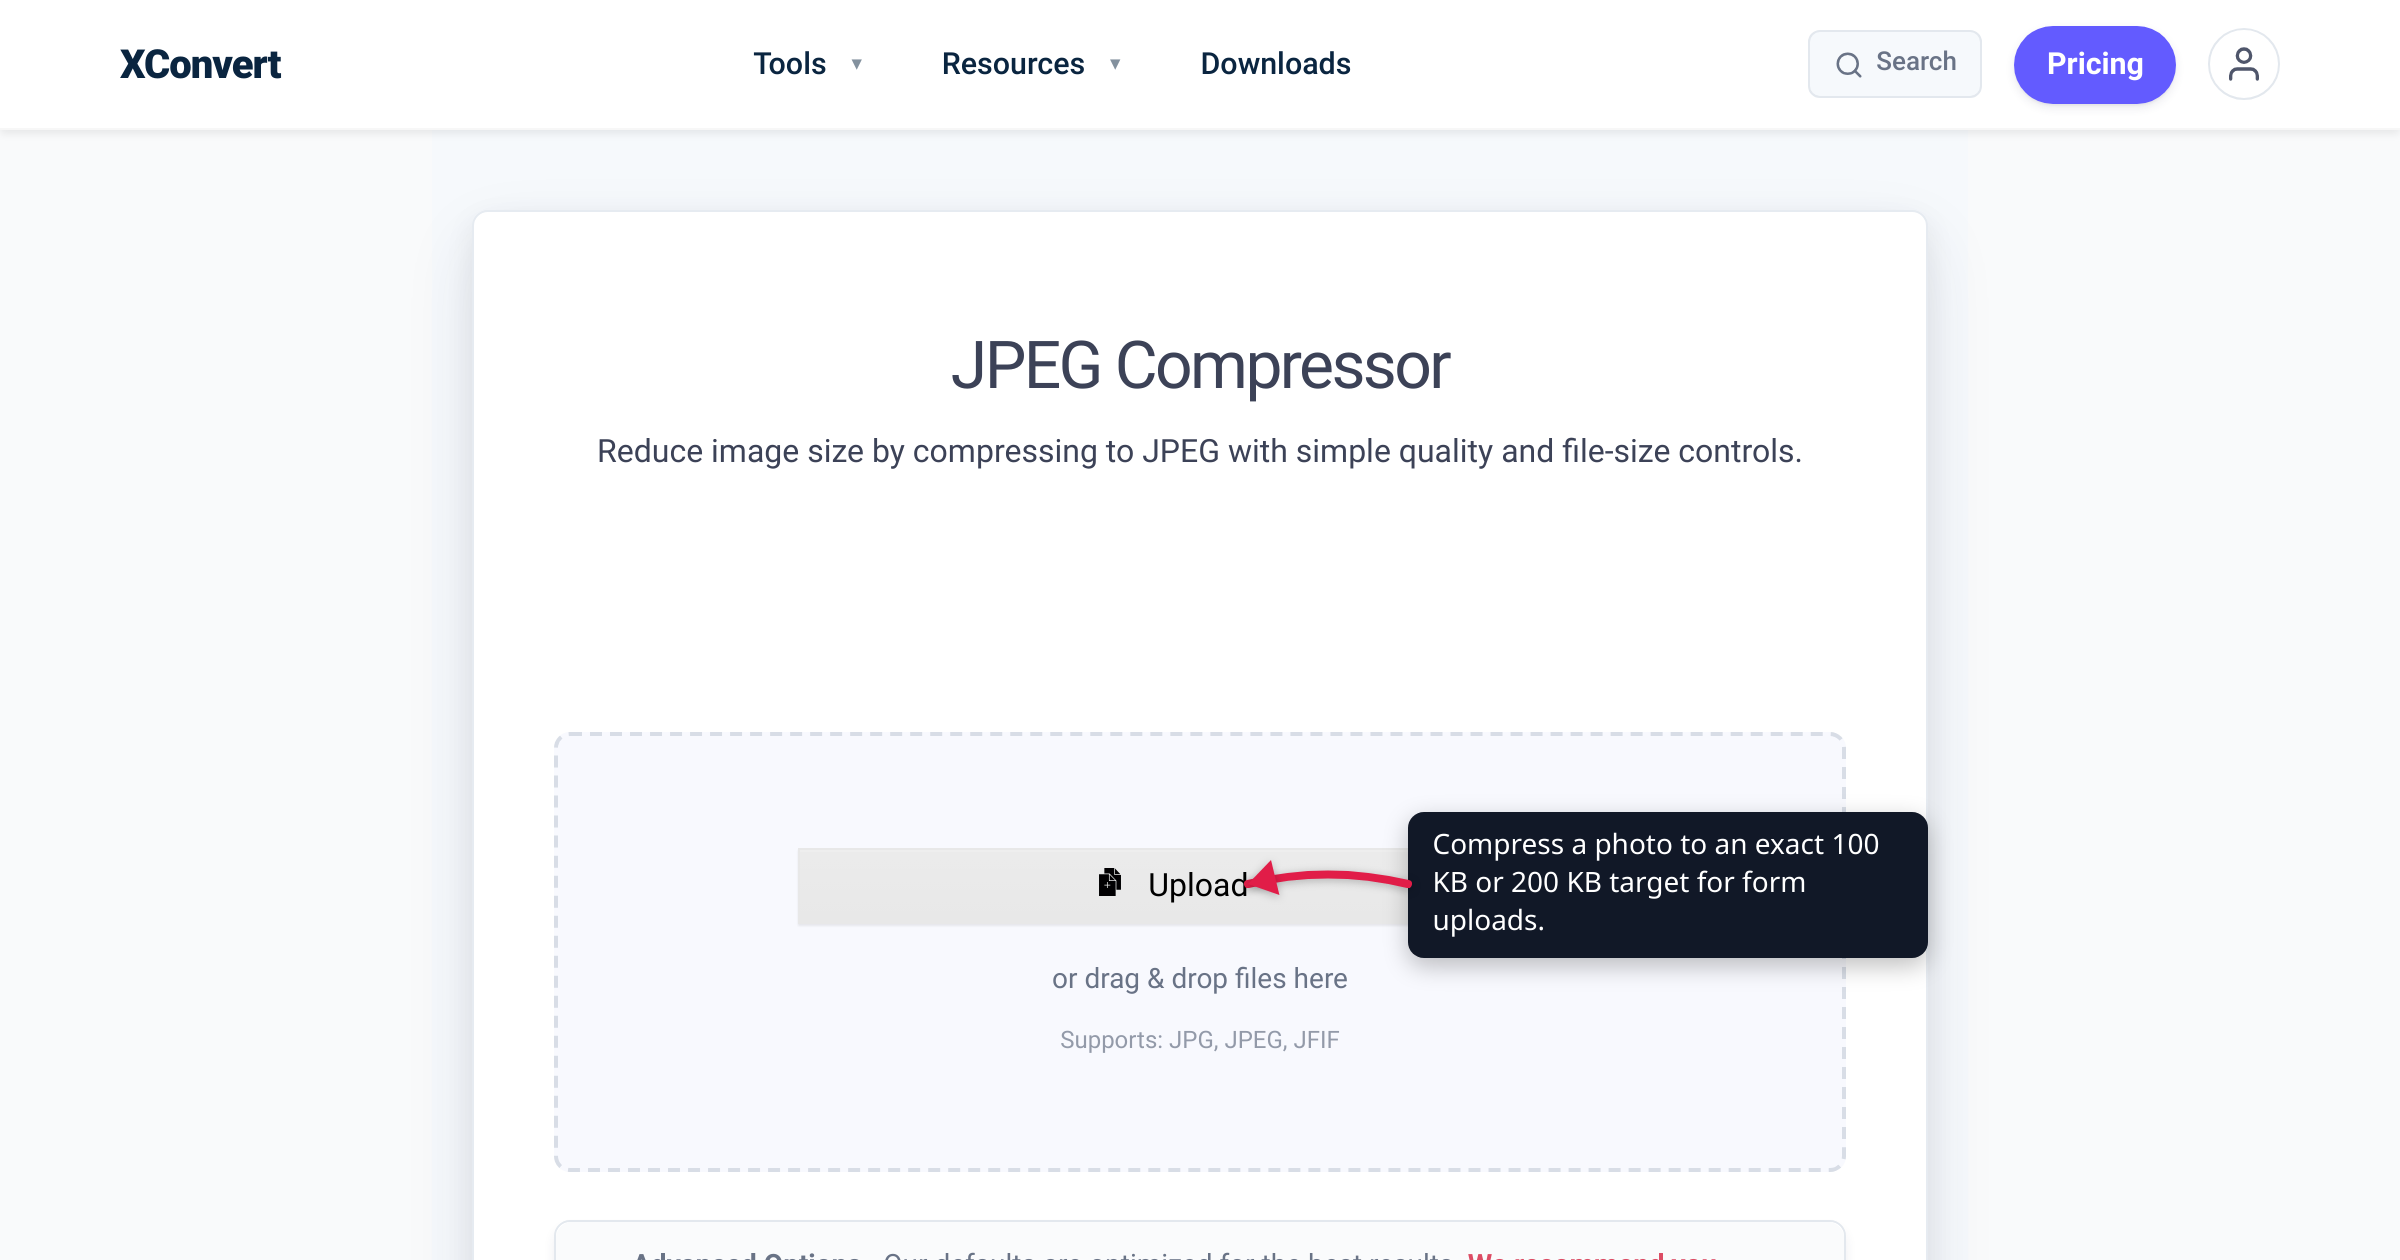
You fill out a government job application, an exam registration, or a visa form, upload your passport-style photo, and the form spits it back: “File size must be less than 100 KB.” Or worse — “Photo must be 200×230 pixels AND under 50 KB.” Your phone shot that photo at 3–5 MB, so you’re 30–50× over the line. The fix isn’t to give up quality blindly; it’s to state the exact size you need and let the tool reduce quality and resolution together to land there. We verified the workflow below against the live xconvert JPEG compressor — its Specific file size target and Auto Scale dimension control are exactly what a hard KB cap needs.
Quick answer: Open xconvert’s JPEG compressor, click Upload, open Advanced Options, choose Specific file size, and type your exact target (100 KB, 200 KB, or 50 KB). Leave Auto Scale on — it automatically trims the image dimensions as well as quality to hit that number, which a small cap almost always requires (quality alone can’t shrink a 12-megapixel photo to 100 KB without turning it to mush). Click Compress and download. If the portal also mandates exact pixel dimensions, resize to those first, then compress. Aim a hair under the cap (≈95 KB for a 100 KB limit) to clear any rounding.
Jump to a section
- Why portals cap uploads at 100–200 KB
- The quality reality at 100 KB
- The two real levers: target size AND resolution
- When the portal also demands exact pixel dimensions
- Hit an exact size cap on xconvert
- FAQ
Why portals cap uploads at 100–200 KB
Government forms, exam boards, job portals, and university applications process millions of uploads. A per-file cap of 100–200 KB — sometimes as low as 20–50 KB for a signature — keeps their storage bill, bandwidth, and page-load times bounded, and it standardizes what every downstream system (ID-card printing, on-screen display in a fixed box, archival) has to handle. A 5 MB photo from a million applicants is five terabytes; capped at 100 KB it’s a hundred gigabytes — that’s the whole reason the limit exists.
The caps themselves vary widely and are set per-portal, so the honest guidance is: read the exact number your form states and target it directly. Commonly you’ll see one of two kinds of rule:
- A size cap only — “photo must be under 100 KB.” You just need to land under the number; dimensions are up to you.
- A size cap and fixed dimensions — “photo must be 200×230 px and under 50 KB,” or a signature “140×60 px, under 20 KB.” Now you have to satisfy both constraints at once, which changes the order of operations (see below).
One practical wrinkle worth knowing before you start: aim a little under the stated cap. Some forms measure in decimal kilobytes (1 KB = 1,000 bytes) and some tools in binary (1 KB = 1,024 bytes), so a file that reads exactly “100 KB” in one place can read a hair over in another and get rejected. Targeting ~95 KB for a 100 KB cap clears both.
The quality reality at 100 KB
Here’s the honest part most “compress to 100 KB” pages skip: whether 100 KB looks fine depends entirely on what the image is.
- A passport-style headshot or an ID photo is easy. Portals usually want these at modest pixel dimensions (often something like 200×230 up to 600×600). At that size a JPEG comfortably fits under 100 KB — frequently under 50 KB — with quality to spare, because there simply aren’t that many pixels to store. Your face stays clean and sharp.
- A detailed full-page document scan is hard. An A4 marksheet, a filled form, or a signed letter that has to stay legible is the tough case. Text and thin lines are exactly what JPEG handles worst: MDN describes JPEG as a lossy format and warns that “applying lossy compression to content requiring sharpness, like diagrams or charts, can produce unsatisfactory results.” Force a dense A4 scan under 100 KB and the text tends to go soft or blocky.
If you’re stuck compressing a document scan under a tight cap, three things help: reduce it to the lowest resolution the portal still accepts (legibility, not sharpness, is the goal), scan or convert it to grayscale if color isn’t required, and check whether the form accepts a PDF instead — document portals often do, and PDF handles text far more gracefully than JPEG. For a photo, though, 100 KB is rarely a real quality problem.
JPEG is lossy by design, so “under 100 KB” always means accepting a little loss — the trick is spending it where your eye won’t notice, which is what the next section is about.
The two real levers: target size AND resolution
Most people reach for the quality slider alone and get frustrated. Quality is only one of two levers, and for a hard small cap it’s usually the weaker one.
Lever 1 — quality. Every JPEG encoder exposes a quality value from 0 (worst) to 100 (best). The reference libjpeg documentation advises using “the lowest quality setting (smallest file) that decompresses into something visually indistinguishable from the original,” with a recommended range “between 50 and 95; the default of 75 is often about right.” Lowering quality shrinks the file — but only so far.
Lever 2 — resolution (pixel dimensions). This is the lever people forget, and it’s the decisive one for a small cap. A 12-megapixel phone photo is roughly 4000×3000 = 12 million pixels. Even at aggressive quality, storing 12 million pixels rarely fits under 100 KB without visible mush. Halve each dimension to 2000×1500 and you’ve cut the pixel count to a quarter — and the achievable file size falls roughly in proportion, before quality even enters the picture. A 100 KB cap on a full-resolution photo almost always needs the dimensions brought down, not just the quality dialed back.
That’s why the reliable approach is to set the target size and let the tool juggle both levers for you, rather than hand-guessing a quality number, exporting, checking, and repeating. xconvert’s Auto Scale does exactly this: as its on-screen note puts it, it will “automatically adjust the image dimensions to maximize quality while hitting your target file size.” You give it 100 KB; it figures out how much to shrink the pixels and how far to drop quality to keep the picture as sharp as possible at that budget. (For the deeper background on the quality lever and how “compress without losing quality” really works, see Compress a JPG/JPEG image.)
When the portal also demands exact pixel dimensions
The trickier rule is the combined one — for example “photo 200×230 px and under 50 KB,” or a signature at a fixed pixel size under 20 KB. Two constraints, and they interact, so order matters.
The good news: at small mandated dimensions, the size cap is usually the easy half. A 200×230 image is only ~46,000 pixels; a JPEG that small is often already well under 50 KB at good quality. The dimensions are the binding constraint, not the bytes. So the workflow flips:
- Resize to the exact required dimensions first. xconvert’s compress tool deliberately hides manual width/height (its note: “manual resolution settings are hidden to prevent pixelation”), because for a plain size cap you want Auto Scale choosing the dimensions. But when a portal dictates an exact size, use the resizer instead, where you type the precise pixel width and height. How to resize an image for the web walks through setting exact dimensions on the image resizer.
- Then compress to the KB target — with Auto Scale turned off. Once the dimensions are locked at the portal’s spec, switch Auto Scale off so the compressor won’t re-scale them, and let the quality lever alone bring the file under the KB cap. At 200×230 that’s typically effortless.
Do it in that order — dimensions first, bytes second — and you satisfy both halves of the rule without fighting the tool.
Hit an exact size cap on xconvert
The xconvert JPEG compressor is built around targeting a size, which is exactly what a portal cap asks for:
- Open xconvert.com/compress-jpeg and click Upload to add your photo (From my Computer, From Google Drive, or From Dropbox). It accepts JPG, JPEG, and JFIF.
- Open Advanced Options (the gear icon).
- For the size method, choose Specific file size and enter your exact target — 100 KB, 200 KB, or 50 KB. (The default Target file size (%) is marked Best for percentage shrinking, but a hard cap calls for Specific file size so you name the number.)
- Leave Auto Scale on — it shows Smart Scaling Active and will adjust the dimensions along with quality to land on your target, which is what a small cap needs. (If a portal fixes your dimensions, resize first as above, then turn Auto Scale off here.)
- Keep the output on Same as source or pick JPEG / JPG — portals expect a
.jpg. Click Compress and download, then check the downloaded file against the cap; if it’s borderline, re-run at a slightly lower target (say 95 KB) for headroom.
Your file uploads over an encrypted connection, is processed on our servers, and is deleted automatically a few hours later — nothing is kept. It runs in any browser, so it works the same whether you’re on a phone at a cyber café or a laptop at home.
FAQ
How do I compress a JPG to exactly 100 KB for a form?
Don’t guess a quality percentage — state the size. On xconvert’s JPEG compressor, open Advanced Options, choose Specific file size, type 100 KB, and leave Auto Scale on so it trims both resolution and quality to hit the number. Aim slightly under (≈95 KB) so rounding differences between the form and the tool don’t push you over the line.
What quality setting gives me 100 KB?
There’s no fixed number — it depends on the image’s pixel dimensions and how much fine detail it holds. The libjpeg reference suggests a 50–95 range with 75 as a sensible default, but for a hard cap it’s more reliable to target the size directly and let the tool pick the quality. A small headshot lands under 100 KB at high quality; a large, detailed photo needs its dimensions reduced first (that’s the bigger lever).
How do I reduce a photo to 200 KB for an online application?
Exactly the same way as 100 KB — choose Specific file size and enter 200 KB. 200 KB is a more generous budget than 100 KB, so you’ll usually keep more resolution and a cleaner image. If the portal also states a required pixel size, resize to those dimensions first, then compress to 200 KB.
My photo looks blurry after compressing to 100 KB — why?
Two usual causes. Either the image is a detailed full-page scan (text and lines are what JPEG compresses worst, per MDN), or it started at full phone resolution and was squeezed hard on quality alone. For a document, drop to the lowest resolution the portal accepts, try grayscale, or upload a PDF if allowed. For a photo, let Auto Scale reduce the dimensions rather than crushing quality at full size.
The form needs an exact pixel size and a KB limit. How do I do both?
Handle dimensions first, size second. Resize to the exact required pixels on the image resizer (see resize an image for the web), then run that file through the JPEG compressor with Auto Scale off so it won’t change your dimensions, letting quality alone bring it under the KB cap. At the small sizes most forms require, the byte limit is easy to clear once the dimensions are set.
Is compressing online safe for an ID or passport photo?
The file is sent over an encrypted (HTTPS) connection to xconvert’s servers, compressed there, and deleted automatically a few hours later — it isn’t kept or shared. If you’d rather not upload a sensitive ID photo at all, a native desktop image app can compress it entirely on your own machine instead.
Sources
Last verified 2026-07-16.
- MDN — Image file type and format guide — JPEG is a lossy format and lossy compression on sharpness-critical content (diagrams, charts, text) “can produce unsatisfactory results.”
- IJG libjpeg-turbo — cjpeg manual — authoritative JPEG quality scale 0–100, default 75, recommended 50–95, and “use the lowest quality setting … visually indistinguishable from the original.”