A two-minute 4K clip from an iPhone can easily run 300–400 MB — too big for an email attachment, too big to text without iMessage downscaling it, and big enough to eat your storage one recording at a time. The frustrating part: iOS has no dedicated “compress video” button. There’s no slider in Photos, no “reduce size” toggle in the share sheet. What iOS does give you is a recording-quality switch, an export-quality menu buried in iMessage and iMovie, and the Shortcuts app for the technically inclined. This guide walks through each built-in option, where it falls short, and how to hit an exact target file size with xconvert when the on-device tools can’t.
Quick answer: iPhone has no built-in video compressor. To shrink future recordings, lower the capture quality in Settings > Camera > Record Video (and keep Formats > High Efficiency on so clips record as space-saving HEVC). To shrink an existing clip on-device, re-export it at a lower resolution via iMovie (Share > Save Video > a lower resolution) or the Shortcuts “Encode Media” action. For an exact target size with no app to install, upload the video to xconvert’s MP4 compressor, pick Specific file size, and download the result.
Jump to a section
- Why iPhone has no real compressor
- HEVC: your iPhone already compresses, by default
- Trick 1: lower the recording quality (Settings > Camera)
- Trick 2: re-export in iMovie
- Trick 3: the Shortcuts “Encode Media” action
- Where on-device tools fall short
- The no-app route: compress to a target size with xconvert
- FAQ
Why iPhone has no real compressor
iOS ships with Photos, iMovie (free download), and Shortcuts — but none of them expose a true compression control where you say “make this 25 MB.” Photos can trim length and adjust exposure, but it won’t re-encode for size. The share sheet sometimes offers a quality choice when you message or mail a clip, but it’s a coarse “small / medium / large / actual size” decision made for you, not a target.
So every on-device method for shrinking a video is really one of two things: lower the resolution (1080p instead of 4K), or re-encode at a lower bitrate/quality. Both reduce file size; both can cost visible quality if you push too hard. The skill is knowing which lever to pull and how far.
HEVC: your iPhone already compresses, by default
Here’s the part most guides skip. Since iOS 11, on iPhone 7 and later, the Camera app captures video in HEVC (H.265) by default — a codec that’s up to roughly twice as efficient as the older H.264. Apple calls this the High Efficiency setting, found under Settings > Camera > Formats. The alternative, Most Compatible, switches the camera back to H.264 (and JPEG for photos), per Apple’s HEIF/HEVC support page.
Two practical takeaways:
- Keep High Efficiency on. It’s the default for a reason — your recordings are already compressed about as well as the camera can manage. Flipping to Most Compatible makes new clips larger, in exchange for playing on older non-Apple hardware that can’t decode H.265.
- iPhone video files are
.moveither way. Whether the clip is HEVC or H.264, the container is QuickTime.mov. That matters when you go to upload somewhere that wants MP4 — the codec inside is the right one for the web, but the wrapper may need changing. (Converting.movto.mp4is usually just a container swap and doesn’t re-compress.)
If your videos are already HEVC, you’ve used up the easy compression. To go smaller you have to drop resolution or re-encode — which is what the rest of this guide covers.
Trick 1: lower the recording quality (Settings > Camera)
This is the only “compression” setting that’s genuinely one tap, and it applies to future recordings, not clips you already shot.
- Open Settings > Camera > Record Video.
- Pick a lower combination — e.g. 1080p at 30 fps instead of 4K at 60 fps.
Apple lists the approximate per-minute footprint right under each option in that menu, so you can see the trade-off before you choose. 4K/60 produces by far the largest files; 1080p/30 is a sensible default if you mostly share to phones and social apps, which rarely benefit from 4K anyway.
The catch: this does nothing for video already in your library. It’s prevention, not a cure. If you frequently text or email clips, set this once and you’ll rarely need to compress again.
Trick 2: re-export in iMovie
iMovie is a free Apple download and the most reliable on-device way to shrink an existing clip, because re-exporting at a lower resolution re-encodes the whole video.
- Open iMovie, start a new Movie project, and add the clip.
- Tap the Share button, then Save Video.
- Choose a lower resolution than the source (e.g. 720p for a 1080p clip).
iMovie shows you resolution choices and re-renders the video at that resolution, which is what actually reduces the size. Per Apple’s iMovie sharing guide, lower resolutions “produce smaller files that upload faster,” with the explicit note that “a lower resolution might affect the quality of your video.”
The catch: iMovie’s control is resolution, not a size target. You can’t tell it “give me 20 MB.” You drop a tier, check the result, and repeat if it’s still too big — trial and error. It also has no constant-quality (CRF) mode, so you can’t trade a little quality for a lot of size at a fixed resolution.
Trick 3: the Shortcuts “Encode Media” action
For more control without installing a third-party app, the built-in Shortcuts app has an Encode Media action that re-encodes video.
A minimal shortcut: a “Select Photos” (or input) step → Encode Media → Save to Photos / Files. Inside Encode Media, tap Show More to reveal Size (resolution) and a quality control; you can set Size to Ask Each Time so you pick the resolution on every run.
The important honest caveat — confirmed by hands-on reports — is that re-encoding only saves space if you actually drop below the source resolution. Because iPhone clips are already efficient HEVC, asking Encode Media to output the same 1080p can produce a file the same size or even larger. Real savings come from choosing a genuinely lower resolution (e.g. 720p or 540p). Treat the size estimate it previews as the deciding factor.
The catch: Shortcuts is fiddly to set up, the quality/size relationship is unpredictable across clips, and — like iMovie — there’s no “target N MB” mode. It’s resolution-and-quality knobs, not a size goal.
Where on-device tools fall short
The common thread across all three built-in methods: none of them let you specify an exact output size. They give you resolution tiers and vague quality sliders, and you guess-and-check until the file is small enough. Specifically:
- No size target. You can’t say “fit under 25 MB for email” or “under 10 MB” and have the tool solve for the bitrate. (iPhone Mail itself caps attachments, and oversized clips get pushed through Mail Drop or shrunk by Messages instead of compressed to your spec.)
- Resolution is the only big lever. Want to keep 1080p but halve the size by accepting a slightly lower bitrate? On-device tools make that awkward; there’s no CRF/constant-quality control.
- App install or project setup required. iMovie is a download; Shortcuts needs building. Neither is “open a page and drop a file.”
That’s exactly the gap a browser-based compressor fills.
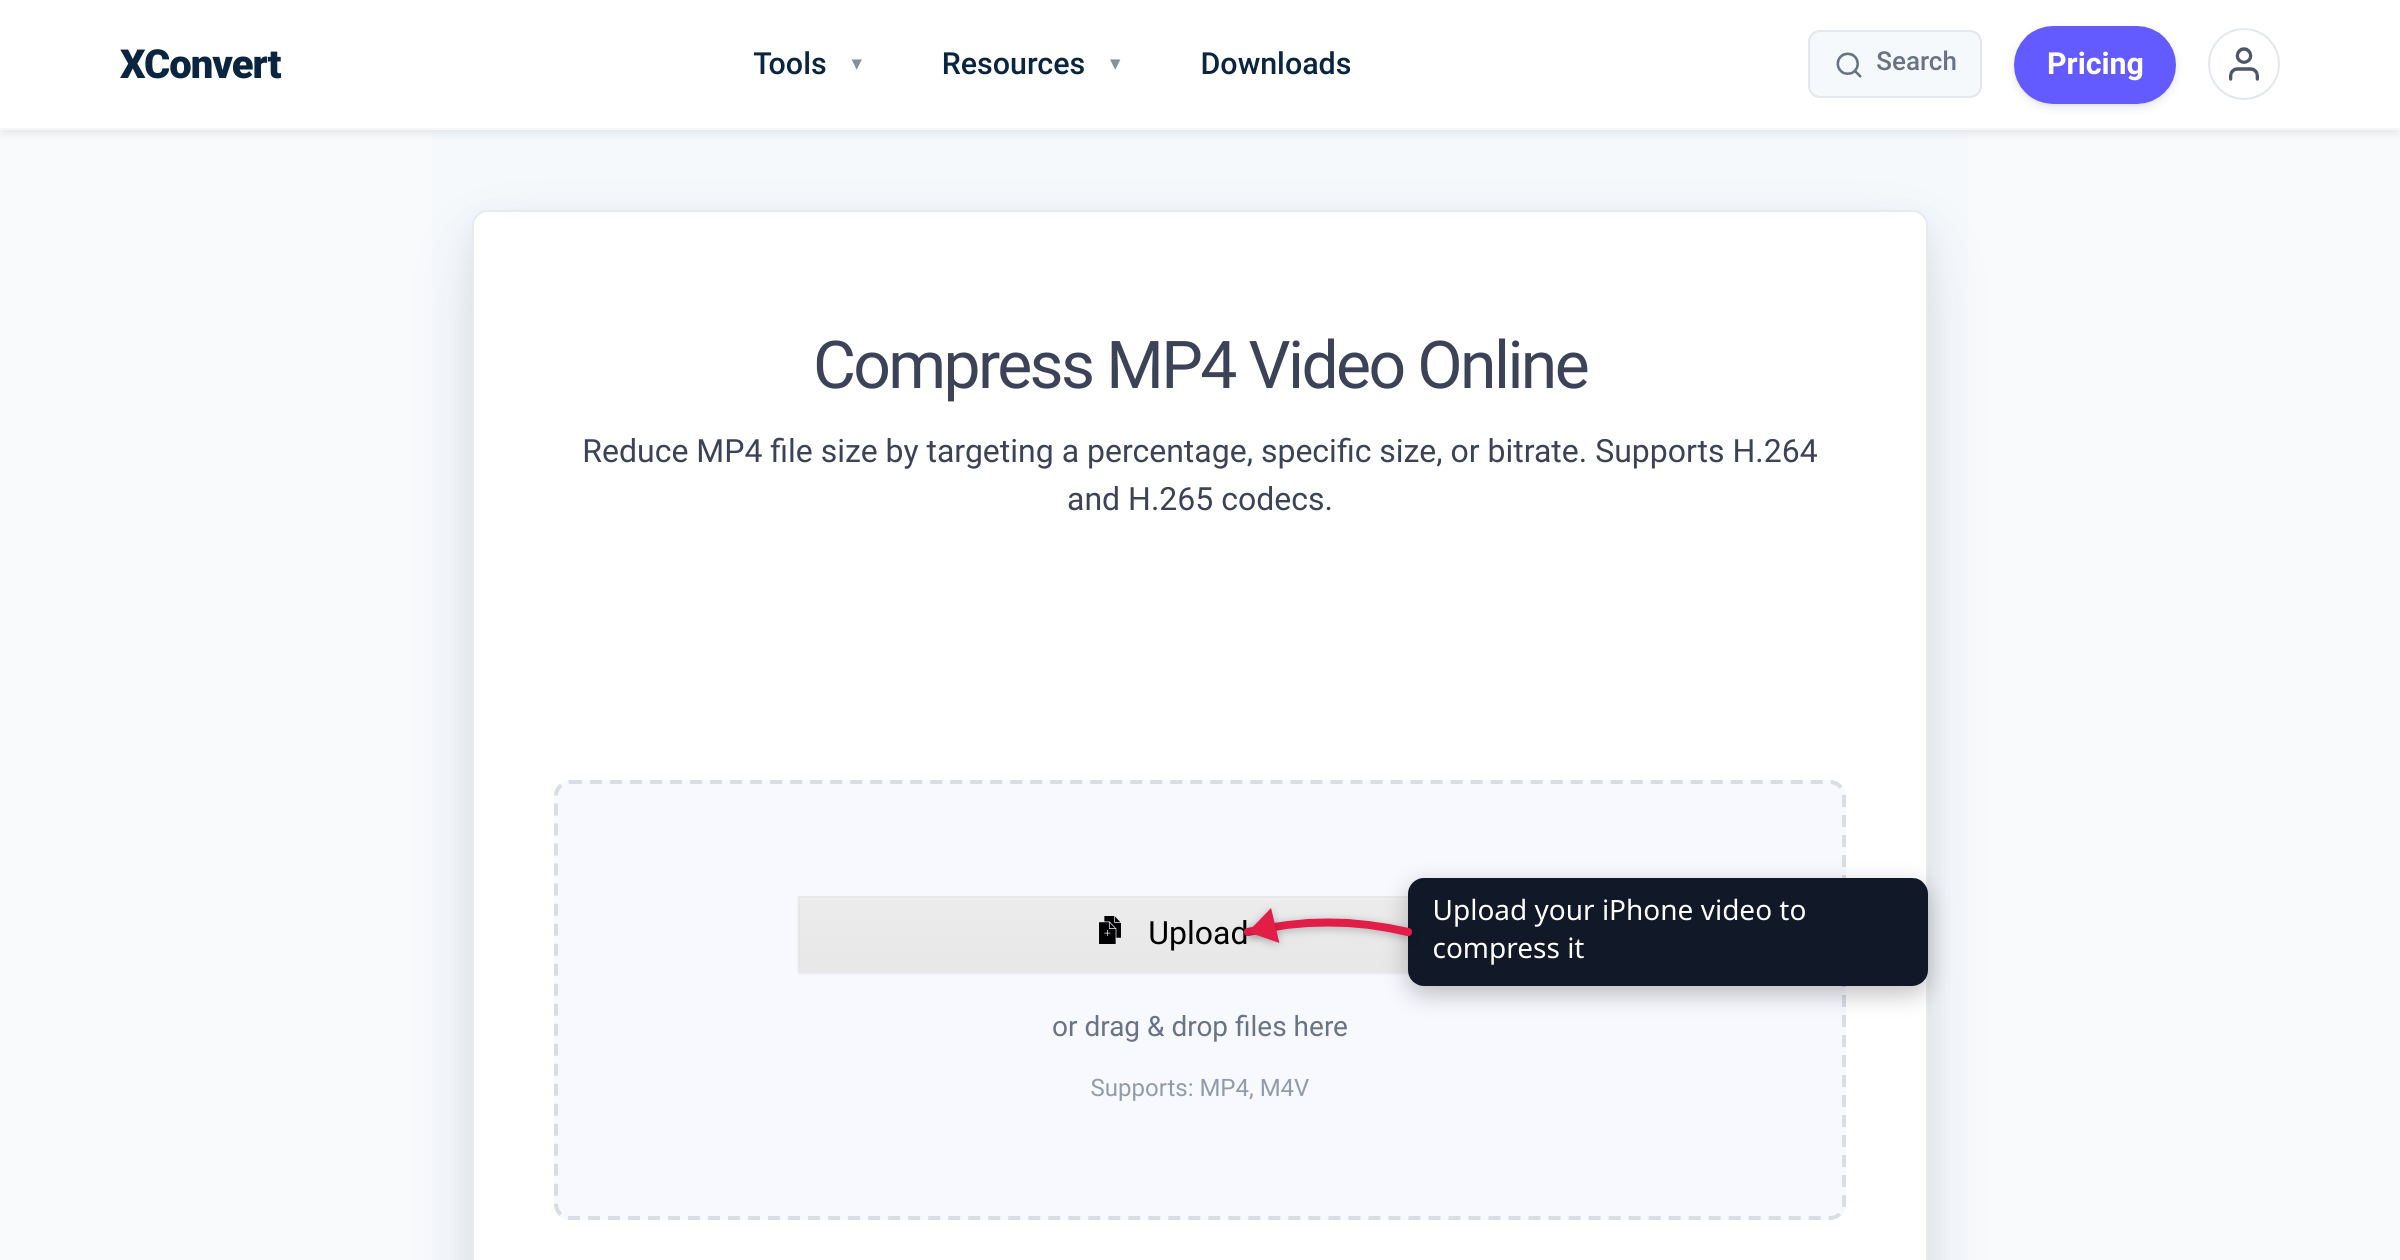
The no-app route: compress to a target size with xconvert
When the built-in tools can’t hit your number, xconvert’s MP4 compressor lets you compress to an exact size or a percentage, with codec and resolution control — no app to install. It runs from any browser, including Safari on your iPhone.
How it works: you select the video and it uploads over an encrypted connection to xconvert’s servers, where it’s compressed and made available to download. Uploaded files are deleted automatically after a few hours.
Steps:
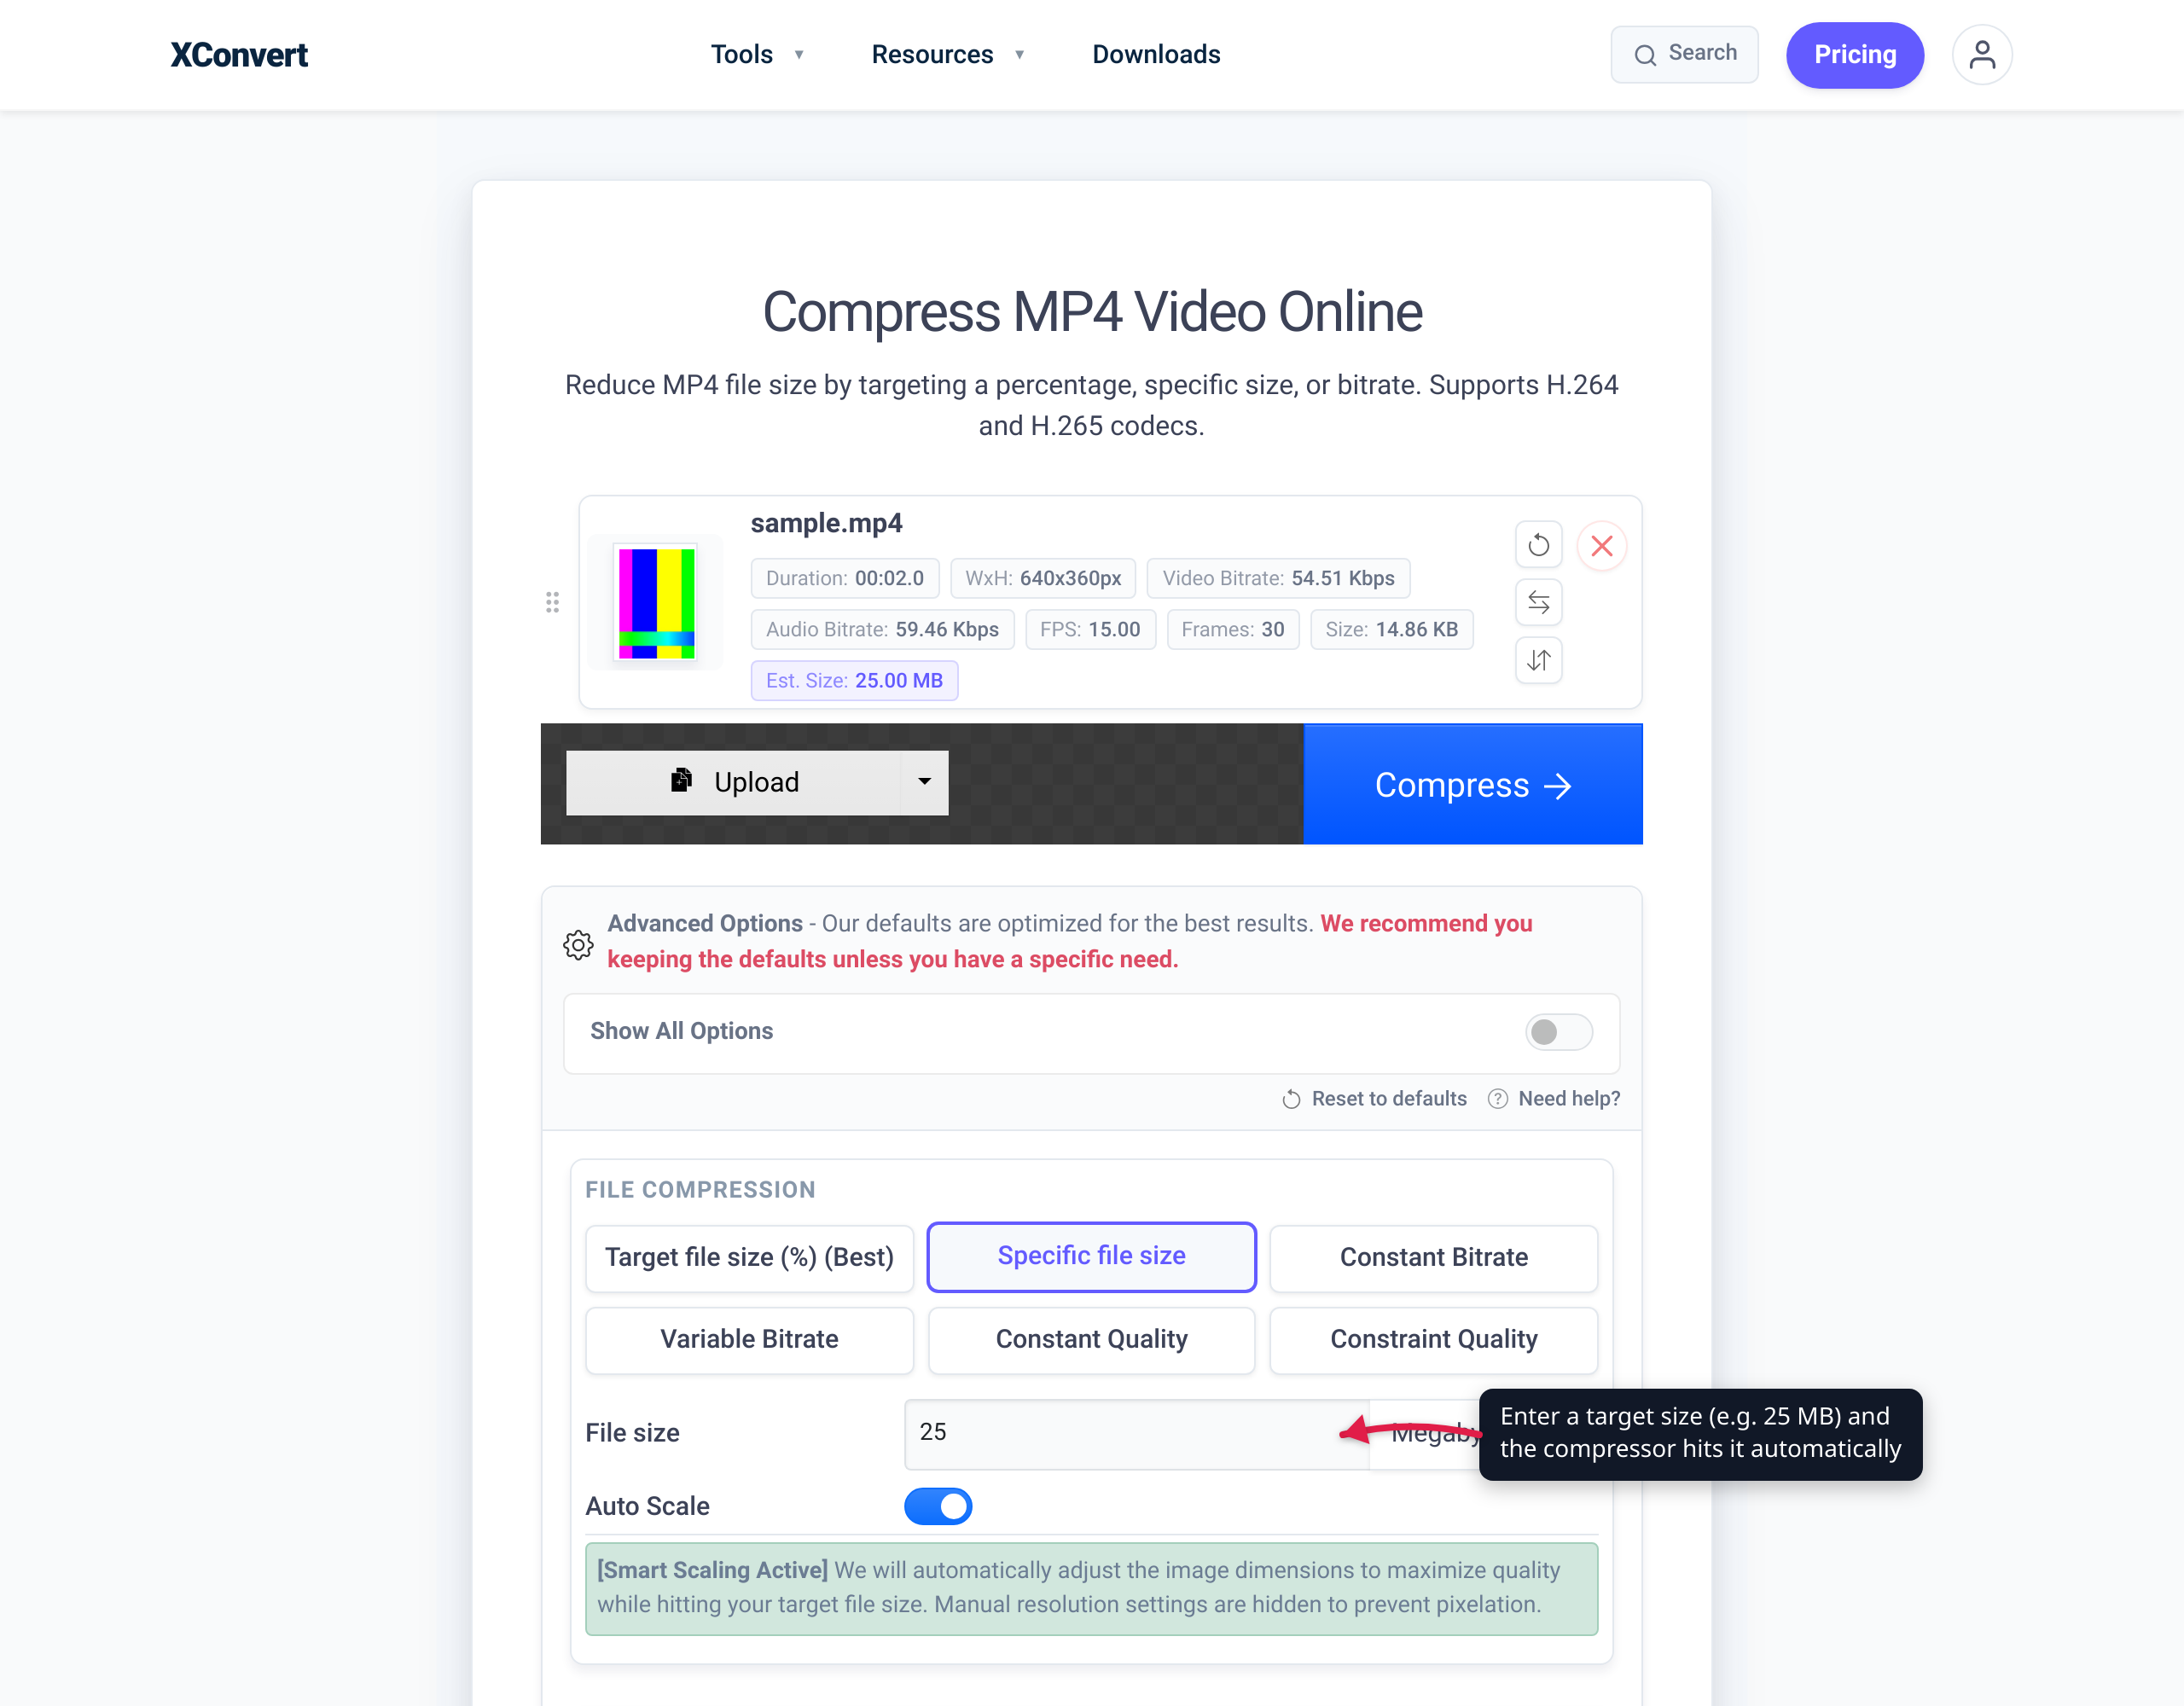
- On the MP4 compressor page, tap Upload (From my Computer / Google Drive / Dropbox) and choose your video. Your iPhone
.movworks directly — the video compressor lists 35+ accepted input formats including MOV, MP4, HEVC, AVI, MKV, and more. - Choose a compression mode. The default is Target file size (%) — a slider where, as the page explains, “if your file is 10 MB, then selecting 80 will produce an 8 MB file.” To hit an exact number instead, pick Specific file size and type your target (e.g. 25 MB for an email).
- Optionally adjust codec (keep H.264, or switch to H.265/HEVC or AV1 for more shrink at the same quality), toggle Auto Scale to let it lower resolution intelligently, or trim to a time range.
- Tap Compress, then download the result.
How much smaller? It depends on the source bitrate and the codec you choose, so treat these as typical, not guaranteed: re-compressing to H.264 commonly yields roughly a 30–50% size reduction at a visually similar quality, and switching to H.265/HEVC or AV1 can cut more for the same perceived quality because those codecs are more efficient. A clip your iPhone already recorded as HEVC has less easy headroom — in that case, choosing Specific file size and accepting a modest quality drop is the reliable way to hit a hard limit.
The advantage over the on-device tools is precisely the thing they lack: you state the size you need and the compressor solves the bitrate for you, rather than making you guess at resolution tiers.
FAQ
Does the iPhone have a built-in video compressor?
No. iOS has no dedicated compress-video control. The closest built-in options are lowering the recording quality in Settings > Camera > Record Video for future clips, re-exporting at a lower resolution in iMovie, or using the Shortcuts Encode Media action — none of which let you target an exact output size. For a size target, use a browser-based compressor like xconvert.
Why are my iPhone videos .mov and not .mp4?
iPhone records into the QuickTime .mov container regardless of codec. Since iOS 11 the codec inside is usually HEVC (H.265) on the default High Efficiency setting, per Apple. The web generally prefers .mp4, but converting .mov to .mp4 is usually just a container swap and doesn’t re-compress the video — you’d compress separately if you also need it smaller.
Should I switch my iPhone camera to “Most Compatible”?
Only if you need clips to play on older non-Apple devices that can’t decode H.265. Most Compatible records in H.264, which is more widely supported but produces larger files. For storage and sharing, keep the default High Efficiency (HEVC) and compress when you specifically need a smaller file.
How do I compress a video for email on iPhone?
Email attachment caps are small, so a phone video usually won’t fit at full size. The most reliable approach is to compress to a specific target first: upload the clip to xconvert’s MP4 compressor, choose Specific file size, set a value comfortably under your provider’s limit, and attach the downloaded result. On-device, you can also re-export at a lower resolution in iMovie, but you’ll be guessing at the final size.
Will compressing reduce my video’s quality?
Some quality loss is possible because compression discards data, but a moderate reduction is usually not noticeable on a phone screen. To minimize it, prefer a more efficient codec (H.265/HEVC or AV1) over H.264, avoid dropping resolution more than necessary, and use a constant-quality or target-size mode rather than the most aggressive setting. On xconvert the quality guide maps CRF values to expected visual outcomes so you can stay in the “visually transparent” range.
How much smaller will the file get?
It varies with the source bitrate and chosen codec, so treat figures as typical rather than guaranteed. Re-compressing to H.264 commonly gives roughly a 30–50% reduction at similar visual quality; switching to H.265/HEVC or AV1 can save more for the same perceived quality. A clip already recorded in HEVC has less easy headroom — use Specific file size to hit a hard limit in that case.
Can I compress a video on iPhone without installing an app?
Yes. xconvert’s video compressor runs in any browser, including Safari on iPhone — no app install. You select the video, it uploads over an encrypted connection, is compressed on xconvert’s servers, and you download the result; uploaded files are deleted after a few hours.
Sources
Last verified 2026-06-18.
- Apple — Using HEIF or HEVC media on Apple devices — HEVC/HEIF default on iPhone 7 and later running iOS 11+, the Settings > Camera > Formats > High Efficiency / Most Compatible path, and that Most Compatible produces JPEG/H.264.
- Apple — Share or export your iMovie video — iMovie Share > Save Video flow, resolution choices, and the note that a lower resolution reduces size and may affect quality.
- Apple — About Apple ProRes on iPhone — context on iPhone capture formats and the QuickTime
.movcontainer. - xconvert — MP4 compressor — Target file size (%) and Specific file size modes, codec options (H.264 / H.265 / AV1), Auto Scale, and the in-page size example.
- xconvert — Video compressor — accepted input formats (35+, including MOV/HEVC) and compression modes.