 By James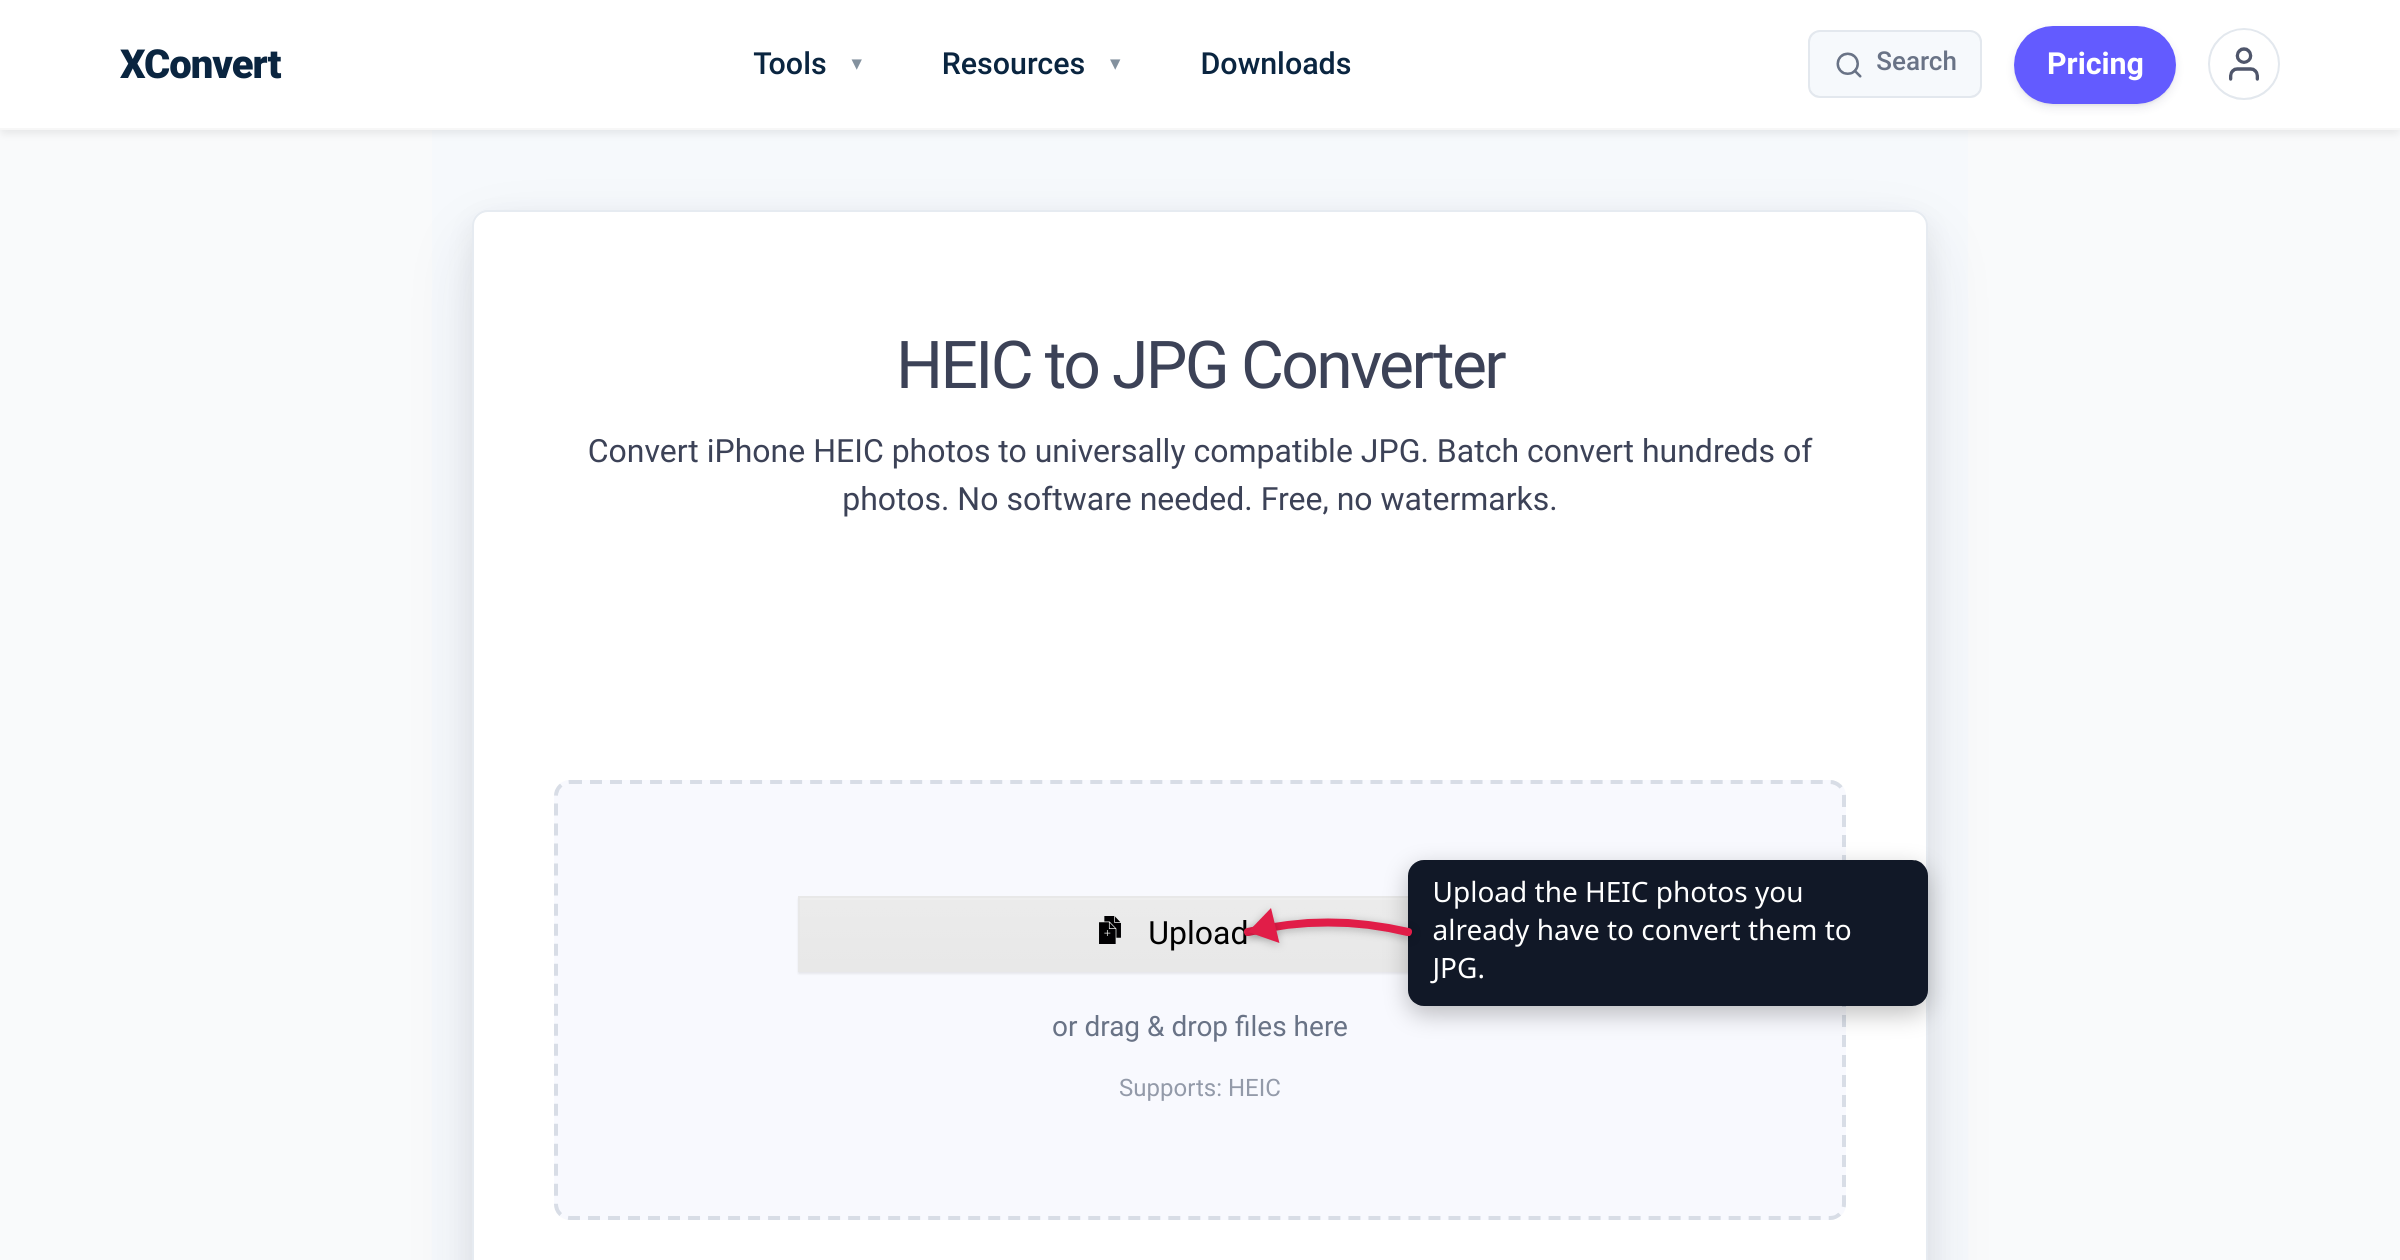
You just converted your fourth HEIC photo of the week so a Windows colleague could open it, and it’s dawning on you that you’re treating a symptom. The cure is upstream: one iPhone camera setting decides whether every new shot is saved as an Apple-only HEIC or a universal JPG. Flip it and the compatibility problem stops being created in the first place — new photos land as JPEG and new video as standard H.264. This guide covers the exact setting, the storage you give up, a second transfer setting almost nobody finds, and the one thing this fix genuinely can’t do. Every setting name, path, and behaviour below is quoted from Apple’s own support documentation.
Quick answer: Open Settings → Camera → Formats and choose Most Compatible instead of High Efficiency. Apple’s documentation is exact: “All new photos and videos will now use JPEG or H.264 format” instead of HEIC/HEVC. The trade-off is size — Apple says the High Efficiency formats “use less storage space… while preserving the same visual quality,” so your JPEGs run roughly double the bytes — and Most Compatible greys out a few high-end video modes (4K at 60 fps, HDR, Cinematic). The catch that trips everyone up: this changes future captures only. The HEIC photos already in your library stay HEIC, so you’ll still need to convert those.
Jump to a section
- The setting that fixes it: Settings → Camera → Formats
- What you trade away: size and a few video modes
- The second setting almost nobody finds: Transfer to Mac or PC
- The honest catch: it only fixes future shots
- Convert the HEIC photos you already have
- FAQ
The setting that fixes it: Settings → Camera → Formats
Since iOS 11 and macOS High Sierra in 2017, iPhones have saved photos as HEIC — a HEIF container holding HEVC-compressed image data — by default. Apple calls that default High Efficiency. The alternative is one tap away.
On any iPhone 7 or later (the models that can capture HEIF/HEVC in the first place), open Settings → Camera → Formats and pick between two options:
| Option | New photos | New video | Meaning |
|---|---|---|---|
| High Efficiency (default) | HEIC (HEIF/HEVC) | HEVC (H.265) | Smaller files, Apple-centric compatibility |
| Most Compatible | JPEG | H.264 | Bigger files, opens essentially everywhere |
Apple’s wording, verbatim: “Tap Formats, then tap Most Compatible. All new photos and videos will now use JPEG or H.264 format. To return to using the space-saving HEIF and HEVC formats, choose High Efficiency.” The change is instant and fully reversible — it takes effect on the very next photo you shoot, and on nothing before it.
One precision worth keeping straight: Most Compatible changes the codec, not the file wrapper. Your iPhone still records video into a .mov file; what changes is that the video inside is now H.264 — the same codec that fills most .mp4 files — instead of HEVC. That’s why an H.264 clip from an iPhone plays on Windows, Android, and the web without a second thought.
What you trade away: size and a few video modes
Compatibility isn’t free. Apple is blunt about why the efficient formats exist: “HEIF and HEVC offer better compression than JPEG and H.264, so they use less storage space on your devices and iCloud Photos, while preserving the same visual quality.” Turn that around and Most Compatible means bigger files. Apple doesn’t publish a ratio, but the widely-cited real-world figure is that a HEIC lands around half the size of the equivalent JPEG — so expect your library to roughly double its per-photo footprint once you switch.
There’s a second, less obvious cost on the video side. On supported models, iOS itself warns on the Formats screen that Cinematic video, 4K at 60 fps, 1080p at 240 fps, and HDR video require High Efficiency — those modes lean on HEVC and simply grey out when you pick Most Compatible. If you shoot high-frame-rate 4K, HDR, or Cinematic clips, switching to H.264 will quietly disable them.
So the decision isn’t “Most Compatible is better.” It’s about where your files spend their life:
Pick Most Compatible when:
- You routinely move photos to a Windows PC, an Android phone, or an older app that chokes on HEIC.
- You upload to websites, forms, or marketplaces that reject
.heic. - You’d rather never think about the format again and have the storage to spare.
Keep High Efficiency when:
- Your photos mostly stay inside Apple’s ecosystem, where HEIC opens fine.
- You want the storage savings (about half the size) across a large library.
- You shoot 4K60, HDR, or Cinematic video, or want the depth maps, transparency, and 16-bit colour that a flat JPEG can’t hold.
For the full format background, see what a HEIC file actually is.
The second setting almost nobody finds: Transfer to Mac or PC
Here’s the twist behind half the confusion online: even on High Efficiency, your iPhone often hands out JPEGs anyway — and even on Most Compatible you can still end up moving HEIC around. Two separate mechanisms decide what actually leaves the phone.
Sharing (AirDrop, Messages, email). Apple: “If sharing this media using other methods, such as AirDrop, Messages, or email, and the receiving device doesn’t support the newer media formats, the media might automatically be shared in a more compatible format, such as JPEG or H.264.” In other words, iOS frequently converts on the fly the moment it detects a non-Apple recipient — no setting required. That auto-conversion is exactly why many people never bother switching the camera at all.
Importing over a cable. Plug the iPhone into a computer and a different rule applies: “When you import HEIF or HEVC media from an attached iPhone or iPad into Photos, Image Capture, or a PC, the media might be converted to JPEG or H.264.” Whether it converts is governed by the Transfer to Mac or PC setting, which offers two choices:
- Automatic — hand the computer a compatible copy (JPEG / H.264) when it’s needed.
- Keep Originals — transfer the untouched HEIC/HEVC file as-is.
In recent iOS, Apple routes you to it as “open Settings, tap Apps, tap Photos, then scroll down and tap Keep Originals” — newer versions moved the Photos options under Settings → Apps → Photos, while older iOS keeps it at Settings → Photos → Transfer to Mac or PC. The exact placement and label have shifted between releases, so if you don’t see it word-for-word, look for the Transfer to Mac or PC heading near the bottom of the Photos settings.
The practical upshot: if your goal is “my PC should get JPEGs,” leaving the camera on High Efficiency but setting transfers to Automatic often does the job while preserving your storage savings. If your goal is “the file should never be HEIC in the first place,” that’s what the camera Formats switch is for.
The honest catch: it only fixes future shots
Flipping to Most Compatible does nothing to the photos you’ve already taken. Apple’s phrasing is precise for a reason — “all new photos and videos” — with the weight on new. Every HEIC already in your camera roll stays exactly as it is; the setting is a valve on the intake, not a batch converter for the library you’ve already filled.
So a complete fix is two moves, not one:
- Stop the inflow — switch Settings → Camera → Formats to Most Compatible so nothing new arrives as HEIC.
- Clear the backlog — convert the HEIC photos you already have to JPG.
The first is on-device and instant. The second needs a converter — that’s the part xconvert handles.
Convert the HEIC photos you already have on xconvert
The xconvert HEIC to JPG converter turns your existing iPhone photos into universal JPGs from the browser — no Apple device, plug-in, or codec install required:
- Open xconvert.com/convert-heic-to-jpg and click + Add Files to add your photos — From my Computer, From Google Drive, or From Dropbox. Add as many as you like; batches are fine.
- (Optional) Open Advanced Options (the gear icon) to fine-tune the result.
- Leave the Quality Preset on its Very High (Recommended) default for sharp output, or dial it down if you want smaller files.
- (Optional) Use the Image resolution controls (Keep original, a Resolution Percentage, or a preset like 1080p) to resize, and the File extension toggle to output JPEG or JPG.
- Click Convert, then download each photo — or grab everything at once with Download all as a ZIP.
Your files are uploaded over an encrypted connection, processed on our servers, and automatically deleted a few hours later — nothing is kept. (The camera setting above is entirely on your iPhone; only this cleanup step ever touches our servers.)
If you want to understand what you’re converting away from, what a HEIC file is covers the format itself, and converting HEIC/HEVC photos to JPG walks through exactly what you gain and lose in the swap.
FAQ
Where is the setting to make my iPhone shoot JPG instead of HEIC?
Settings → Camera → Formats → Most Compatible. Per Apple, that makes “all new photos and videos… use JPEG or H.264 format” instead of HEIC/HEVC. It’s available on iPhone 7 and later, takes effect immediately, and you can switch back to High Efficiency whenever you want.
Does switching to Most Compatible convert the HEIC photos I already have?
No. The setting only affects new captures — Apple’s wording is “all new photos and videos.” Everything already in your library stays HEIC. To fix those, run them through a HEIC to JPG converter.
Does Most Compatible make my iPhone record MP4 video?
It switches the video codec from HEVC to H.264 — the same codec inside most .mp4 files, so the clips play virtually everywhere. Strictly, an iPhone still wraps them in a .mov container rather than .mp4; if you need the .mp4 extension specifically, that’s a separate container conversion, not a camera setting.
Will my photos take up more space on Most Compatible?
Yes. Apple says the High Efficiency formats “use less storage space… while preserving the same visual quality,” so the JPEG equivalents are larger — commonly around double the size, since HEIC typically lands near half a JPEG’s bytes. If storage matters, many people keep High Efficiency and convert only the specific photos they need to share.
I’m on High Efficiency but my PC still received JPEGs — why?
Because iOS converts on the way out. Sharing via AirDrop, Messages, or email to a non-Apple device auto-swaps to “a more compatible format, such as JPEG or H.264,” and USB imports follow your Transfer to Mac or PC setting (Automatic converts; Keep Originals preserves the HEIC). None of that changes what’s stored on the phone — only what gets handed over.
Should I just leave my iPhone on High Efficiency?
For many people, yes. iOS already auto-converts to JPEG when it matters (sharing, and transfers set to Automatic), and you keep the storage savings on-device. Switch to Most Compatible if you constantly move raw files to Windows or older apps, or if you’re simply tired of converting after the fact — just know you’ll give up 4K60/HDR/Cinematic video and roughly double your per-photo storage.
Sources
Last verified 2026-07-16.
- Apple Support — Use HEIF or HEVC media on Apple devices — verbatim source for the Settings → Camera → Formats → Most Compatible steps (“all new photos and videos will now use JPEG or H.264 format”), the “better compression… use less storage space… preserving the same visual quality” trade-off, the capture-capable devices (iPhone 7 and later), the iOS 11 / macOS High Sierra (2017) introduction, the AirDrop/Messages/email auto-conversion behaviour, and the import / Keep Originals setting.
- Apple Support — Change advanced camera settings on iPhone — confirms the Settings → Camera → Formats path in the current iPhone User Guide; the “…require High Efficiency” note for Cinematic, 4K60, 1080p240, and HDR video is Apple’s on-screen text on that Formats screen.
- Apple Support — Transfer photos and videos from your iPhone or iPad to your Mac or PC — the transfer workflow behind the Transfer to Mac or PC / Keep Originals conversion behaviour.
- xconvert — HEIC to JPG converter — the funnel tool; UI labels (+ Add Files, Advanced Options, Quality Preset “Very High (Recommended)”, File extension JPEG/JPG, Download all / ZIP) verified live on 2026-07-16.