 By James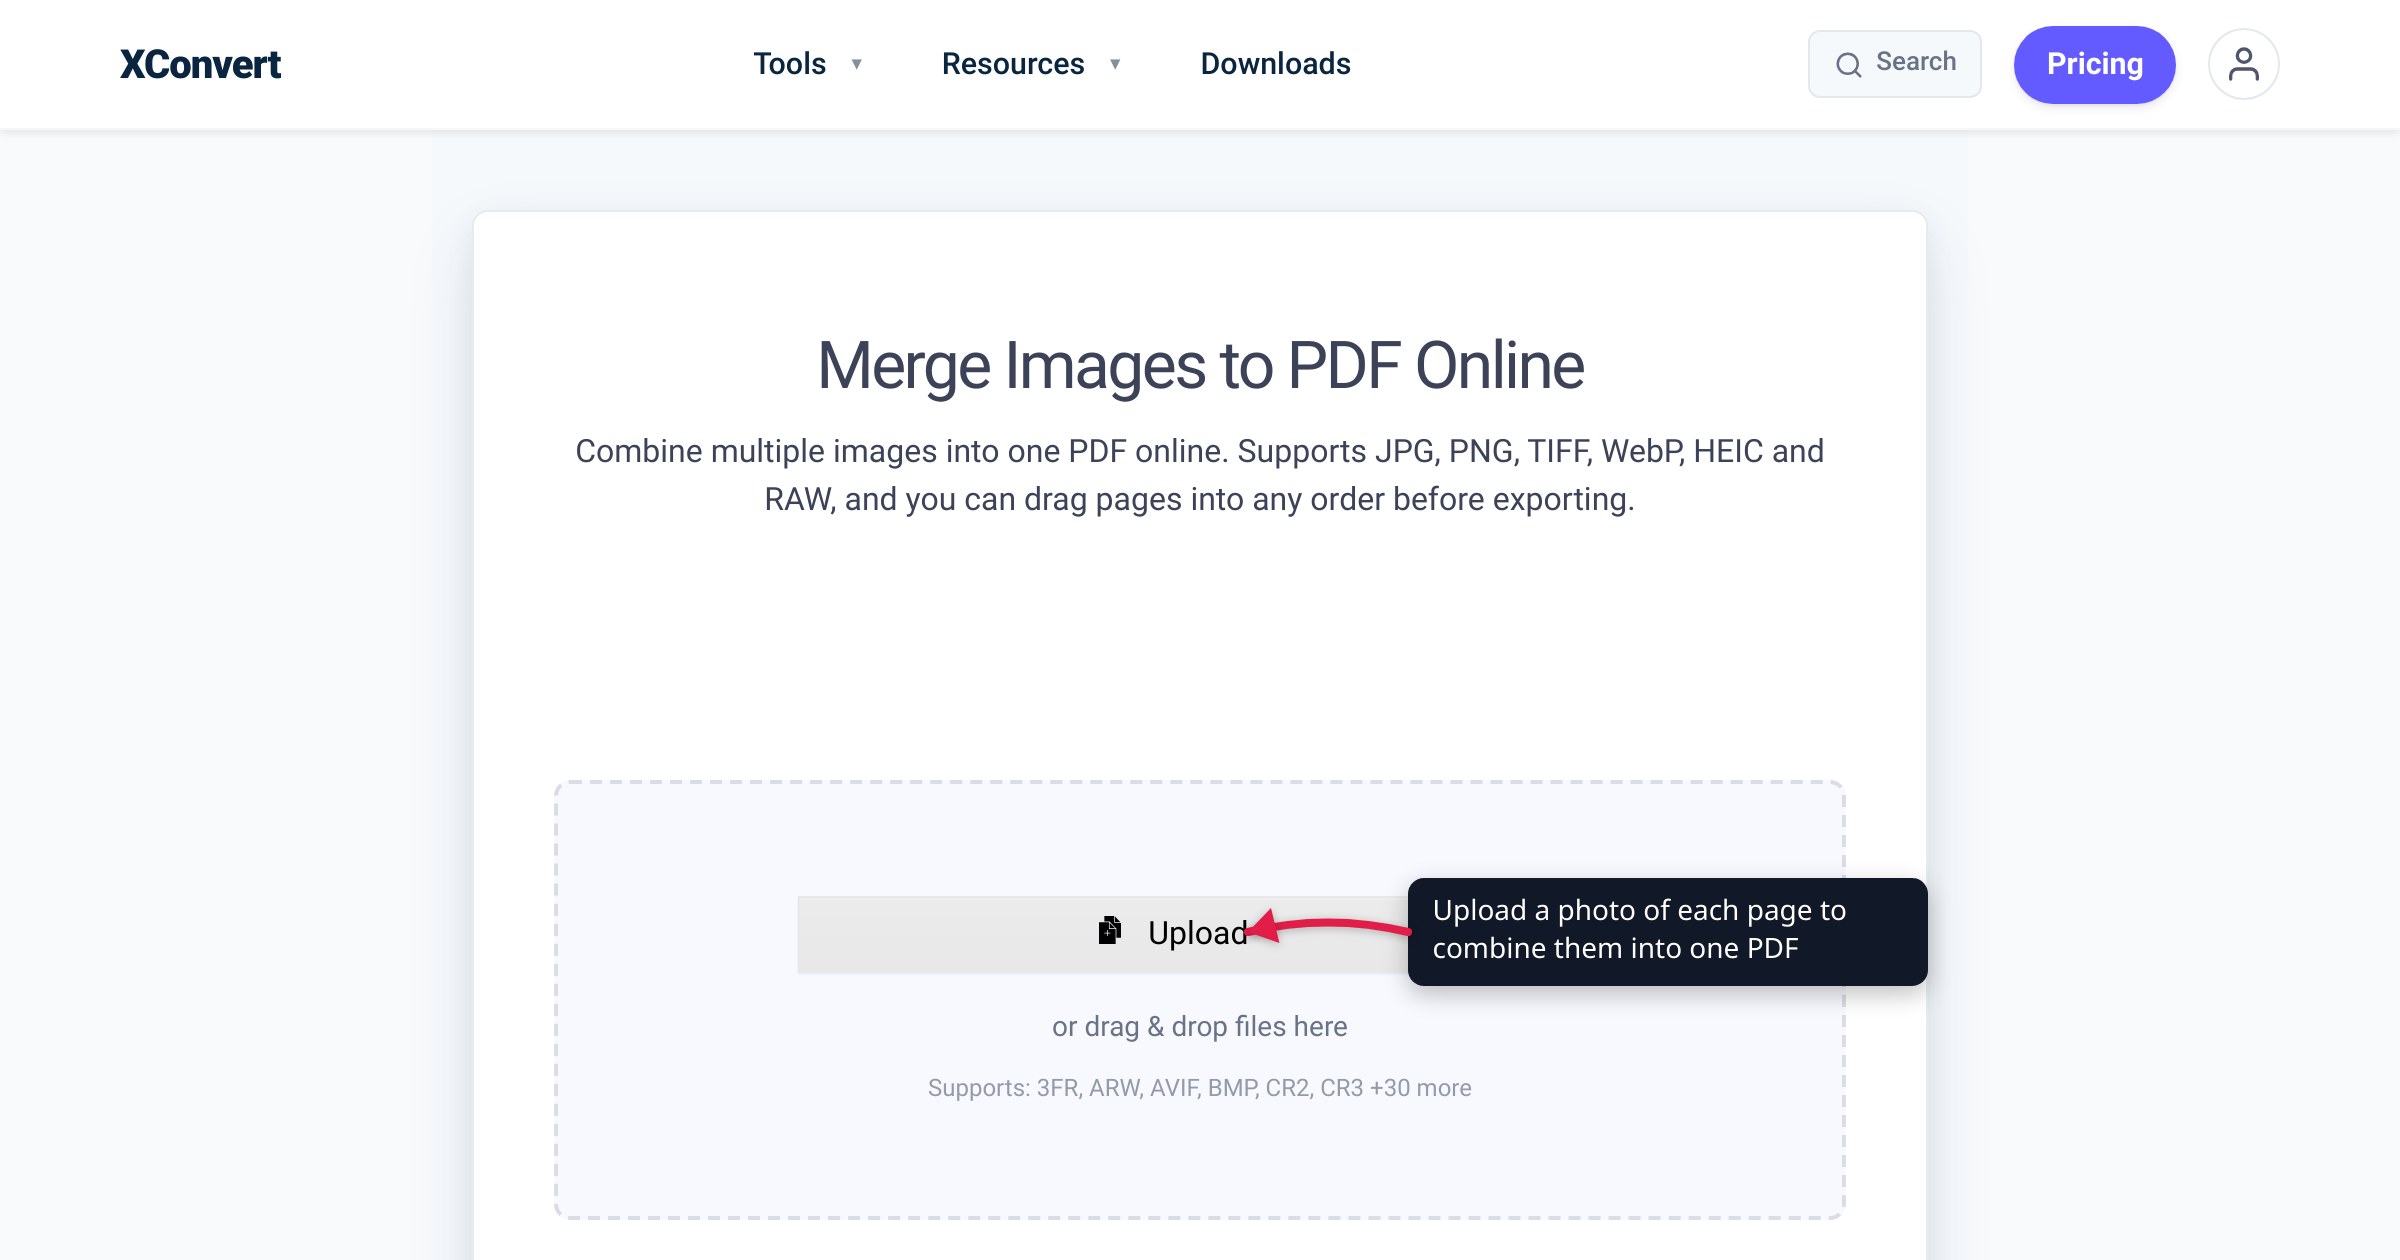
The landlord wants the signed lease back “as one PDF.” The benefits portal wants your ID, a utility bill, and a pay stub — also one PDF. And the nearest actual scanner is in an office you no longer work at. A phone camera plus one browser tab is a perfectly serviceable scanner, with nothing to install: photograph each page well, upload the photos to a merge tool, download one multi-page PDF. We verified the live tool’s controls, what USCIS and the IRS actually say about photographed documents, and the US federal 300-ppi benchmark — so you’ll know when a phone photo passes for a scan, and when it won’t.
Quick answer: Lay each page flat in bright, even light, hold the phone directly above it, fill the frame with the page, and take one photo per page. Then open the xconvert merge image to PDF tool, click Upload, add the photos, drag them into page order, set Page Layout to Portrait, and click Merge — you get one multi-page PDF. Photographed documents are explicitly acceptable to major portals: USCIS tells online filers to “use a scanner or take pictures of each document,” as long as every word is readable.
Jump to a section
- Photograph each page like a scanner would
- Will a photographed document be accepted?
- Page order, orientation, and paper size
- The built-in scanners you already have
- Merge the photos into one PDF on xconvert
- FAQ
Photograph each page like a scanner would
A flatbed scanner does four things automatically: it holds the page flat, lights it evenly, shoots it dead-on, and captures it sharp. Your photos have to imitate all four — and each one is a two-second fix:
- Flat page, plain background. A white page on a dark table works well. Smooth out folds — a curled corner becomes a shadowed, distorted corner in the PDF.
- Even light, no shadow. Daylight from a window or bright overhead light is ideal; stand so the light comes from the side, not from behind you, or your phone-and-arm shadow lands on the page. Skip the flash on glossy paper (receipts, IDs, laminated pages) — it bounces back as a washed-out hotspot over the text.
- Straight above, page fills the frame. Hold the phone parallel to the page over its center, close enough that the page nearly touches the frame edges. An angled shot turns the rectangle into a trapezoid; a distant one throws away resolution (why that matters below).
- Sharp text, one page per photo. Tap the text on screen to focus, brace your elbows in dim light, and shoot pages individually, in reading order — never a two-page spread in one shot.
When a shot goes wrong, the symptom tells you the cause:
| Symptom in the photo | Cause | Fix |
|---|---|---|
| Dark band or blob across the page | Your body/phone shadow | Reposition so light hits the page from the side |
| Bright washed-out spot over text | Flash or lamp glare on glossy paper | Turn off flash; use diffuse daylight |
| Page looks like a trapezoid | Camera at an angle | Shoot straight down, phone parallel to the page |
| Text soft or smeared | Missed focus or hand shake | Tap to focus on the text; brace your arms; more light |
| Text readable on screen, fuzzy when zoomed | Page too small in the frame | Move closer until the page fills the frame |
Retake anything marginal now — it’s cheaper than having a portal reject the upload later.
Will a photographed document be accepted?
For most everyday uploads, yes — major portals explicitly accept phone pictures. USCIS’s official tips for online filing say: “Use a scanner or take pictures of each document. Make sure each image you attach is clear and that all text is readable.” The constraints are about the file, not the device: no larger than 12MB each, in PDF, JPG, or JPEG (TIF/TIFF for some forms). The IRS Document Upload Tool is just as direct: upload “scans, photos, or digital copies of documents as JPGs, PNGs or PDFs.” The bar is legibility, not the hardware that captured the page.
When a form does demand “scan quality,” there’s a concrete number behind the phrase: the US federal regulation for digitizing textual records (36 CFR § 1236.50) requires image files “at a minimum of 300 ppi sized to the source document” — 300 pixels per inch of the original page (400 ppi for fine-detail material). A phone clears that bar only if you fill the frame. A 12-megapixel photo is roughly 4,000 × 3,000 pixels; spread 4,000 pixels across an 11-inch letter page and you’re capturing about 360 ppi — above the federal benchmark. Let the page occupy half the frame and you’re near 180 ppi: below the bar, and visibly fuzzy when a reviewer zooms in. That’s the whole case for tip 3 above.
Where a photographed document genuinely won’t do:
- Certified or notarized copies. Some offices require a certified paper copy or wet-ink original — a legal requirement no scan of any quality satisfies.
- Portals with their own scanning rules. Some agencies and institutions publish specific requirements (resolution minimums, color, “flatbed scan” wording); they vary by portal and aren’t centrally documented — check the upload page’s instructions before you shoot.
- OCR workflows. Text recognition fails on skewed, shadowed captures far more than on flat, even ones — the technique above is what keeps OCR viable.
Page order, orientation, and paper size
Three details separate a document that reads like a scan from a photo dump:
- Page order. Shoot pages in reading order and they’ll line up in your camera roll the same way. Mistakes are fixable: after uploading, the merge tool shows a thumbnail per photo, and you drag the thumbnails into the right order before creating the PDF.
- Portrait orientation. Documents are portrait; phones love landscape. Hold the phone upright when shooting and set the PDF layout to Portrait. A genuinely landscape page (a certificate, a wide table) can go through a separate pass with Landscape selected.
- Paper size. The tool’s Paper Size default is A4; if the PDF is headed to a US recipient, switch it to US Letter. An Original option keeps each photo’s own dimensions instead of fitting a standard page — useful for receipts and odd-sized items.
Each photo gets placed onto its PDF page, and the Image Quality setting (default 75%) controls how heavily it’s compressed. The default reads fine for text; push it higher only if fine print matters, and expect a bigger file — if the result comes out surprisingly heavy, why is my scanned PDF so big breaks down the size levers.
The built-in scanners you already have
“No app to install” has two honest readings, and both work:
- iPhone / iPad: the preinstalled Notes app has a document scanner. In a note, tap the attachment (+) button, then Scan Documents — it auto-captures when it detects the page boundaries, corrects the perspective, and per Apple, “the document is saved as a PDF in the note.”
- Android: the Google Drive app (preinstalled on most Android phones) scans too. Tap the camera/Scan button, and Drive outlines the document, lets you crop and filter, and saves the result as a .pdf (or .jpg). Google documents the same flow for Drive on iPhone and iPad.
These are good — if you’re standing over the document with your own phone, try them. The photograph-and-merge route covers the cases they don’t: the pages already exist as photos (camera roll, texted to you, emailed), they come from mixed sources — an iPhone HEIC here, a JPG attachment there, a PNG screenshot — or you want control the built-ins don’t expose: paper size, margins, compression, and reordering pages captured at different times into one file. The merge tool takes JPG, PNG, HEIC, TIFF, WebP and more in one batch, so nothing needs converting first.
Merge the photos into one PDF on xconvert
The xconvert merge image to PDF tool runs in any browser — on the phone that took the photos or on a computer:
- Open xconvert.com/merge-image-to-pdf and click Upload, then From my Computer — on a phone the browser offers your photo library; From Google Drive and From Dropbox are there too, and desktop accepts drag & drop.
- Once the photos are uploaded, drag the thumbnails into page order — page 1 first.
- Leave Combine on Single PDF (that’s the one-file output; Individual PDFs makes one per image). Set Paper Size (A4 default, US Letter for US paperwork, or Original), set Page Layout to Portrait, and pick a Margin — No margin (0") or Narrow (0.5") keeps the page photo large.
- Optionally adjust the Image Quality slider (default 75%) — higher preserves fine print at the cost of file size.
- Click Merge, then download your multi-page PDF.
Each photo uploads over an encrypted connection, is processed on our servers and deleted automatically a few hours later.
For a device-by-device walkthrough of the same merge (iPhone, Android, PC), see combine photos into one PDF on iPhone, Android, and PC.
FAQ
Can I scan a document to PDF without installing an app?
Yes, two ways. Photograph each page with your regular camera and merge the photos into one PDF online with a merge image to PDF tool — nothing to install. Or use a scanner that’s already on the phone: the iPhone Notes app (attachment button → Scan Documents) and the Google Drive app on Android both capture documents and save them as PDFs.
Is a photo of a document acceptable instead of a scan?
Usually, yes — if every word is readable. USCIS’s online-filing tips say to “use a scanner or take pictures of each document,” and the IRS Document Upload Tool accepts “scans, photos, or digital copies.” The exceptions: offices that require certified/notarized copies, and portals that publish their own scanning rules — check the upload page’s instructions.
How do I combine multiple photos into one PDF?
Upload them to the merge image to PDF tool, drag the thumbnails into order, leave Combine on Single PDF, and click Merge. One upload, one multi-page PDF — JPG, PNG, HEIC, and TIFF photos can all go in the same batch.
What resolution does a phone photo of a document have?
It depends on how much of the frame the page fills. A 12-megapixel photo is about 4,000 × 3,000 pixels; a letter-size page filling the frame works out to roughly 360 pixels per inch — above the 300 ppi minimum US federal regulation sets for digitizing text records. A page filling only half the frame is near 180 ppi — which is why “get close” is the most important shooting tip.
How do I photograph a document without shadows?
Use bright, diffuse light from the side — a window or overhead room light — and keep your body and phone out of the light’s path to the page. Turn the flash off on glossy paper; it creates a hotspot instead of removing shadows. If a shadow band still lands, rotate the page or step around it and reshoot.
Should I pick A4 or US Letter when making the PDF?
Match the recipient: US Letter for US paperwork, A4 for most of the rest of the world — the tool defaults to A4, so US users should switch it. If the pages aren’t standard paper at all (receipts, cards), the Original option keeps each photo’s own dimensions instead of fitting it to a page.
Sources
Last verified 2026-07-15.
- USCIS — Tips for Filing Forms Online — “Use a scanner or take pictures of each document”; 12MB per-file cap; PDF/JPG/JPEG (TIF/TIFF for some forms).
- IRS — Document Upload Tool — accepts “scans, photos, or digital copies of documents as JPGs, PNGs or PDFs.”
- 36 CFR § 1236.50 — Requirements for digitizing permanent paper records — minimum of 300 ppi sized to the source document for modern textual records; 400 ppi for fine-detail/photographic material.
- Apple Support — Scan text and documents in Notes using the iPhone camera — Notes scanning steps; “the document is saved as a PDF in the note.”
- Google Drive Help — Scan documents with Google Drive — Drive scanning steps on Android (with iPhone & iPad variant); saves as .pdf or .jpg.