 By Stephanie Taylor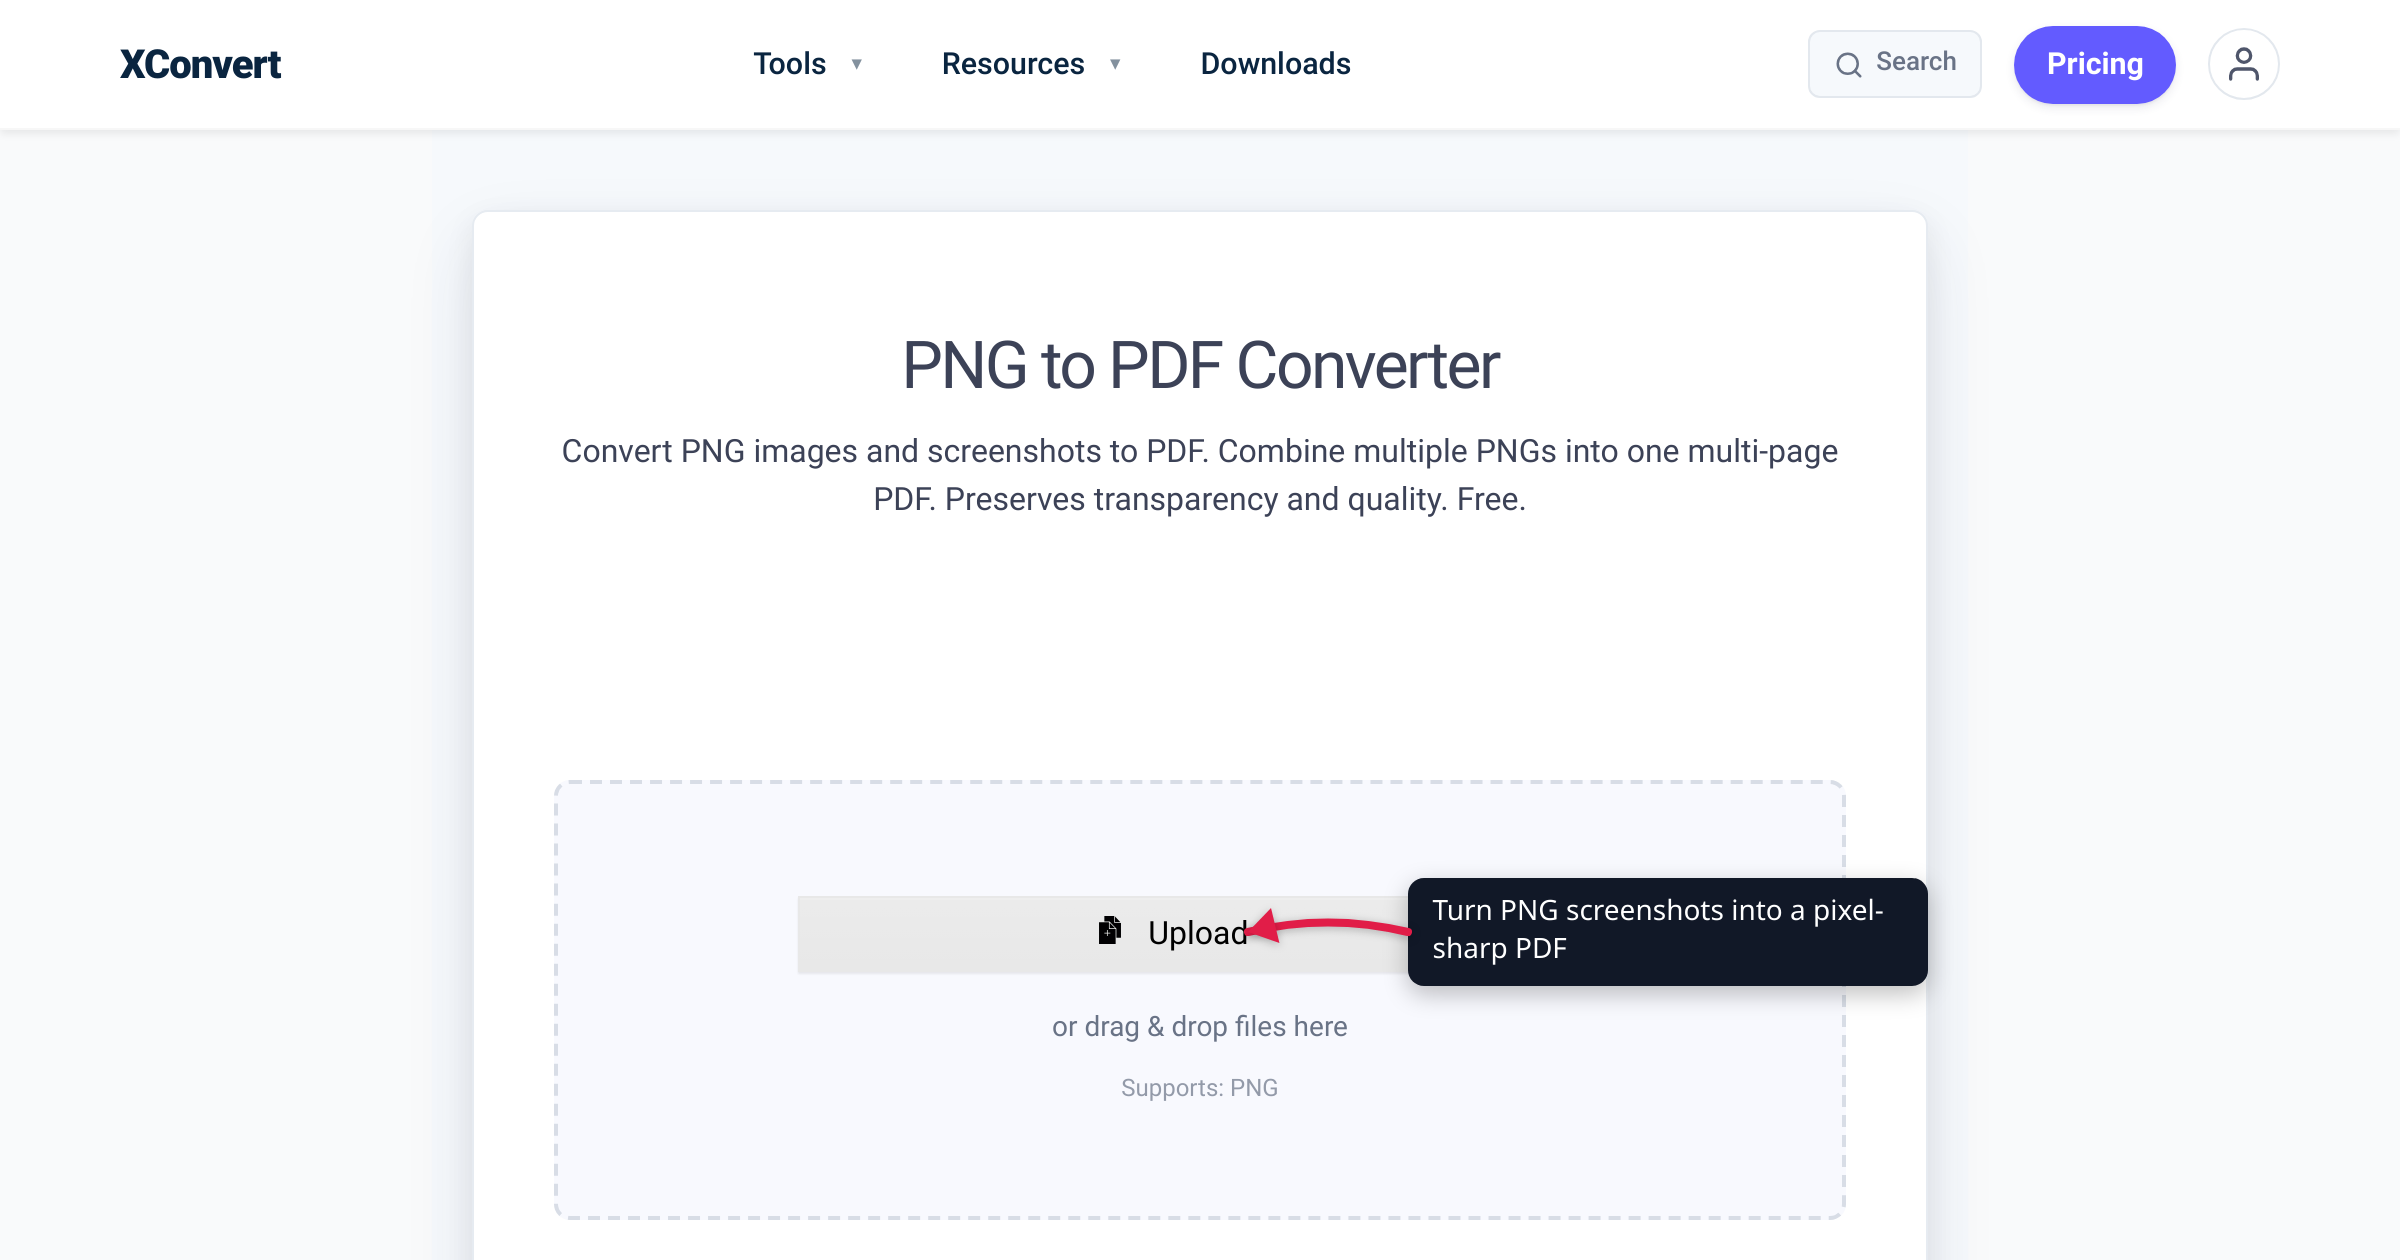
You screenshot a signed form, a dashboard, an error message — then convert it to PDF to file it or send it, and the text comes out ringed with gray fuzz. That fuzz is not the PDF’s fault: it is JPEG compression that happened somewhere on the way in. PNG never does that — it is a lossless format, which is exactly why your screenshot tool produced a PNG in the first place. This guide covers getting a PNG into a PDF with every pixel intact, why JPEG-sourced PDFs grow halos around letters, and the one case where PNG is the wrong source. Format facts are verified against the W3C PNG specification, MDN, and the Library of Congress format registry; every step is checked against the live converter.
Quick answer: Convert PNG to PDF directly and your text stays pixel-sharp. PNG is lossless by design, and the xconvert PNG to PDF converter carries PNG pixels into the PDF without lossy re-encoding as long as Image Transparency stays on Unchanged (the default). JPEG-sourced PDFs show halo (“ringing”) artifacts around text because JPEG’s lossy compression discards the fine detail sharp edges are made of. The one exception: photographs stored as PNG are enormous, and the PDF inherits every byte — give photos the JPEG path instead.
Jump to a section
- Why PNG is the right source for screenshots and text
- Why JPEG-sourced PDFs grow halos around text
- What happens to your pixels inside the PDF
- When PNG to PDF bloats — and what to do
- Convert PNG to PDF on xconvert
- FAQ
Why PNG is the right source for screenshots and text
PNG’s defining property is in the first line of its specification: it is a format for the “lossless, portable, well-compressed storage of static and animated raster images,” with losslessness a stated design goal — “filtering and compression should preserve all information.” The pixels in a PNG are exactly the pixels that were on your screen; nothing was approximated to save space.
That is why screenshots are PNGs almost by default. macOS captures screenshots as PNG — Apple’s current documentation labels it the “Most Compatible” (SDR) capture format, with HDR-as-HEIF an option on the newest Macs. Windows Snipping Tool has defaulted to PNG since Windows 7 (community-confirmed on Microsoft Q&A). And it is why PNG is the recommended carrier for anything text-like — MDN’s format guide is blunt: use a lossless format for screenshots, “particularly… if there’s any text in your screenshot, as text easily becomes fuzzy and unclear under lossy compression.”
So for a PDF of screenshots, UI captures, charts, code, or receipts: start from the PNG your screenshot tool gave you, and keep it PNG until it’s in the PDF. Re-saving it as JPEG at any point does damage no later step can undo.
Why JPEG-sourced PDFs grow halos around text
JPEG was built for a different job. The Library of Congress format registry describes baseline JPEG as “lossy compression encoding for full color and grayscale continuous-tone images” — photographs — processed in 8-by-8 pixel blocks using a discrete cosine transform (DCT). The encoder saves space by discarding each block’s high-frequency components: the fine, abrupt changes the eye is least likely to miss in a photo.
Text is the worst possible input for that trade. A letterform is nothing but abrupt change — hard, high-contrast edges on a flat background. When the decoder reconstructs a block whose high frequencies were thrown away, the missing detail shows up as faint ripples around every edge: the halo known as ringing (or “mosquito noise”), plus visible 8×8 block seams at lower quality settings. Photographs hide these artifacts in their own noise and gradients; a white page with black text displays them perfectly. MDN’s guidance matches: applying lossy compression “to content requiring sharpness, like diagrams or charts, can produce unsatisfactory results.”
Two consequences worth internalizing: JPEG artifacts are permanent — baked into the pixels the moment the file is saved, so converting that JPEG to PDF afterwards, even losslessly, embeds the damage faithfully (a “blurry PDF” is often just a faithful container around an already-blurry JPEG). And the artifact-free path is PNG end to end — screenshot → PNG → PDF gives lossy compression no opportunity to touch the text.
If your files are already JPGs, converting them to PDF is a different workflow with its own settings — we walked through it in How to convert JPG to PDF online. And for photographs, JPEG is genuinely the right source format, as the next section explains.
What happens to your pixels inside the PDF
A PDF page does not “become” your image — it embeds the image data as a stream and describes where to draw it. The two stream encodings that matter here (per the Library of Congress’s PDF format description) are:
| PDF image encoding | What it is | Effect on your pixels |
|---|---|---|
| FlateDecode | zlib/deflate — the same lossless compression family PNG uses (RFC 1950/1951) | Reproduced exactly |
| DCTDecode | DCT technique based on the JPEG standard | Approximated — lossy |
Which encoding a converter picks decides whether your screenshot survives intact. Plenty of tools quietly re-encode every image as medium-quality JPEG to keep PDFs small — the classic “my PDF looks worse than the image I uploaded” cause.
The xconvert converter’s behavior is explicit:
- Image Transparency: Unchanged (the default) keeps PNGs lossless. PNG pixels are carried into the PDF without JPEG re-encoding, and the Image Quality (%) slider does not degrade PNGs in this mode.
- Image Transparency: Removed switches to the JPEG path. The image is flattened onto white and re-encoded at the Image Quality (%) value — the right lever for photos, the wrong one for text.
- Page settings never resample your pixels. The full-resolution image is embedded; Paper size, Margin, and Image placement only scale where it sits on the page. A4 vs Letter costs nothing, and the Original paper size makes each page exactly the size of its image.
The practical checklist: start from a real PNG (not a JPEG re-saved with a .png extension — artifacts travel with the pixels), leave Image Transparency on Unchanged, pick whatever page size you need, and judge the result at 100% zoom, where one image pixel maps to one screen pixel.
When PNG to PDF bloats — and what to do
Losslessness has a price, and photographs are where you pay it. Photos are continuous-tone — sensor noise, soft gradients, millions of colors — and lossless compression finds little to squeeze there, while JPEG was engineered for exactly that content: the Library of Congress notes typical baseline-JPEG settings reach 10:1 to 20:1 reduction relative to uncompressed image data. A photograph stored as PNG routinely ends up several times the size of a visually comparable JPEG, and a PDF built from photo-PNGs inherits all of it. The conversion isn’t adding bloat; the source brings it.
What to do depends on the content:
- Screenshots, UI, text, diagrams — keep the lossless path. The PDF will be roughly the size of the PNGs: the correct price for pixel-exact text.
- Photos that happen to be PNGs — set Image Transparency to Removed and use the Image Quality (%) slider (default 75). That routes them through JPEG re-encoding, which is what photos want; the flattened white background is irrelevant for photos, which have no transparency anyway.
- Mixed batches work fine — upload PNGs and JPGs together into one PDF: with transparency left Unchanged, PNGs keep the lossless path while JPG uploads are handled on the JPEG path with the quality slider.
The rule of thumb mirrors the formats themselves: text goes lossless, photos go lossy. Getting it backwards produces either fuzzy text or a bloated PDF.
Convert PNG to PDF on xconvert
The xconvert PNG to PDF converter applies everything above in one pass:
- Open xconvert.com/convert-png-to-pdf and click Upload (or drag and drop) to add your PNGs — from your computer, Google Drive, or Dropbox. + Add Files appends more; each image becomes one page, in upload order, and you can drag the file tiles to reorder them.
- Under Combine?, keep Single PDF for one multi-page document, or choose Individual PDFs to get one PDF per image.
- Pick a Paper size (A4 is the default; Letter and other sizes are in the dropdown, and Original sizes each page to match its image) and a Page layout (Portrait or Landscape).
- Set Image placement — Contained shows the whole image and may leave whitespace, Cover fills the page and may crop — along with Image alignment (Top / Center / Bottom) and a Margin preset, from No margin (0") for edge-to-edge up to Large (2×1").
- For screenshots and text, leave Image Transparency on Unchanged — the lossless path, where the Image Quality (%) slider (default 75) won’t touch your PNGs. The slider applies to JPEG-re-encoded images — JPG uploads, or PNGs after switching transparency to Removed — your size lever for photos.
- Click Convert, then download your PDF.
Your files upload over an encrypted connection, are processed on our servers, and are deleted automatically a few hours later.
Assembling a long stack of screenshots into one readable, correctly ordered document is its own craft — page order, one-screenshot-per-page choices, and naming tricks are covered in Combine screenshots into one PDF.
FAQ
Does converting PNG to PDF reduce quality?
Not when the image is embedded losslessly. PNG is lossless, and PDF supports lossless (deflate) embedding — the same compression family PNG uses. On xconvert, leave Image Transparency on Unchanged and PNG pixels enter the PDF without lossy re-encoding. Quality only drops if a converter re-encodes images as JPEG along the way.
Why does text in my PDF look blurry when the PNG was sharp?
Four usual causes: (1) the image was a JPEG at some point — the halos were baked in before the PDF existed; (2) the converter JPEG-re-encoded it — here that only happens with transparency Removed or JPG uploads; (3) the source is genuinely low-resolution, so any zoom past 100% shows soft, enlarged pixels; (4) your PDF viewer is smoothing at a fractional zoom level — judge sharpness at exactly 100%.
Is PNG or JPG better for making a PDF?
PNG for anything with text, UI, diagrams, or line art; JPG for photographs. That split follows the formats’ designs: PNG preserves hard edges exactly, JPEG compresses continuous-tone content 10–20× at the cost of edge artifacts. If your files are already JPGs, follow the JPG to PDF walkthrough instead of round-tripping them through PNG — converting a JPEG to PNG doesn’t remove artifacts, it just makes the file bigger.
How do I combine multiple PNG screenshots into one PDF?
Upload them in one batch and keep Combine? set to Single PDF — each PNG becomes one page, in upload order, with drag-to-reorder before converting. Individual PDFs instead outputs a separate PDF per image.
Why is my PDF bigger than the PNGs I uploaded?
Lossless embedding means the PDF contains roughly your image data plus page structure — sometimes a little smaller after recompression, sometimes a little larger, never dramatically smaller. If the output feels far too big, the inputs are usually photo-heavy PNGs; switching those to the JPEG path (Image Transparency: Removed plus the quality slider) is what actually shrinks them.
Does PNG transparency survive in the PDF?
Yes — with Image Transparency on Unchanged, the alpha channel is preserved in the embedded image. Switch to Removed when you want flattening: it bakes a white background behind the image, useful when a downstream viewer or printer handles transparency poorly.
Sources
Last verified 2026-07-15.
- W3C — PNG Specification, Third Edition — W3C Recommendation (24 June 2025): “lossless, portable, well-compressed storage” of raster images; design goal: “filtering and compression should preserve all information.”
- MDN — Image file type and format guide — PNG is lossless; use a lossless format for screenshots (“text easily becomes fuzzy and unclear under lossy compression”); JPEG is lossy, for photos.
- Library of Congress — PDF (Portable Document Format) Family — PDF image stream encodings: FlateDecode (zlib/deflate, RFC 1950/1951) and DCTDecode (“a DCT… technique based on the JPEG standard”).
- Library of Congress — JPEG DCT Compression Encoding, Baseline — baseline JPEG is “lossy compression… for… continuous-tone images,” 8×8-pixel blocks; typical settings yield 10:1–20:1 reduction.
- Apple Support — Take a screenshot on Mac — macOS screenshots use PNG for standard (SDR, “Most Compatible”) captures; supported models can capture HDR as HEIF.
- Microsoft Q&A — Snipping Tool default save format — community thread: Snipping Tool has saved PNG by default since Windows 7.