 By James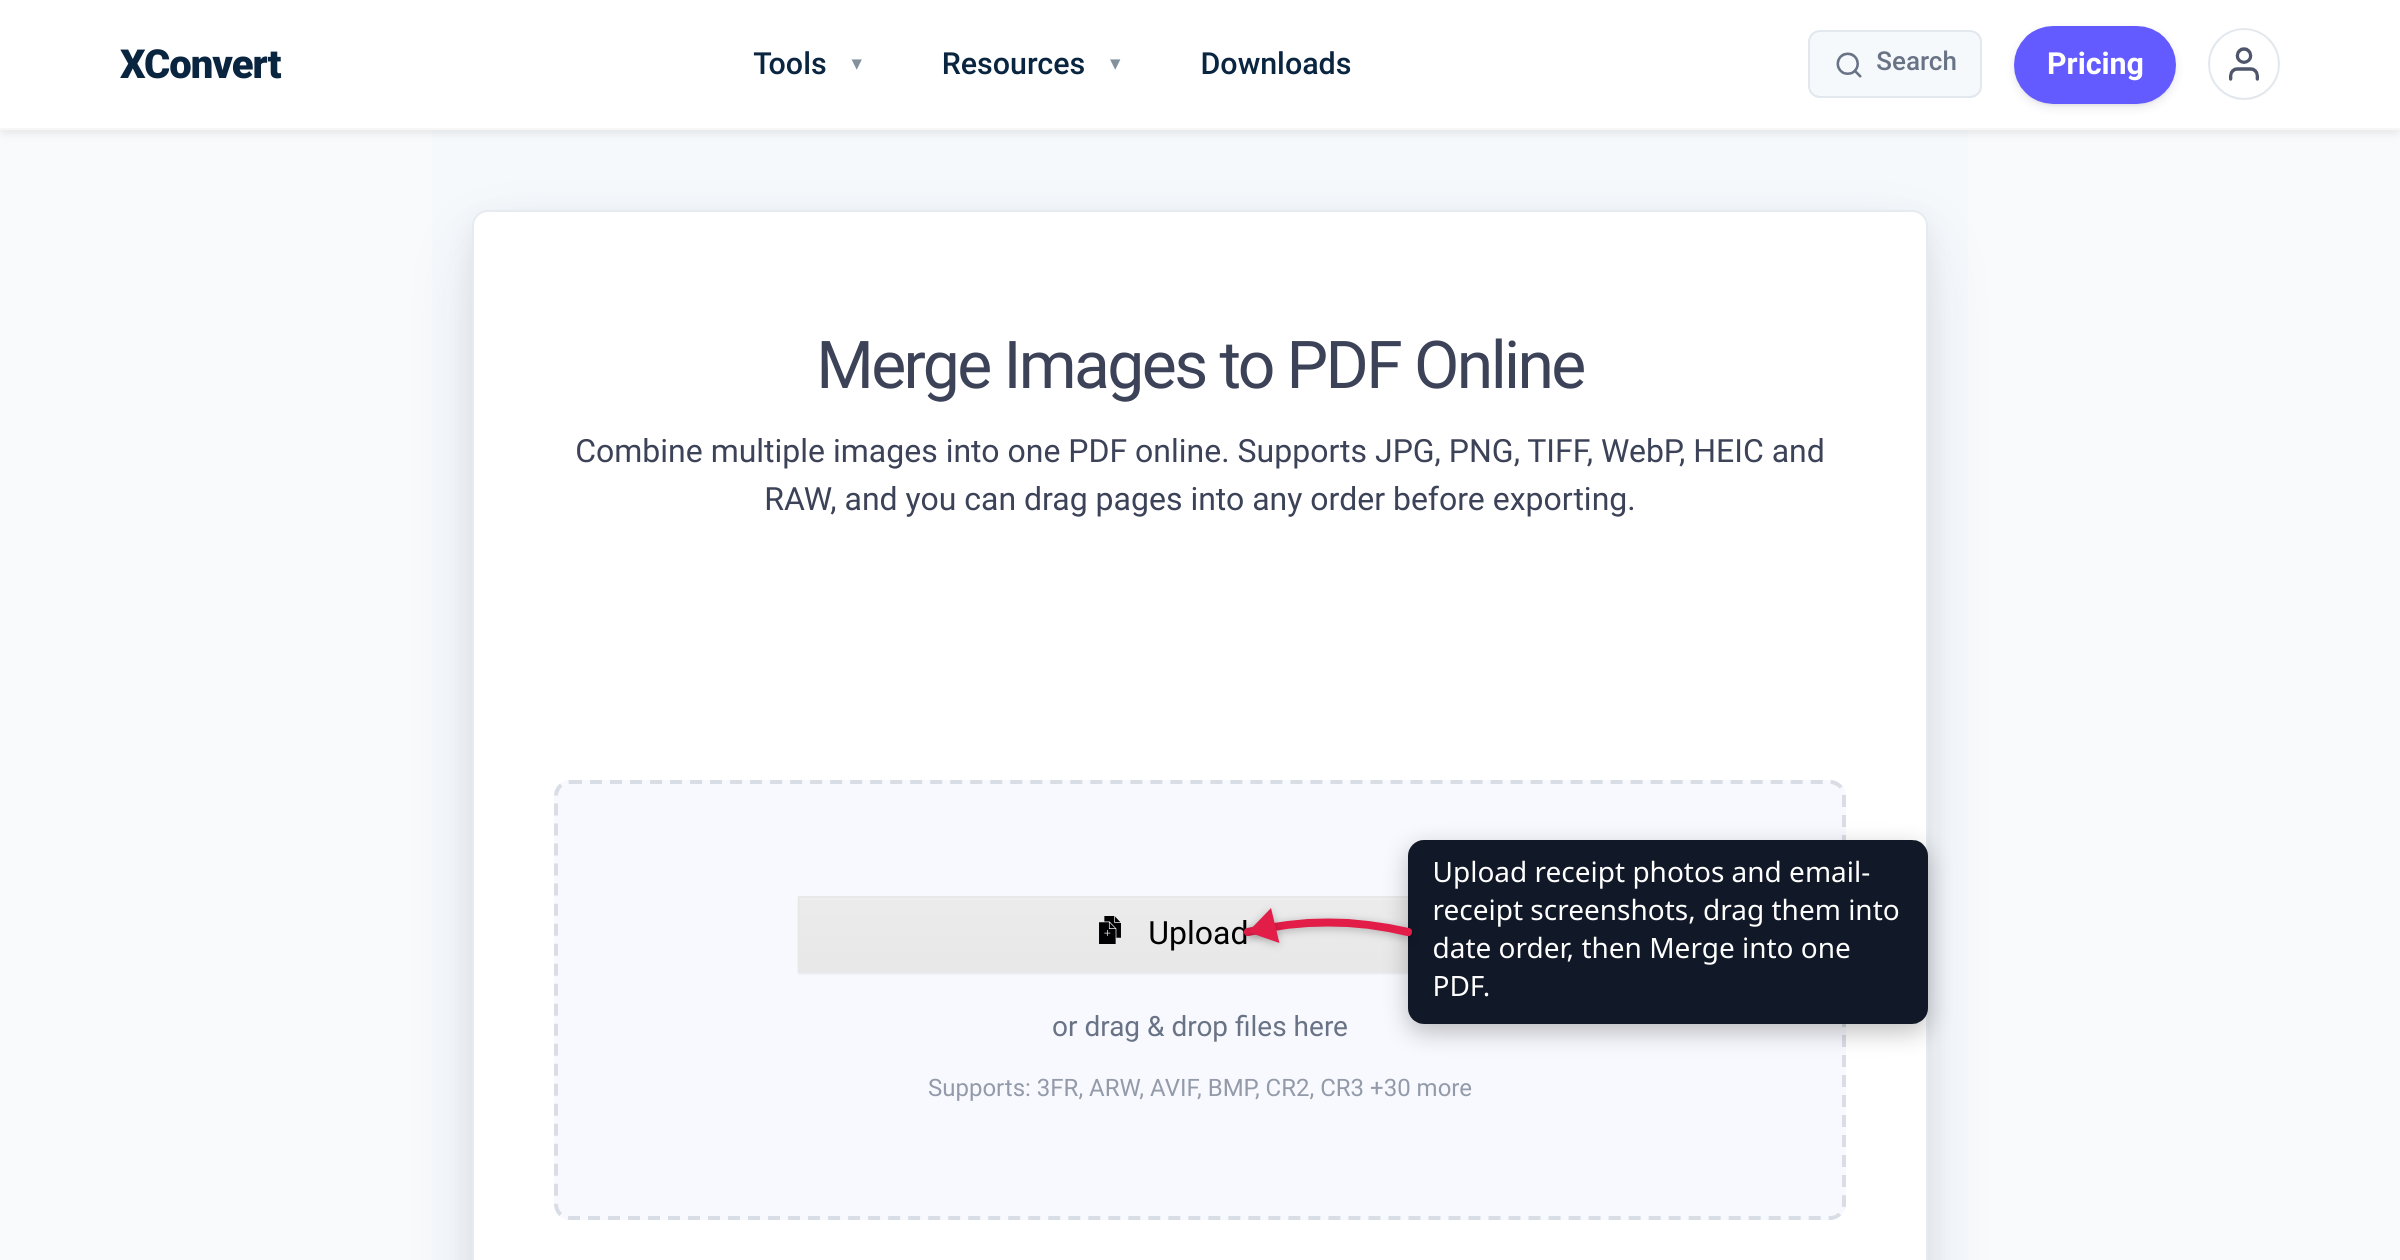
By the last day of the month you have two piles: crumpled paper receipts — taxis, lunches, the hotel folio — and a scatter of email receipts for flights, software, and rideshares. Your expense report wants one attachment that tells the story in date order. The fix is mechanical: photograph the paper, screenshot the emails, and merge everything into one chronological PDF per claim. This guide covers the workflow end to end — the filename trick that keeps receipts in date order, the settings that keep every total legible, and what the expense platforms’ own documentation actually requires. We verified the platform rules against Expensify’s and Ramp’s help centers, the retention rules against the IRS, and the merge steps against the live xconvert tool.
Quick answer: Photograph paper receipts, screenshot email receipts, and name every file with a date prefix (
2026-07-03-uber-24.50.jpg) so they sort chronologically. Upload the batch to the xconvert image-to-PDF merger, drag the thumbnails into date order, keep Combine: Single PDF and the Image Quality slider at its default of 75 or higher, and click Merge. Make one PDF per claim — one trip, one card statement, one month. Caveat: per-expense platforms differ — Expensify’s docs require each expense to have its own receipt, so there a combined PDF is a supplement, not a substitute.
Jump to a section
- Photograph the paper, screenshot the emails
- Date order: the filename-prefix trick
- Keep every receipt legible
- One PDF per claim — and when not to combine
- Combine receipts into one PDF on xconvert
- FAQ
Photograph the paper, screenshot the emails
Every receipt has to become an image before it can become a page. Receipts arrive in two forms, and each has a capture step:
Paper receipts → phone photos. Lay the receipt flat on a plain, contrasting surface, shoot straight down in decent light, and fill the frame — one receipt per photo. Don’t batch four receipts into one shot; each receipt on its own page is far easier for an approver to match against an expense line. iPhone photos (HEIC) and Android photos (JPG) both work as merge input, so there’s no need to convert anything first.
Capture paper promptly. Most register and card-terminal receipts are printed on thermal paper, and thermal print fades — sometimes badly enough that a quarter-end photo shows a blank strip. Photographing receipts the day you get them is the cheapest insurance in this whole workflow.
Email receipts → screenshots. Flights, SaaS invoices, rideshares, and hotel confirmations usually live in your inbox. Screenshot the email so the vendor, date, and amount are all visible in one capture; crop away the inbox chrome. Screenshots save as PNG, which keeps the small text crisp. If a long receipt scrolls past one screen, take two screenshots — they’ll simply become two adjacent pages. The mechanics of stitching screenshots cleanly (ordering, one-per-page, keeping text sharp) are covered in How to combine screenshots into one PDF.
Date order: the filename-prefix trick
An approver reads your PDF against expense lines or a card statement — both sorted by date. A PDF that jumps from July 9 to July 2 to July 14 forces them to hunt for every match; a chronological one reads itself, and that’s the difference between a two-minute approval and a back-and-forth.
The reliable way to get it is to rename the files with an ISO-style date prefix before you upload:
2026-07-01-marriott-482.10.jpg
2026-07-02-uber-24.50.png
2026-07-03-delta-diner-61.75.jpg
2026-07-03-parking-12.00.jpg
Year-month-day sorts alphabetically and chronologically at the same time — in every file picker, on every OS. Select-all, upload, and the batch arrives in statement order instead of camera-roll order (IMG_4482.HEIC shuffled in with Screenshot 2026-07-09…png). Adding the vendor and amount to the name costs a few seconds and makes any single receipt findable later without opening the PDF.
Two receipt-specific wrinkles:
- Undated or handwritten receipts (tips, market stalls): slot them by the date the charge hits your statement — that’s the date the approver will be looking at.
- The final say is visual. After uploading, the tool shows every file as a thumbnail; drag them to set the page order — each image becomes one PDF page. The filename prefix gets you 95% of the way; a five-second scan of the thumbnails catches the stragglers before you merge.
Keep every receipt legible
The whole reason this PDF exists is that someone — an approver now, possibly an auditor later — must be able to read the vendor, the date, the total, and the tax line. Legibility beats file size every time. Three settings matter:
- Don’t crush the quality. The merger’s Image Quality slider runs 1–100 and defaults to 75. For receipts, leave it there or push it higher. Receipt text is small and low-contrast to begin with; aggressive compression smears exactly the digits that matter. The few hundred kilobytes you’d save are not worth an unreadable total.
- Fit, don’t crop. Set Image placement to Contained, which fits the whole receipt inside the page with margins. The alternative, Cover, fills the page by cropping the edges — and on a tall register receipt, the edge it crops is often the total at the bottom.
- Portrait pages for portrait receipts. Register tape and phone screenshots are tall, so Page layout: Portrait matches their shape. Paper size defaults to A4; US Letter is in the dropdown if your finance team prints.
One honest limit: sharpness is decided at capture, not at merge. If the photo is blurry or the flash washed out the total, no PDF setting recovers it — retake the photo.
One PDF per claim — and when not to combine
Match the unit of the merge to the unit of the claim: one trip, one PDF; one month’s card statement, one PDF; one reimbursement form, one PDF. A combined file that spans two claims guarantees someone asks you to split it later.
Where is a single combined PDF actually the right deliverable — and where isn’t it?
| Destination | What to send |
|---|---|
| Email-based claims, a reimbursement form with one attachment slot, a bookkeeper or accountant handoff | One chronological PDF per claim/month — this article’s workflow |
| Your own tax archive | One PDF per month or quarter, named by period |
| Expensify | Per-expense receipts. Expensify’s docs state “Each expense must have its own receipt” — one primary receipt per expense, and only the primary image is included in exports. Accepted formats include JPG, PNG, GIF, PDF, and TIFF, with emailed receipt files capped at 24 MB each |
| Ramp | Per-transaction receipts; its help center lists jpg, jpeg, png, and pdf, a 60 MB maximum upload (10 MB for web submissions), and a 50-page cap on PDFs — so a combined monthly PDF also fits when a workflow calls for one |
| Concur and other platforms | Their accepted file types and size caps vary by product and company configuration — check your instance’s documentation before assembling |
The honest rule: expense platforms mostly want receipts attached per expense; combined PDFs win wherever a human, an inbox, or a single upload slot is on the receiving end. Many teams do both — per-expense receipts in the platform, plus one merged PDF per month for the finance folder.
That finance folder has legal weight. The IRS says to keep records that support a deduction until the period of limitations runs out — generally 3 years, longer in specific situations (6 years for substantial underreporting, 7 for worthless-securities claims) — and that “all requirements that apply to hard copy books and records also apply to electronic records.” A dated, ordered, legible PDF per month is exactly the kind of electronic record that survives that test.
Combine receipts into one PDF on xconvert
The xconvert image-to-PDF merger turns the whole batch — HEIC photos, JPGs, PNG screenshots — into one ordered PDF, one receipt per page:
- Open xconvert.com/merge-image-to-pdf and click Upload (from your computer, Google Drive, or Dropbox). It accepts JPG, PNG, HEIC, WebP, TIFF, and 30+ more image formats — phone photos and screenshots mix freely.
- Drag the uploaded thumbnails into date order — each image becomes one PDF page. If you used the filename date prefix, they’re already close; fix any stragglers here.
- Open Advanced Options and confirm Combine: Single PDF (one file, not one PDF per image). Set Image placement: Contained so no receipt edge gets cropped, and Page layout: Portrait for a mostly-tall batch.
- Leave the Image Quality slider at its default of 75 — or higher if any receipt is faint.
- Click Merge, then download and rename the file to match the claim, e.g.
2026-07-expenses-jsmith.pdf.
Your receipts upload over an encrypted connection, are processed on our servers, and are deleted automatically a few hours later — nothing stays around. Since these are financial documents, one practical note: if your employer restricts uploading company records to third-party services, clear it with policy first.
FAQ
How do I combine multiple receipts into one PDF for free?
Photograph or screenshot each receipt, then upload the images to a merge tool like xconvert’s image-to-PDF merger, drag them into date order, and click Merge. Each image becomes one page of a single PDF, and mixed formats (HEIC, JPG, PNG) can go in together — the output is one PDF regardless.
Should I attach one combined PDF or one receipt per expense?
Follow the destination. Per-expense platforms want per-expense receipts — Expensify’s documentation says each expense must have its own receipt, and only the primary image per expense makes it into exports. A combined PDF is the right format for email-based claims, single-attachment reimbursement forms, bookkeeper handoffs, and your own monthly tax file. Many people do both.
How do I keep receipts in chronological order when merging?
Rename the image files with a year-month-day prefix (2026-07-03-uber-24.50.jpg) before uploading — ISO-style dates sort alphabetically and chronologically at once, in every file picker. Then use the merge tool’s thumbnail view to drag any stragglers into place; the page order you see is the page order you get.
Are photographed receipts acceptable to the IRS?
The IRS applies the same recordkeeping requirements to electronic records as to hard copy, and says to keep records supporting a deduction until the period of limitations runs out — generally 3 years, longer in specific cases. Legibility is the operative word: a faded or blurry total supports nothing. Your employer’s policy may still be stricter about originals.
What if the combined PDF is too big to upload?
First check the real cap — for example, Ramp’s docs state a 10 MB limit for web submissions (60 MB overall) and a 50-page maximum for PDFs; other platforms publish their own numbers. To shrink: split the claim into smaller periods (two half-month PDFs), or lower the Image Quality slider moderately — but stop while every total is still readable. Squeezing under a hard portal cap is its own craft; see Merge documents into one PDF under 12 MB.
Can I mix iPhone photos (HEIC) and screenshots (PNG) in the same PDF?
Yes. The xconvert merger accepts HEIC, JPG, PNG, WebP, TIFF and 30+ more input formats in one batch, and every image becomes a page of the same PDF. No pre-conversion needed — which is the point: the messy pile of formats goes in, one standard PDF comes out.
Sources
Last verified 2026-07-15.
- Expensify — Create an Expense — supported receipt formats (JPG, PNG, GIF, PDF, TIFF, and more) and the 24 MB per-file cap for emailed receipts.
- Expensify — Attach and edit receipts on expenses — “Each expense must have its own receipt”; only the primary receipt image is included in exports.
- Ramp — Submitting receipts and memos — supported types jpg/jpeg/png/pdf; 60 MB maximum upload (10 MB for web submissions); 50-page PDF cap.
- IRS — How long should I keep records? — keep records supporting a deduction until the period of limitations runs out; generally 3 years, with 6- and 7-year exceptions.
- IRS — What kind of records should I keep? — “All requirements that apply to hard copy books and records also apply to electronic records.”