 By Stephanie Taylor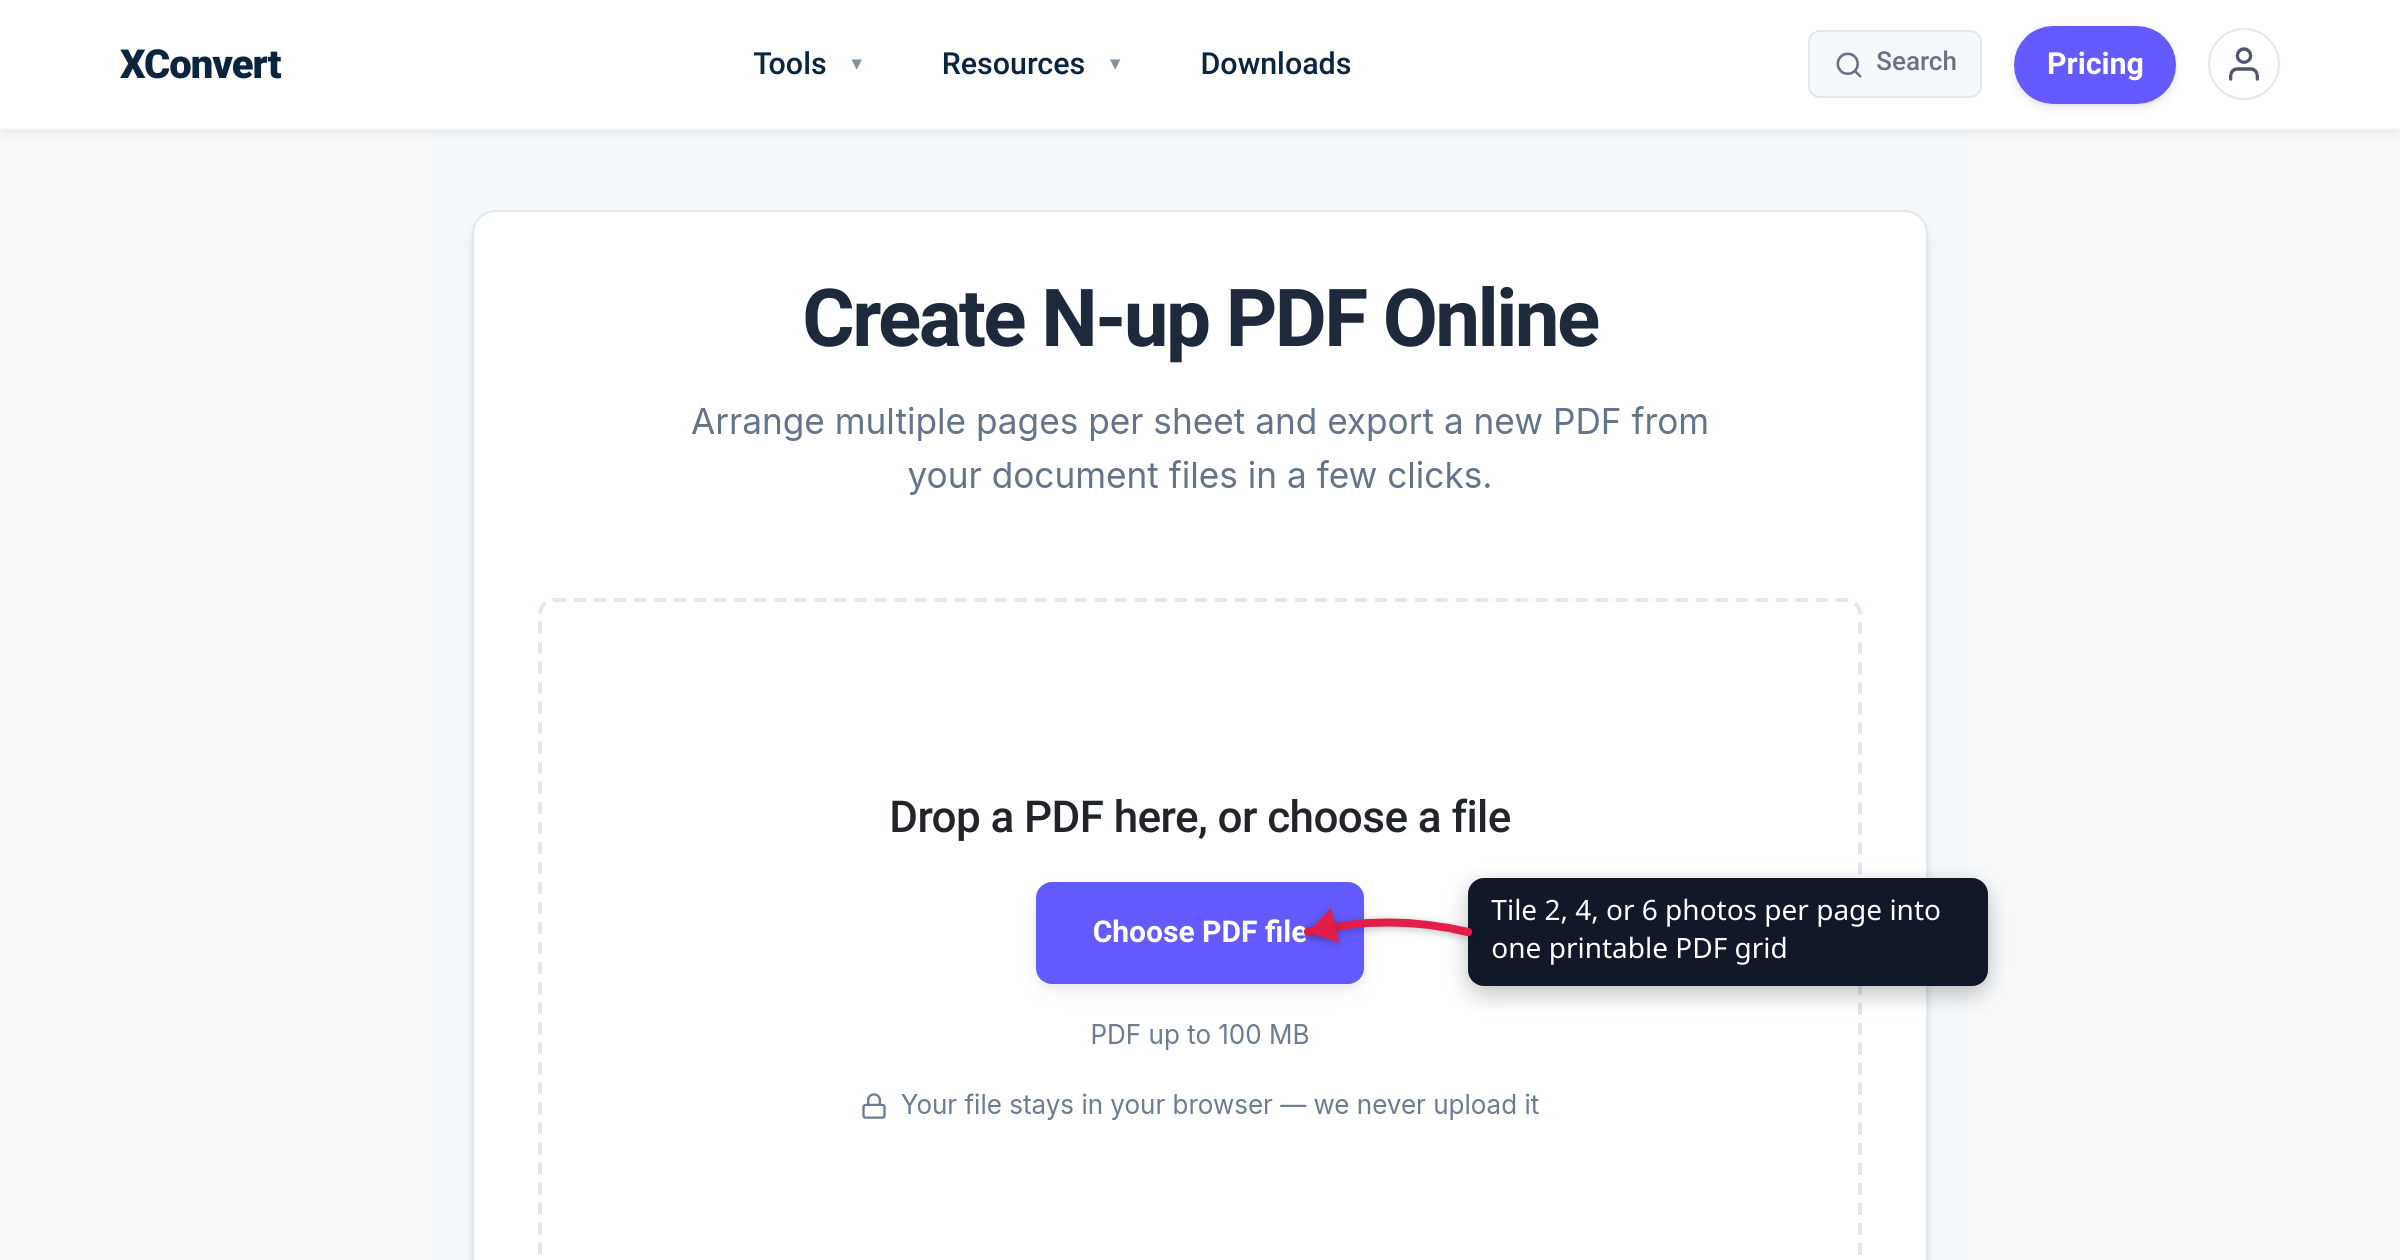
You have a dozen photos and you’d rather not print a dozen sheets of paper — you want them four to a page: a proof sheet for a client, a compact photo handout, a single page of reference shots to pin above your desk. The snag is that grid tools for PDFs (called N-up tools, in print-shop vocabulary) arrange pages, not loose JPGs — and xconvert’s is no exception. The fix is a clean two-step workflow: first merge your photos into a PDF with one photo per page, then tile those pages 2, 4, or more to a sheet. We verified every click below against both live tools, and the print numbers against Adobe’s documentation and the paper-size standards.
Quick answer: It takes two free steps on xconvert. (1) Merge Images to PDF — upload your photos (JPG, PNG, HEIC, RAW and more), drag them into order, click Merge: you get one PDF, one photo per page. (2) Pages per sheet — open that PDF, pick 2, 4 (a 2×2 grid), 6, 8, 9 or 16 pages per sheet, click Done. The result downloads as a single PDF with multiple photos tiled on each page — printable, emailable, no sign-up, no watermark.
Jump to a section
- Why this is a two-step job
- N-up, 2-up, 4-up: the printing vocabulary
- How big will each photo be?
- PDF grid vs. print dialog vs. Photoshop
- Put multiple photos on one PDF page on xconvert
- FAQ
Why this is a two-step job
Search for “multiple photos on one PDF page” and you’ll find two families of tools that each solve half the problem. Image-to-PDF converters turn photos into a document — but put each photo on its own page. N-up tools tile several pages onto one sheet — but they take a PDF as input, not a folder of JPGs. That’s not an arbitrary limitation: N-up is by definition a page-layout operation, “a page layout strategy in which multiple pre-rendered pages are composited onto a single page.” The pages have to exist before they can be tiled.
So the workflow that actually works is:
- Photos → PDF, one per page. The xconvert image merger accepts JPG, PNG, HEIC, TIFF, WebP, BMP, GIF, AVIF and camera RAW formats (CR2, NEF, ARW, DNG and more), lets you drag the thumbnails into exactly the order you want, and puts each photo on one page at the paper size you choose.
- PDF → grid. The xconvert N-up PDF tool opens that PDF as a page grid and composes 2 to 16 pages per sheet into a new PDF you download.
Two useful properties fall out of this split. The page order you set by dragging thumbnails in step 1 is exactly the tiling order in step 2 — the grid fills row-first by default (left to right, then down — a Page order control can switch it), so your first photo lands in the top-left cell. And the paper size you pick in step 1 becomes the sheet size of the finished grid, because the tool keeps the source page size as the output sheet size.
(If what you actually need is to combine several existing PDFs into one document — a different job from tiling pages — see how to merge multiple PDFs into one.)
N-up, 2-up, 4-up: the printing vocabulary
N-up is print-prep shorthand for “N source pages per output sheet,” shrunk and arranged in a tiled grid:
- 2-up — two pages side by side (or stacked, on a portrait sheet).
- 4-up — four pages in a 2×2 grid; each page shrinks to about 50% of its original width, a quarter of the area.
- 6-up — six pages in a 2×3 grid.
N-up keeps pages in their original reading order — a 4-up sheet reads 1–2 across the top row, 3–4 across the bottom. That’s what separates it from booklet imposition, which deliberately reorders pages so a folded stack reads correctly. The most famous N-up product is probably the Compact Oxford English Dictionary: the 1971 edition photo-reduced the full dictionary to 4 pages per page, and the 1991 edition went 9-up.
The photography version of the same idea is older still: the contact sheet. In the darkroom, a whole roll of 35 mm negatives was laid directly on photographic paper and exposed, producing a same-size positive of every frame on one or two sheets — used to pick which frames deserved an enlargement and to judge exposure and composition at a glance. A 4-up or 6-up photo PDF is the modern equivalent: small enough to scan visually, big enough to judge, and cheap to print or attach.
How big will each photo be?
The arithmetic is simple because the grid is uniform. On the two most common paper sizes — A4 (210 × 297 mm, the ISO 216 international standard) and US Letter (8.5 × 11 in, ANSI/ASME Y14.1) — each photo cell works out to roughly:
| Layout | Grid | On A4, each photo ≈ | On US Letter, each photo ≈ | Good for |
|---|---|---|---|---|
| 2-up | 1×2 | 148 × 210 mm (an A5 half) | 5.5 × 8.5 in | Two big photos, before/after comparisons |
| 4-up | 2×2 | 105 × 148 mm (≈ an A6 postcard) | 4.25 × 5.5 in (near a lab 4 × 6) | The classic 4-photos-per-page sheet, handouts |
| 6-up | 2×3 | 105 × 99 mm | 4.25 × 3.7 in | Contact sheets, proof grids, thumbnails |
Those figures are edge-to-edge, which needs one setting: the tool’s Spacing control defaults to Small (a 1/8-inch gutter between cells) — switch it to None (edge to edge) for seamless grids. A tidy coincidence of the ISO system: a quarter of an A4 sheet is A6, postcard size, so 4-up on A4 with Spacing on None literally gives you four postcard-sized photos per page.
Two settings in step 1 decide how photos sit inside those cells. Image placement: Contained fits the whole photo on the page with whitespace as needed (nothing cropped — right for mixed portrait/landscape sets); Cover fills the page completely and crops whatever overflows (right for a uniform, borderless look). And matching Page layout (Portrait/Landscape) to your photos’ dominant orientation keeps the cropping honest. Paper math, for planning: 40 photos print on 10 sheets at 4-up, or 7 sheets at 6-up.
PDF grid vs. print dialog vs. Photoshop
The two-step workflow isn’t the only way to get photos sharing a page — it’s the way that produces a file. Pick by what you need at the end:
- You just need paper, right now. Every desktop PDF reader can do N-up at print time: Adobe Acrobat’s print dialog calls it Multiple pages per sheet — “also called N-up printing (such as 2-up or 6-up)” in Adobe’s own words — and accepts a custom count up to 99 with a choice of page order. The catch: it configures that one print job. There’s no PDF to email, upload, or print identically from another machine, and the option lives in a different place in every app and OS.
- You want a professional proof sheet with captions and metadata. Photoshop’s Contact Sheet II builds thumbnail grids with configurable columns and rows — the purpose-built tool for photographers, but it’s part of a paid desktop app.
- You want a shareable PDF and no installs. That’s the two-step web workflow this guide covers: the output is an ordinary PDF that prints the same everywhere, attaches to email, and uploads to any portal. There’s nothing to install, and it works the same on a Chromebook, a work-locked laptop, or a phone.
Put multiple photos on one PDF page on xconvert
Step 1 builds the one-photo-per-page PDF; step 2 tiles it. Allow about two minutes end to end.
- Open Merge Images to PDF and click Upload (or drag your photos onto the page). You can add files From my Computer, From Google Drive, or From Dropbox — JPG, PNG, HEIC, TIFF, WebP, and RAW formats all work.
- Drag the thumbnails into the order you want. The first thumbnail becomes page 1 — which ends up the top-left cell of your grid.
- Under Advanced Options, leave Combine on Single PDF, pick your Paper size (A4 is the default; US Letter and others are in the dropdown), and set Image placement — Contained to keep whole photos, Cover for a full-bleed look. For edge-to-edge photo cells, set Margin to No margin (0").
- Click Merge and download the PDF — one photo per page, in your order.
- Open Pages per sheet and drop that PDF in. The document opens as a page grid in the studio. Click Pages per sheet in the left rail — the panel, headed Multiple pages per sheet, applies live, so the grid immediately shows composed sheets. Pick 2, 4, 6, 8, 9 or 16 from the strip; leave Sheet orientation on Auto (best fit), and set Spacing to None (edge to edge) for seamless photo grids. Not sure which count looks best? The grid re-composes as you click, and Ctrl+Z (Cmd+Z on Mac) steps back — no re-upload needed.
- Click Done, then Save PDF: the finished PDF downloads with your photos tiled onto shared pages. If it needs to be smaller for email, run it through Compress PDF.
The two steps handle your files differently. The merge step uploads over an encrypted connection, converts on our servers, and the files are deleted automatically a few hours later. The pages-per-sheet step never uploads anything — processing happens locally in your browser, and the composed PDF saves straight to your downloads. No sign-up, no watermark at either step.
FAQ
How do I put 4 photos on one page of a PDF?
Merge first, then 4-up. Upload the four photos to Merge Images to PDF and click Merge to get a 4-page PDF, then open that PDF in Pages per sheet, choose 4, and click Done. The download is a one-page PDF with your photos in a 2×2 grid, in the order you arranged the thumbnails.
What does “2-up” or “4-up” actually mean?
It’s printing vocabulary: N-up means N source pages tiled onto one output sheet, shrunk to fit a grid. 2-up is two pages side by side, 4-up is a 2×2 grid, 6-up is 2×3. Pages stay in reading order (row-first: left to right, then down), which is what distinguishes N-up from booklet imposition, where pages are deliberately reordered for folding.
Will my photos still look sharp printed 4 to a page?
Almost certainly — shrinking photos raises their effective resolution. Adobe’s print guidance treats 300 ppi as the industry standard for high-quality prints. A 4-up cell on US Letter is about 4.25 × 5.5 in, which needs only ~1275 × 1650 pixels (about 2.1 MP) to hit 300 ppi — and a typical 12 MP phone photo (about 4,000 × 3,000 pixels) has roughly six times that. The exceptions are heavy crops, screenshots, and images saved at very low quality.
Can I put more than 6 photos on one page?
Yes — the pages-per-sheet tool goes up to 9 and 16 per sheet (the full ladder is 2, 4, 6, 8, 9, 16). At 16-up the cells are contact-sheet size — fine for recognising shots, too small for admiring them. Beyond 16, Acrobat’s print dialog accepts a custom count up to 99 per sheet if you only need paper; for dense, caption-heavy proof grids, a dedicated contact-sheet tool like Photoshop’s Contact Sheet II is the pro route.
Can I do this from my phone?
Yes — both tools are ordinary web pages, so the same two steps work in a phone browser: tapping Upload opens your phone’s file/photo picker, and HEIC photos from an iPhone are accepted directly. For phone-native ways to get photos into a single PDF (Apple’s and Google’s built-in options included), see how to combine photos into one PDF on iPhone, Android, and PC.
Is this the same as making a collage?
No. N-up produces a uniform, order-preserving grid — every photo the same size, nothing overlapping. That’s exactly what you want for contact sheets, proofs, and handouts, and exactly wrong for a scrapbook-style collage with rotations, overlaps, and backgrounds; use a collage or design app for that. Rule of thumb: grid = N-up, freeform = collage.
Sources
Last verified 2026-07-15; tool steps and control names re-verified 2026-09-22 against the rebuilt pages-per-sheet tool.
- Wikipedia — N-up — definition of N-up as compositing pre-rendered pages onto a single page; the Compact OED 4-up (1971) and 9-up (1991) example.
- Adobe Acrobat Help — Print multiple pages per sheet — Acrobat’s print-dialog N-up (“also called N-up printing (such as 2-up or 6-up)”), custom counts up to 99, page-order options; print-time only.
- Wikipedia — Contact print — contact sheets as same-size proof prints of entire 35 mm rolls, used to select frames and evaluate exposure and composition.
- Adobe Photoshop Help — Contact sheets and PDF presentations — Contact Sheet II thumbnail grids with configurable columns and rows in desktop Photoshop.
- Adobe Photoshop Help — Print resolution for images — 300 ppi as the industry-standard resolution for high-quality prints.
- Wikipedia — ISO 216 — A4 = 210 × 297 mm; the A-series halving property behind “a quarter of A4 is A6.”
- Wikipedia — Letter (paper size) — US Letter = 8.5 × 11 in (215.9 × 279.4 mm), defined in ANSI/ASME Y14.1.