 By James
A print shop needs your photo at exactly 2400 × 3000 pixels; a web template wants a 1200 px-wide hero; a scanned form has a wide margin you need gone. All three are resize or crop jobs on a TIFF — and people get nervous because TIFF is usually the master copy and “lossless” is the whole reason it exists. The honest version: changing pixel dimensions or cutting to a region does change the pixel data — that’s what resizing and cropping mean — but unlike re-saving a JPEG, it adds no blocky compression artifacts, because TIFF stores the new pixels losslessly. This guide covers the difference between resizing and cropping, when to lock aspect ratio, and how DPI relates to pixels for print. We verified the resampling behavior and the print math against image-scaling and printing references.
Quick answer: Resizing changes the pixel dimensions of the whole image (e.g. 4000×3000 → 1200×900); cropping cuts the image down to a rectangular region (e.g. trim the margins). Both rewrite the pixel grid — resizing resamples (invents new pixel values by interpolation), cropping discards the pixels outside the box — so neither is “lossless” in the no-change sense. But because TIFF saves the result with lossless LZW/ZIP compression, there are no JPEG-style artifacts. Lock aspect ratio when resizing to avoid stretching; for print, set the pixel dimensions = print inches × DPI (300 DPI is the photo standard).
Jump to a section
- Resize vs crop: two different operations
- Does resizing or cropping a TIFF lose quality?
- Aspect ratio: when to lock it, when to break it
- DPI vs pixel dimensions for print
- Resize or crop a TIFF on xconvert
- FAQ
Resize vs crop: two different operations
People say “make it smaller” for both, but resizing and cropping change the image in fundamentally different ways.
- Resize (scale) changes the pixel dimensions of the whole image — the entire picture stays, rendered onto a new, larger or smaller grid of pixels. A 4000 × 3000 photo resized to 1200 × 900 keeps every part of the scene; there are just fewer pixels describing it.
- Crop changes the field of view — you cut out a rectangular region and discard everything outside it. The pixels that remain are untouched. Cropping a 4000 × 3000 photo to the central 2000 × 1500 keeps those pixels at full fidelity but loses the surrounding scene.
A way to remember it: resize keeps the content and changes the resolution; crop keeps the resolution and changes the content. You often do both — crop to the composition you want, then resize to the final pixel dimensions a template or print size requires.
Does resizing or cropping a TIFF lose quality?
This is where precision matters, because “TIFF is lossless” makes people expect resizing to be a free lunch. It isn’t — but the loss is not the kind JPEG inflicts.
Resizing resamples the image. Scaling a raster image generates a new image with a different number of pixels, and the software interpolates new pixel values from the old ones. Common algorithms are nearest-neighbor (sharp, for pixel art), bilinear, bicubic (a good general default), and Lanczos (high quality for photos). Two consequences follow:
- Downscaling (making it smaller) discards detail — the article on image scaling notes this “usually results in a visible quality loss.” You’re throwing away information that fewer pixels can’t hold. The result still looks clean; it just has less detail than the original.
- Upscaling (making it bigger) cannot recover detail that was never captured. Interpolation invents plausible in-between pixels, but it can’t add real resolution. Enlarging a small TIFF makes it soft, not sharp.
Cropping discards the pixels outside the box but doesn’t resample the ones it keeps — those stay bit-for-bit identical. So a pure crop is “lossless” for what remains, but you’ve permanently lost the cropped-away region.
Now the reason TIFF is the right format for this: none of this adds compression artifacts. Re-saving a JPEG runs lossy DCT compression that introduces blocking, ringing, and color smearing every time — see why a JPEG goes blurry after saving. A TIFF saved with LZW or ZIP/Deflate compression is truly lossless: the stored pixels are exactly the pixels the resize/crop produced, with nothing thrown away by the format. So the only change is the intended one — never the muddy artifacts of repeated lossy saving. If your goal is purely a smaller file rather than smaller dimensions, keep the pixels and compress instead: see reduce TIFF file size without losing quality.
In short: resizing and cropping change the pixel data on purpose, so they aren’t “no change at all” — but TIFF carries the result losslessly, so they don’t degrade it the way a lossy re-save would.
Aspect ratio: when to lock it, when to break it
Aspect ratio is the proportion of width to height (4:3, 3:2, 16:9, 1:1). Getting it wrong is the most common resizing mistake.
Lock the aspect ratio when resizing in almost every case. If you scale width and height by different factors, the image stretches — faces widen, circles become ovals. Locking (also called “constrain proportions” or “maintain aspect ratio”) ties the two dimensions together: set the width and the height follows automatically, so the picture only ever gets uniformly smaller or larger. Resizing a 4000 × 3000 (4:3) image to 1200 wide gives 900 tall automatically — no distortion.
Break the aspect ratio with a crop, not a stretch. When you genuinely need a different shape — a square 1:1 thumbnail from a 4:3 photo, or a 5×7 print from a 3:2 camera frame — don’t squash the image to fit. Crop to the new ratio instead. That removes content from the edges but keeps everything that remains correctly proportioned. The alternative, letting a print lab auto-fit a mismatched ratio, gives you white bars, an automatic crop through someone’s forehead, or a stretched image. The cleanest solution is to crop to the exact ratio you’re ordering before you upload, so you stay in control of the composition.
So: resize within a ratio (locked) to change size; crop to change the ratio. Stretching to change the ratio is almost never what you want.
DPI vs pixel dimensions for print
For anything that ends up on screen, pixel dimensions are the only thing that matters — a 1200 px-wide image is 1200 px wide regardless of any DPI tag. DPI/PPI only becomes meaningful when you print, where it sets the physical size the pixels are spread across.
The relationship is a simple multiplication:
Pixels = print size in inches × DPI
So at the photo-print standard of 300 DPI:
| Print size | Pixels needed at 300 DPI |
|---|---|
| 4 × 6 in | 1200 × 1800 |
| 5 × 7 in | 1500 × 2100 |
| 8 × 10 in | 2400 × 3000 |
| 8.5 × 11 in (letter) | 2550 × 3300 |
300 DPI is the standard for high-quality photo prints and albums; large-format pieces viewed from a distance (banners, posters) are fine at 150–200 DPI. The practical implication: resize to the pixel count the table demands, not to a DPI number. Changing only the DPI metadata without changing the pixels adds no real detail — it just relabels how big the existing pixels print. If your TIFF lacks the pixels for the print size at 300 DPI, upscaling won’t truly fix it; you accept a lower effective DPI or re-scan larger.
For scanned documents, where the right format matters as much as the dimensions, see TIFF vs PNG for scanned documents.
Resize or crop a TIFF on xconvert
The xconvert TIFF resizer handles the resize step in the browser with no software to install, and saves the result as a lossless TIFF. Here’s the flow:
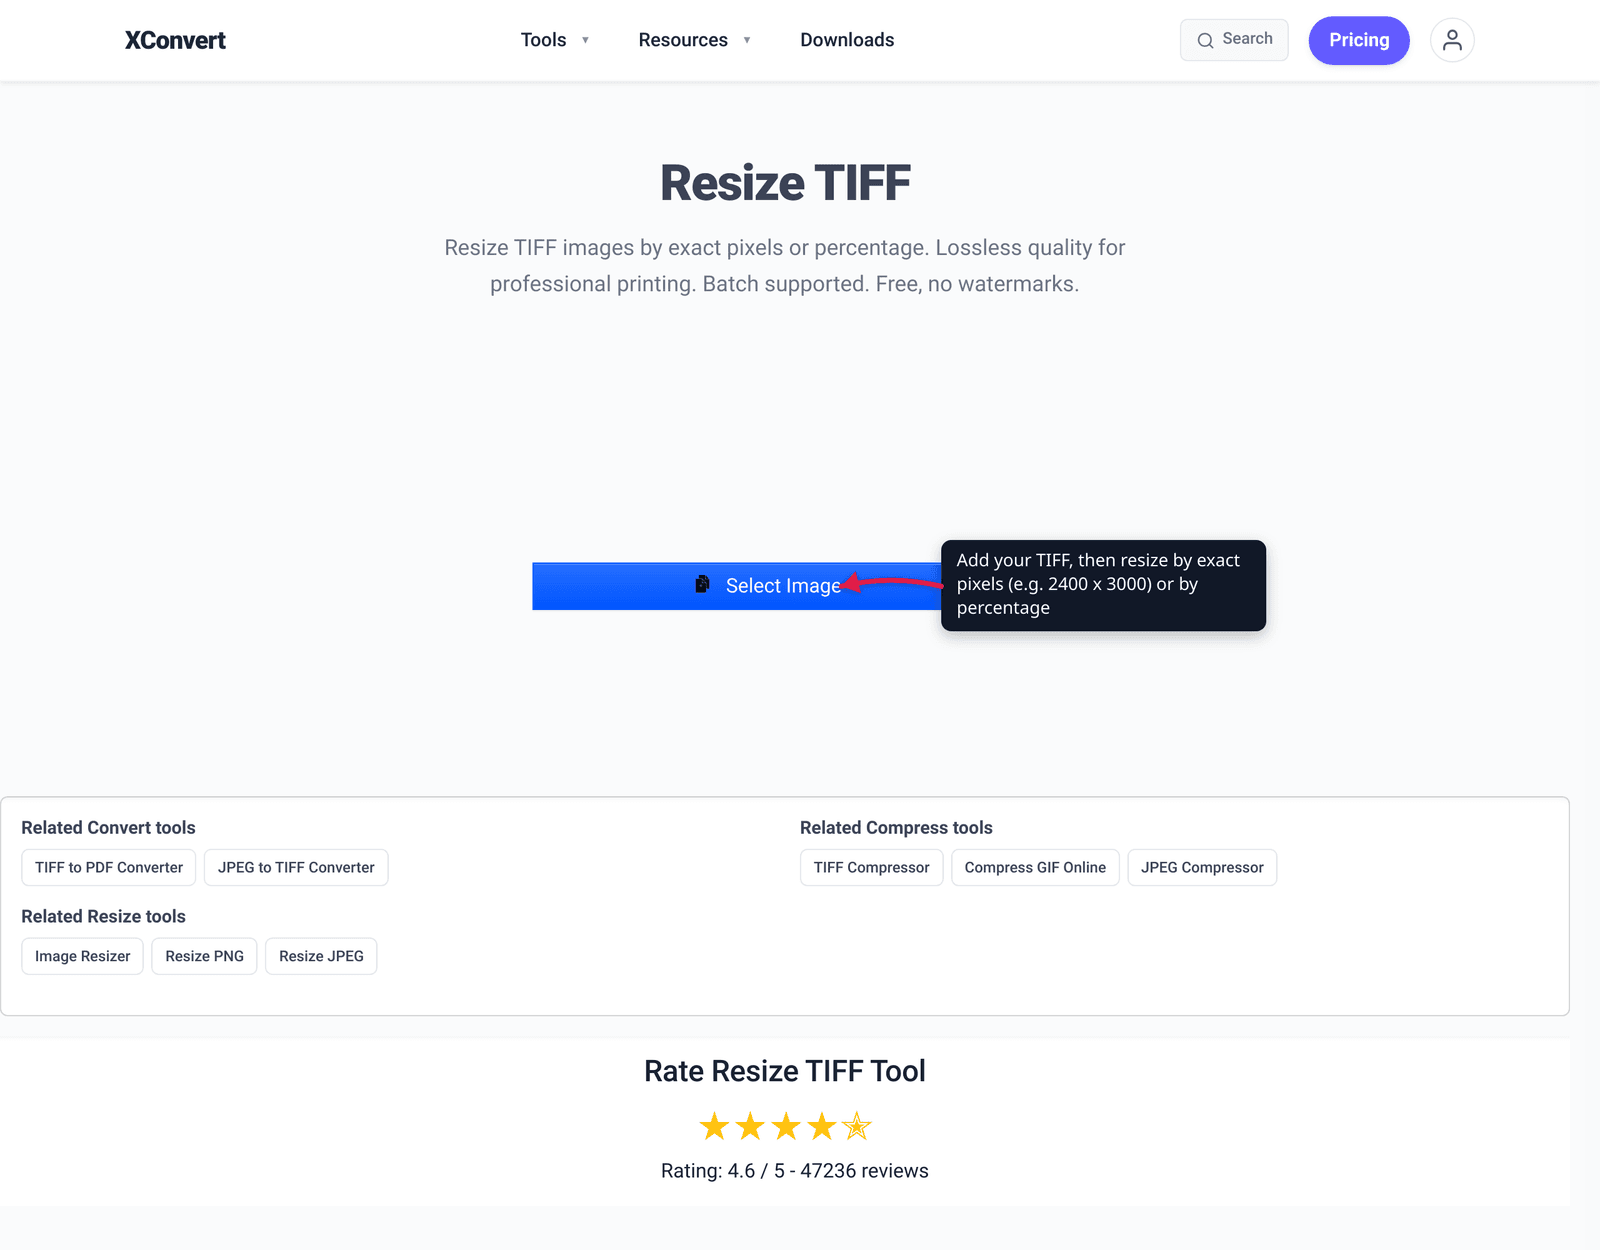
- Open xconvert.com/resize-tiff and click Select Image to add your file — from your computer, Google Drive, or Dropbox.
- Choose how to resize: exact pixels (type the target width/height — e.g. 2400 × 3000 for an 8 × 10 in print at 300 DPI) or by percentage (e.g. 50% to halve the dimensions).
- Keep the aspect ratio locked so the image scales uniformly without stretching; set one dimension and let the other follow.
- Apply the resize and download your TIFF. The output stays lossless — no JPEG-style artifacts are introduced.
Your file uploads over an encrypted connection, is processed on our servers, and is deleted automatically a few hours later — nothing lingers. To trim a region rather than scale the whole image, crop in your image editor first, then resize the cropped file here. And if you only need a smaller file, not smaller dimensions, use the TIFF compressor instead — it keeps every pixel and shrinks the file losslessly.
FAQ
Does resizing a TIFF reduce its quality?
Resizing resamples the image — it generates a new grid of pixels by interpolation — so it does change the pixel data, and downscaling discards detail. But because TIFF saves the result with lossless LZW or ZIP/Deflate compression, it adds no JPEG-style blocking or artifacts — the only change is the intended reduction in dimensions. Upscaling can’t recover detail that wasn’t there; it just interpolates and looks softer.
What’s the difference between resizing and cropping a TIFF?
Resizing scales the whole image to different pixel dimensions (everything stays, at lower or higher resolution). Cropping cuts the image down to a rectangular region, discarding everything outside the box. Resize keeps the content and changes the resolution; crop keeps the resolution and changes the content.
Should I keep the aspect ratio when resizing?
Yes, in almost every case. Locking the aspect ratio (constrain proportions) ties width and height together so the image scales uniformly and never stretches. If you need a different shape — a square from a rectangle, or a 5×7 from a 3:2 frame — crop to the new ratio rather than stretching the image to fit, which distorts it.
What pixel size do I need to print a TIFF at 300 DPI?
Multiply the print size in inches by 300: pixels = inches × DPI. A 4 × 6 in print needs 1200 × 1800 px, a 5 × 7 needs 1500 × 2100, and an 8 × 10 needs 2400 × 3000. 300 DPI is the standard for quality photo prints; large prints viewed from a distance are fine at 150–200 DPI.
Is cropping a TIFF lossless?
For the pixels that remain, yes — cropping doesn’t resample them, so they stay bit-for-bit identical, and a lossless TIFF preserves them exactly. But the pixels you crop away are permanently gone. So a crop is “lossless” for the kept region, but it isn’t reversible — keep a copy of the original master if you might need the full frame later.
Will changing the DPI make my TIFF print bigger or sharper?
Changing only the DPI metadata without changing the pixel count just relabels how large the existing pixels print — it doesn’t add real detail. To print larger and sharp, you need more pixels (resize/scan/shoot larger). To fit a specific print size, resize to inches × 300 pixels rather than chasing a DPI number.
Sources
Last verified 2026-06-25.
- Image scaling — Wikipedia — scaling generates a new image with a different pixel count via interpolation; nearest-neighbor/bilinear/bicubic/Lanczos algorithms; downscaling causes visible quality loss; upscaling can’t recover absent detail.
- Print Aspect Ratios Guide — Printkeg — pixels = inches × DPI; 8×10 at 300 DPI = 2400×3000; 300 DPI photo standard; crop to the target ratio before printing to avoid white bars / unwanted crops.
- TIFF — Wikipedia — TIFF supports lossless LZW and ZIP/Deflate compression; files can be edited and re-saved without the cumulative quality loss of standard JPEG.