 By James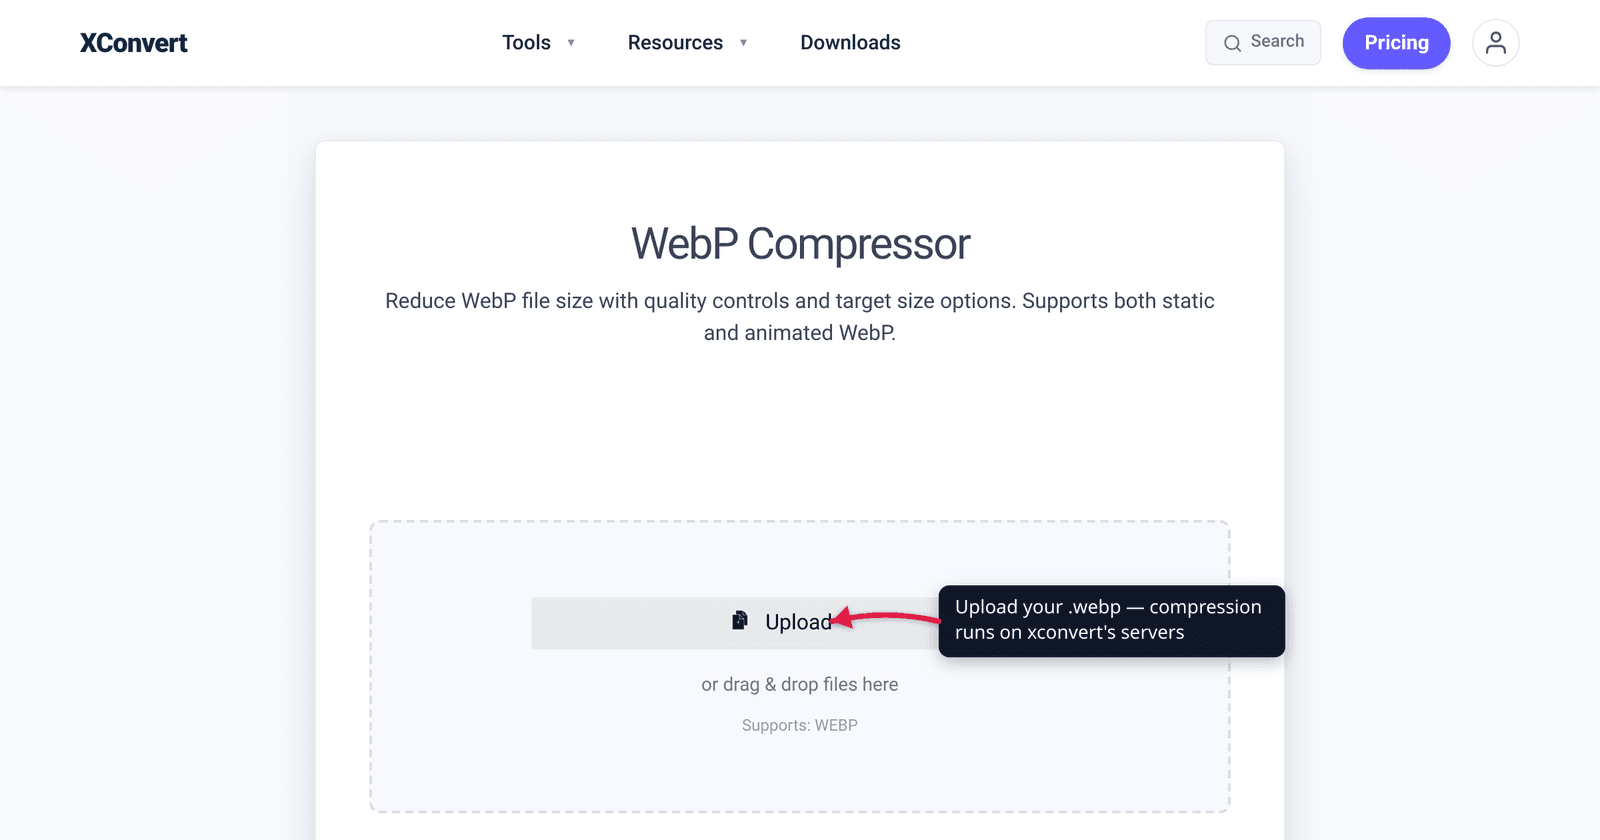
You exported a WebP, expecting it to be tiny — WebP is the “modern, efficient” format, after all — and it still came out larger than you wanted for a page that needs to load fast. The good news: a WebP file is almost always already smaller than the JPEG or PNG it replaced, so you’re optimizing from a strong starting point. The win comes from lowering the quality setting (lossy mode) or scaling down oversized dimensions, not from some magic switch. This guide explains exactly what “compressing a WebP” means, how much you can realistically save, and when converting to WebP from another format is the bigger prize. We verified WebP’s two compression modes and the size figures against Google’s own WebP documentation, MDN, and caniuse.
Quick answer: A WebP is “compressed” by re-encoding it in lossy mode at a lower quality (around 75–85 is the photo sweet spot) and/or scaling its pixel dimensions down to the size you actually display it at. WebP already beats JPEG by 25–34% and PNG by ~26% (per Google), so it starts small — the realistic extra saving comes from quality and dimensions, not the format. If your source is a JPEG or PNG, converting it to WebP is usually the bigger win than re-squeezing an existing WebP.
Jump to a section
- What “compressing a WebP” actually means
- Lossy vs lossless: which mode to use
- How much smaller can you realistically go?
- The dimensions trap (the saving you forget)
- Compress a WebP image on xconvert
- FAQ
What “compressing a WebP” actually means
WebP isn’t a single compression scheme — it’s a container that holds two different modes, and which one your file uses changes everything about how you shrink it. Per Google’s WebP documentation and MDN:
- Lossy WebP uses predictive coding derived from the VP8 video codec. It throws away visual detail you’re unlikely to notice in exchange for much smaller files — the same fundamental trade-off as JPEG, just more efficient.
- Lossless WebP reconstructs every pixel exactly, using already-seen image fragments. It’s the WebP equivalent of PNG — perfect fidelity, larger files.
So “compressing a WebP” means one of two things:
- If it’s lossless (typical for graphics, logos, screenshots exported from design tools), the single biggest lever is re-encoding it as lossy — that alone can drop the size dramatically.
- If it’s already lossy, you compress it by re-encoding at a lower quality value and/or reducing the pixel dimensions. There’s no free lunch here: a lower quality number means more detail discarded.
This matters because WebP is already an efficient format. Unlike a bloated PNG screenshot, a WebP doesn’t usually have huge, easy redundancy to strip — so set expectations honestly. The saving is real, but it comes from a deliberate quality-for-size trade, not from free “optimization.”
Lossy vs lossless: which mode to use
The right mode depends entirely on what the image is:
| Image type | Use | Why |
|---|---|---|
| Photographs, screenshots with photo content | Lossy | Continuous-tone detail compresses very well; the artifacts are nearly invisible at quality 75–85. |
| Logos, icons, flat illustrations, line art | Lossless (or high-quality lossy) | Sharp edges and flat color blocks show lossy artifacts (ringing) more readily; lossless keeps them crisp. |
| Anything with transparency you must preserve exactly | Lossless | Both modes support an alpha channel, but lossless guarantees pixel-exact transparency. |
| You need the smallest possible file and some softness is acceptable | Lossy | This is where WebP’s VP8-based compression shines. |
Both modes support alpha transparency and animation, so switching to lossy doesn’t cost you transparency — Google notes lossy WebP with transparency is roughly 3× smaller than the equivalent PNG. The trade-off is detail, not features.
A practical rule: photos → lossy at ~80; graphics → start lossless, only drop to high-quality lossy if you need the size. When in doubt, compress at a quality you think is too high, look at the result, and step it down — it’s faster than starting too low and discovering you’ve mangled the image.
How much smaller can you realistically go?
This is where honesty matters, because WebP’s reputation sets people up for disappointment. Here are the figures from the format’s owner, Google:
- Lossy WebP is 25–34% smaller than a comparable JPEG at the same SSIM quality index.
- Lossless WebP is about 26% smaller than PNG.
- Lossy WebP with transparency is roughly 3× smaller than PNG with transparency.
Read those carefully: they describe WebP-versus-other-format. They are the reason converting a JPEG or PNG to WebP is such a strong move. But if your file is already a WebP, you’ve already banked that advantage — re-compressing it again won’t repeat the 30% windfall.
So what can you realistically save on an existing WebP?
- Lossless WebP → lossy WebP: often a large drop (the file was storing every pixel exactly; now it doesn’t). This is the single biggest win for graphics/screenshot WebPs.
- High-quality lossy → moderate-quality lossy (e.g. quality 95 → 80): a meaningful drop with little visible change on photos.
- Already moderate-quality lossy → lower quality: diminishing returns, and visible artifacts arrive fast.
- Scaling down oversized dimensions: frequently the biggest saving of all — see the next section.
The honest framing: if your WebP is lossless or high-quality, you have room; if it’s already a lean lossy file, expect modest gains and watch the quality. And if you came here with a JPEG or PNG, the PNG → WebP conversion is the bigger lever.
The dimensions trap (the saving you forget)
The most common reason a WebP is “too big” has nothing to do with quality — it’s that the image is far larger in pixels than it’s ever displayed. A 4000×3000 photo dropped into an 800-pixel-wide blog column carries ~15× more pixels than the screen will ever show. No quality setting fixes that; only scaling the dimensions does.
File size scales roughly with pixel area, so halving both width and height cuts the pixel count to a quarter — often a bigger saving than any quality tweak, with zero visible loss if you scale to the display size. The order that works: find how wide the image is actually shown (a content image in an article is rarely wider than ~1200 px), scale to at most 2× that for high-DPI screens, and then apply lossy quality. Dimensions first, quality second.
xconvert’s compressor does both at once: it scales dimensions automatically to hit a target file size before it sacrifices quality, so scaling-then-quality is the default rather than something you wire up by hand.
Compress a WebP image on xconvert
The xconvert WebP compressor lets you set a target size or a quality level and handles the dimension scaling for you:
- Open xconvert.com/compress-webp and click Upload to add your
.webpfile (from your computer, Google Drive, or Dropbox). - Choose how to control the output:
- Target file size (%) — marked (Best) — shrink to a percentage of the original (e.g. 50% to roughly halve it).
- Specific file size — enter an exact target in KB/MB and let the tool work backward to it.
- Image Quality (%) — set a quality value directly; 75–85 is the recommended sweet spot for photos.
- Leave Auto Scale on (it shows Smart Scaling Active) so the tool reduces oversized dimensions to meet your target before it degrades quality — this is the dimensions saving from the section above, applied for you.
- Click Compress, then download the result. Compare it to the original; if it’s softer than you’d like, raise the quality a few points and re-run.
Your file is uploaded over an encrypted connection, processed on our servers, and automatically deleted a few hours later — nothing stays around.
If you actually started with a different format, converting to WebP is usually the larger win: see convert PNG to WebP for the transparency-preserving path that banks the 25–34% format advantage in the first place.
FAQ
How do I make a WebP file smaller?
Re-encode it in lossy mode at a lower quality (around 75–85 for photos) and scale its pixel dimensions down to the size you actually display it at. If the WebP is currently lossless, switching to lossy is the single biggest saving. Dimensions usually matter more than people expect — a photo far larger than its display size wastes most of its bytes.
Does compressing a WebP reduce its quality?
Lossy compression always discards some detail — that’s how it makes the file smaller. At quality 75–85 the loss is hard to see on photographs, but it’s real and it’s permanent, so keep your original. Lossless WebP stays pixel-perfect, but it can’t shrink nearly as much. There’s no setting that makes a file smaller with zero quality cost — except scaling down dimensions you don’t need.
Why is my WebP still large even though WebP is “efficient”?
Usually because it’s lossless (storing every pixel exactly, like a PNG) or because its pixel dimensions are far bigger than where it’s shown. WebP’s efficiency is relative to JPEG/PNG — Google cites 25–34% smaller than JPEG — but an oversized, lossless WebP can still be big. Switch it to lossy and scale it to display size.
Should I compress a WebP or convert my JPEG/PNG to WebP instead?
If your source is a JPEG or PNG, convert it to WebP — that’s where the headline savings live (25–34% vs JPEG, ~26% vs PNG per Google). Re-compressing a file that’s already WebP gives smaller, diminishing returns because the format advantage is already banked. See convert PNG to WebP.
Is WebP supported in all browsers now?
Effectively yes. Per caniuse, WebP has roughly 96% global support: Chrome since v32, Firefox since v65, Edge since v18, and Safari since v16 (macOS Big Sur / iOS 14 era and later). Internet Explorer never supported it. For the rare legacy visitor, MDN recommends a JPEG/PNG fallback via the <picture> element.
What quality setting should I use for a WebP photo?
75–85 is the widely recommended range for photographs — small enough to save meaningful size, high enough that artifacts stay invisible at normal viewing. Start at 80, look at the result, and adjust. Graphics, logos and screenshots with sharp edges do better at higher quality or in lossless mode.
Sources
Last verified 2026-06-25.
- Google — WebP: A new image format for the Web — owner of the format; “lossy WebP 25–34% smaller than JPEG”, “lossless WebP 26% smaller than PNG”, lossy-with-transparency ~3× smaller than PNG, and the two modes (VP8 predictive coding / exact pixel reconstruction).
- MDN — Image file type and format guide (WebP) — WebP capabilities: both lossy and lossless modes, animation, 8-bit alpha transparency, and the
<picture>fallback recommendation. - caniuse — WebP image format — current browser support (~96% global; Chrome 32+, Firefox 65+, Edge 18+, Safari 16+; not in IE).