 By Stephanie Taylor
You recorded a 90-minute seminar in Teams or Zoom, and the file that came out is enormous. The LMS upload dialog rejects it, so you reach for the obvious fix — drop it to 720p, or hand it to a compressor set to “50% of original” — and now the slide text is a smear and the equations on the whiteboard are unreadable. That is the wrong lever for this kind of footage. A lecture recording is mostly a still picture, and that changes which setting you should be touching.
Quick answer: Do not reduce the resolution, and do not use a percentage or MB target. Those force an average bitrate across the whole runtime and, with Auto Scale on by default, will shrink the frame — which is precisely what destroys slide text. Use Compress MP4 with File Compression → Constant Quality, keep the codec on H.264 and audio on AAC, nudge the CRF value up a few steps from its default of 23, and Trim the dead air at the start and end in the same pass. A lecture is low-motion, so quality-based encoding spends almost nothing on the static minutes.
Jump to a section
- What a lecture recording is actually made of
- Why constant quality beats a size target here
- Text legibility is the constraint, not resolution
- What your LMS will actually accept
- Compress a lecture recording on xconvert
- FAQ
What a lecture recording is actually made of
Modern video codecs compress by predicting each frame from the ones around it and encoding only the difference. Feed them footage where almost nothing moves and they need very few bits. A recorded lecture is close to the ideal case — and knowing which parts are cheap tells you where the file size actually comes from.
| What’s on screen | Cost to encode | What it means for you |
|---|---|---|
| A slide held for 30–60 seconds | Very cheap — one keyframe, then near-zero difference per frame | The bulk of your runtime is almost free. Long files are not automatically big files |
| Small webcam tile of the presenter | Cheap — a small region with modest motion | Not worth optimising separately |
| Cursor movement and highlighting | Cheap — a handful of pixels change | Fine to keep |
| Scrolling a document or a code editor | Expensive — every pixel shifts, so prediction fails on the whole frame | Scroll less when recording; this is where the bitrate spikes |
| Slide transitions, animations, embedded video clips | Expensive — full-frame change | Unavoidable, but usually a small fraction of the runtime |
| Voice audio | Cheap and small relative to video | Leave the audio codec on AAC and stop thinking about it |
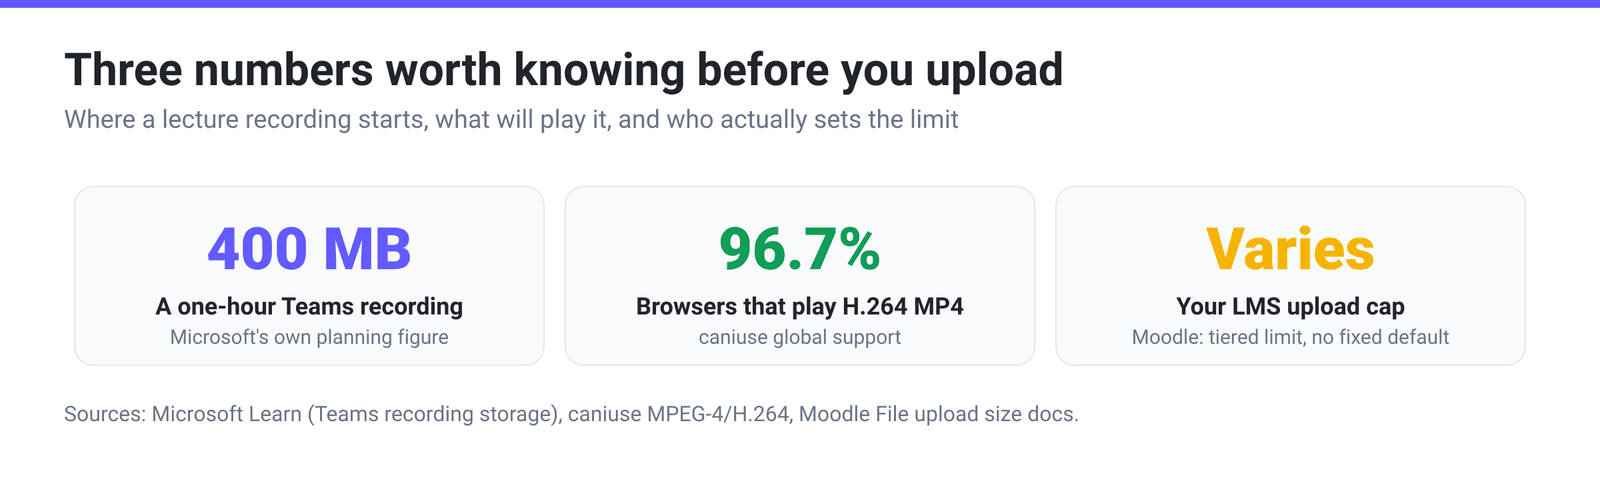
Microsoft publishes a useful planning figure for the source side: “The size of a one-hour recording is 400 MB.” That is the order of magnitude you are starting from for a Teams recording, before you compress anything.
Why constant quality beats a size target here
The compressor offers several ways to control size, and the difference matters more for a 90-minute lecture than for almost any other kind of video.
| File Compression mode | What it does | Right for a lecture? |
|---|---|---|
| Target file size (%) (Best) — the default | Back-solves an average bitrate to land near a share of the current size. Auto Scale is on by default and may reduce the frame size | No. Averaging spends the same bits on your static hour as on your busy minutes, and Auto Scale attacks resolution first |
| Specific file size | Same mechanism, aimed at an exact number of MB | Only when you have a genuinely hard cap and no alternative |
| Constant Bitrate / Variable Bitrate | You name the bitrate directly | Workable, but you are guessing a number that constant quality would find for you |
| Constant Quality | Encodes to a quality level, letting the bitrate fall wherever the picture is static | Yes. This is the mode that exploits a lecture’s low motion |
| Constraint Quality | Constant quality plus a ceiling on bitrate | Useful when a platform enforces a maximum bitrate as well as a size |
Constant Quality works through CRF — the constant rate factor, which FFmpeg documents as the setting that “set[s] the quality for constant quality mode.” Lower numbers mean higher quality and larger files; higher numbers mean the opposite. On the MP4 compressor the slider runs from 16 to 51 and opens at 23.
The method is boring and reliable: raise CRF a few steps from 23, re-encode, then open the result at 100% zoom on the slide with the smallest text. Stop one step before that text looks soft. Because the codec barely spends bits on the static portions, a modest CRF increase removes far more from a lecture than the same increase would from moving-camera video.
One structural note: Video resolution is hidden while Auto Scale is on, and Auto Scale is on by default in the size-target modes. Switching File Compression to Constant Quality is what makes the Video resolution picker appear — and for a lecture you should then leave it on Keep original.
Text legibility is the constraint, not resolution
For most video, dropping 1080p to 720p is a free win: nobody notices on a phone. For a lecture it is the most damaging thing you can do, because what has to survive is small, high-contrast text — slide bullets, code, formulae, axis labels. Halve the linear resolution and a 12-point label loses half its pixel height, permanently.
So the order of operations inverts the usual advice:
- Trim first. Recordings routinely open with minutes of “can everyone hear me” and run on after the last question. Cutting five minutes from a 90-minute file is a straight saving that costs no quality. Trim takes a Start time and a Duration, in the same encode.
- Then raise CRF, in small steps, checking the smallest text each time.
- Only then consider resolution — and take a small step. The preset list puts 768p between 1080p and 720p; use it before you contemplate 480p.
- Never let Auto Scale make that call on a text-heavy recording.
If your recording is a talking head with no slides, none of this applies and the usual rules do: see compress a video to a specific size.
What your LMS will actually accept
Be sceptical of any article that gives you a single number for Canvas, Blackboard or Moodle. These limits are configured by your institution, and the vendors document them that way.
Moodle is clearest about it: the maximum upload size is a chain in which “at no time can the Course setting over-ride the Site setting, nor can the Site setting over-ride the php.ini setting, which cannot over-ride the Server setting.” Four levels, each capping the one below, with no universal published default. Blackboard’s instructor documentation for adding course content does not publish a per-file maximum at all. The number that governs you is whatever your administrator set.
Two practical consequences:
- Read the limit off your own upload dialog. Moodle shows the effective maximum next to the file picker; Canvas and Blackboard report the applicable limit on failure. That figure is authoritative for you in a way no blog post can be.
- For a full-length lecture, uploading the file may be the wrong plan. Most institutions run a dedicated video platform — Panopto, Kaltura, Canvas Studio, Microsoft Stream — that handles long recordings and does not consume your course file quota. Upload short clips to the LMS; link the 90-minute seminar from the video platform.
Whatever the destination, output MP4 with H.264 video and AAC audio. LMS players are browser players, and H.264 in MP4 sits at 96.68% global browser support on caniuse. H.265 gives a smaller file, but its browser support is partial and hardware-dependent — not a gamble worth taking with a class of 200 on unknown machines.
Compress a lecture recording on xconvert
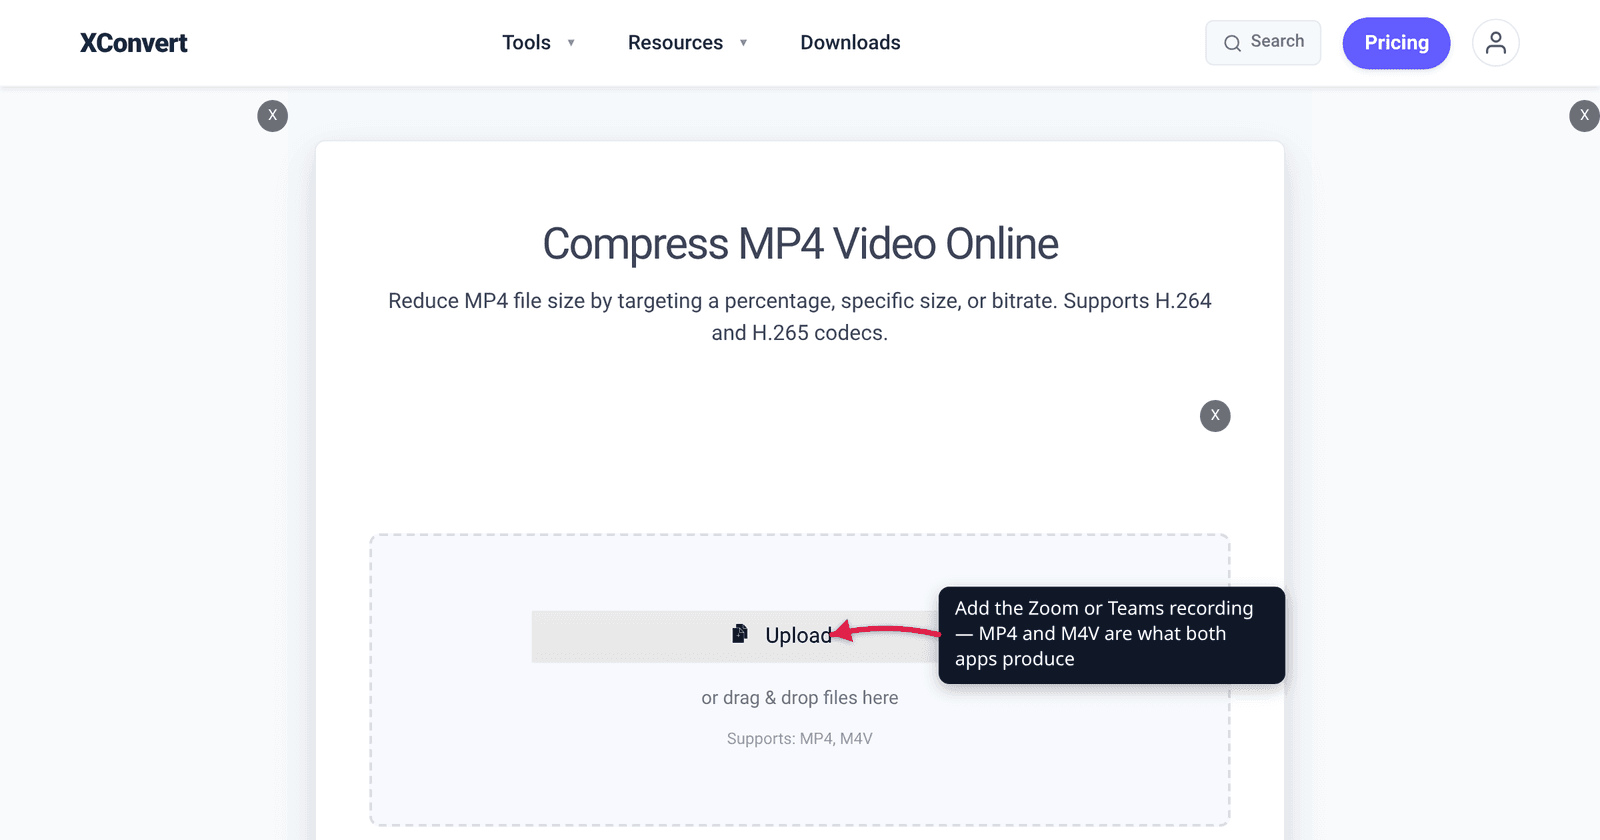
- Open xconvert.com/compress-mp4 and click Upload to add your recording. The page accepts
.mp4and.m4v; if your capture tool saved a MOV or MKV instead, convert it to MP4 first. - In Advanced Options, switch on the Show All Options toggle at the top of the panel — Video Codec and Audio Codec are advanced controls and do not appear on the default panel. Leave Video Codec on H.264 and Audio Codec on AAC. These are the defaults and they are correct for an LMS.
- Set File Compression to Constant Quality, then raise the CRF value a few steps above its default of 23. This is the setting that exploits a lecture’s low motion.
- Confirm Video resolution is on Keep original — the picker becomes visible once you leave the size-target modes, and slide text is the thing you are protecting.
- Use Trim to set a Start time and Duration that cut the dead air at both ends, in the same pass rather than a second encode.
- Compress and download, then check the smallest text on a slide at 100% zoom before you upload. Your file goes over an encrypted connection, is processed on our servers, and is deleted automatically a few hours later — no sign-up, no watermark.
Need to hit a specific number rather than a look? The mechanics of that path are covered in compress a video to a specific size, and how to compress a video for email walks through the target-size control in detail.
FAQ
Should I drop my lecture from 1080p to 720p to make it fit?
Treat that as the last resort, not the first move. Slide text, code and formulae are small high-contrast detail, and halving the linear resolution halves their pixel height permanently. Trim the dead air, then raise CRF in small steps; a low-motion recording gives up a lot of size for very little visible change before resolution needs to enter the conversation at all.
Why is my one-hour recording so large when nothing moves?
Usually because something did move. Scrolling a document or a code editor shifts every pixel on screen, which defeats inter-frame prediction and spikes the bitrate for as long as the scrolling lasts. Slide transitions and embedded video clips do the same. If your recording is unexpectedly big, look for the scrolling, not the slides.
What file size will my LMS accept?
Whatever your institution configured. Moodle documents a four-level chain — server, PHP, site administration, then course and activity — in which no level can override the one above it, and publishes no universal default. Blackboard’s add-content documentation does not state a per-file maximum. Read the limit from your own course’s upload dialog rather than from any general figure.
Should I use H.265 to get a smaller file?
Not for coursework. H.265 is meaningfully more efficient, but browser support is partial and depends on the viewer having a hardware decoder, and LMS playback happens in a browser. H.264 in MP4 is at 96.68% global browser support and will simply play. Keep H.265 for archives you control.
Can I cut the introduction without a separate editing step?
Yes. The Trim control takes a Start time and a Duration, in seconds or as HH:MM:SS.sss, and applies during the same encode as the compression. One pass avoids a second generation of lossy encoding — which matters when slide text is the thing you are protecting.
Sources
Last verified 2026-08-31.
- Microsoft Learn — Teams meeting recording and transcript storage in OneDrive and SharePoint — “The size of a one-hour recording is 400 MB”; recordings are stored in OneDrive or SharePoint and count against those quotas.
- Moodle documentation — File upload size — the four-level chain (server, PHP, site administration, course and activity) and the statement that no level can override the one above it; no universal default is published.
- Blackboard (Anthology) — Add content to a course — the instructor documentation for adding files, images, audio and video does not publish a per-file size maximum.
- caniuse — MPEG-4 / H.264 video format — 96.68% global browser support, the figure quoted above.
- FFmpeg codecs documentation — libx264 —
crf: “Set the quality for constant quality mode.” - xconvert MP4 compressor — live control set: Video Codec (H.264 default) and Audio Codec (AAC default), both behind the Show All Options toggle; File Compression modes including Constant Quality with a CRF range of 16–51 opening at 23; Video resolution, which is hidden while Auto Scale is ticked; and Trim.