 By Stephanie Taylor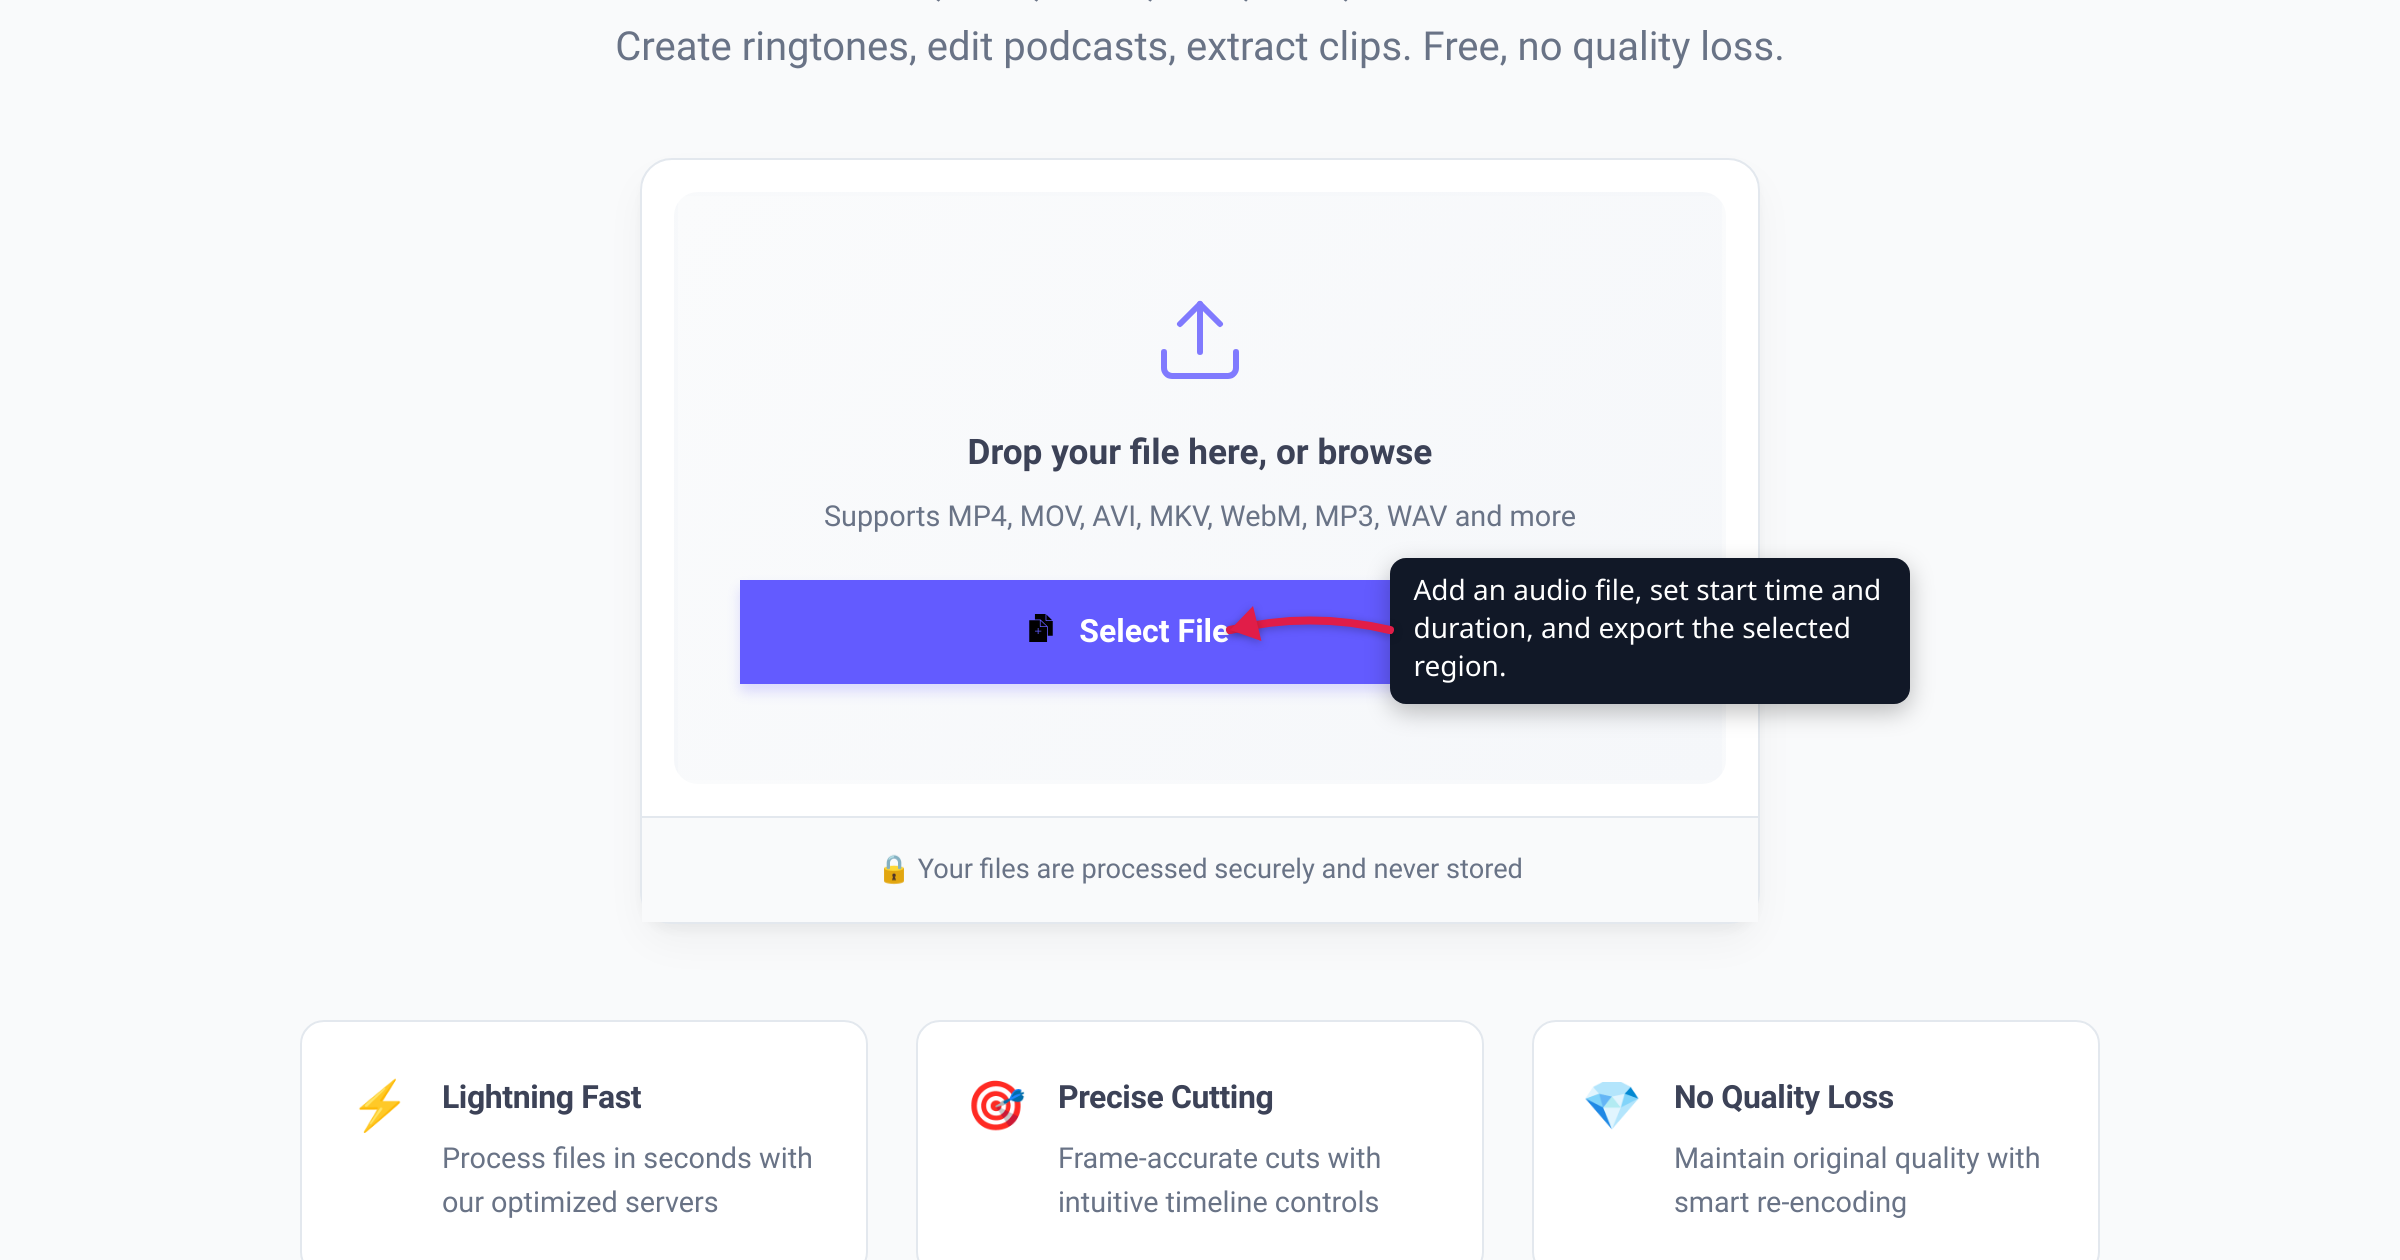
A 47-minute meeting recording where the only part you need is the six-minute decision in the middle. A voice memo that spends its first ten seconds on fumbling and “okay, it’s recording now.” A song you own whose chorus would make a perfect alert tone. All three are the same job — keep one slice of an audio file, discard the rest — and none of them needs an editor install. This guide shows the exact workflow on a free online cutter, with the real numbers to type in. We verified every control and label on the live tool, and checked the platform facts (Apple’s 30-second ringtone cap, the Voice Memos export format) against Apple’s own documentation.
Quick answer: Open the xconvert audio cutter, drop your file onto the page (or click Select File), then set Start time and Duration in the trim controls that appear — in plain seconds (12.5) or HH:MM:SS.sss (00:01:30.500). Leave the output format alone and the cut keeps the original format with no re-encoding (the tool’s documented default is a lossless stream copy); switch to MP3 for sharing. Click Convert, download the clip. Your original file is never modified.
Jump to a section
- What cutting an audio file actually does
- Four everyday trims — with the numbers to enter
- Which export format should you pick?
- When a cut is lossless — and when it re-encodes
- Cut an audio file on xconvert
- FAQ
What cutting an audio file actually does
Cutting (or trimming — same operation) keeps one continuous region of the file and discards everything outside it. On the xconvert cutter the region is defined by two values: a Start time and a Duration. Everything between start and start + duration is kept; the rest is dropped. If you think in start/end timestamps instead, the conversion is one subtraction: duration = end − start.
Two properties worth knowing before you start:
- Your original is untouched. The cutter uploads a copy, trims it on the server, and gives you a new file to download — so you automatically keep a full-length backup. Still, don’t delete the source until you’ve played the cut and confirmed the boundaries landed right.
- It’s a trimmer, not an audio editor. It exports the selected region exactly as it sounds in the source — no fade-in/fade-out, volume ramps, or multi-track features. If you want the clip to fade out, cut here and add the fade in a desktop editor like Audacity (free, open source).
The audio cutter accepts the common formats — MP3, WAV, FLAC, AAC/M4A, OGG/Opus, WMA, AIFF, AC3, AMR and more (19 extensions are listed on the page) — and it sits alongside per-format cutters for video and audio in xconvert’s cut tools hub.
Four everyday trims — with the numbers to enter
First, find your timestamps: play the file in anything (your phone’s player, VLC, even a browser tab), note where the part you want starts and ends, and subtract. Then it’s just data entry.
1. Cut the dead air off a meeting or class recording. The real content in a 47:30 recording starts at 2:10 after the join-noise and small talk. Enter Start time 00:02:10.000 and Duration 00:45:20.000 (that’s 47:30 minus 2:10) and you get a clean file that starts on the first useful sentence.
2. Extract one section of a lecture or interview. The segment you need to re-listen to (or send to a colleague) runs from 12:40 to 19:05. Start time 00:12:40.000, Duration 00:06:25.000. A one-hour file becomes a six-minute clip that’s faster to share, faster to seek through, and far smaller.
3. Clip a song you own. The chorus runs from 0:52 to 1:22 — switch the unit dropdown to seconds and enter Start time 52, Duration 30. Thirty seconds is deliberate: Apple’s documented route for custom iPhone ringtones goes through GarageBand, and per Apple, ringtones can be up to 30 seconds long. Export the clip as M4A, add it to GarageBand on the iPhone, and use Share → Ringtone.
4. Trim a voice memo before sending it. iPhone Voice Memos recordings export as .m4a by default (Apple’s documentation), which the cutter accepts — share the memo to your computer, cut the rambling lead-in (Start 8, Duration 86 turns a 1:34 memo into the 86 seconds that matter), and send the tight version. If the trimmed memo is still too heavy for chat or email, shrink it next — see compress a voice or call recording.
The same mechanics cover the rest: pulling a quote out of a podcast, isolating tracks from a long live recording (one run per track, with different start/duration windows), or shortening any recording to its useful core.
Which export format should you pick?
The cutter’s default answer is the best one for most trims: keep the original format. Per the tool’s own documentation, the default output is the source format with no re-encoding — a lossless stream copy — so a trimmed MP3 stays byte-identical MP3 audio, just shorter. Only change the format when the destination demands it:
| Your goal | Export choice |
|---|---|
| Just a shorter version of the same file | Leave the default — original format, no re-encode |
| Send in chat/email, play anywhere | MP3 |
| Edit further in a DAW or editor | WAV (or FLAC for smaller lossless) |
| iPhone ringtone via GarageBand | M4A, 30 seconds or less |
Switching formats happens under To Extension after your file is added, and the page also exposes deeper knobs — audio codec, constant vs variable bitrate under File Compression, stereo/mono under Audio Channel, and sample rates from 8 to 48 kHz — but for everyday trims the defaults are fine. If your real goal is a smaller file rather than a shorter one, that’s a compression job, not a cutting job: see reduce MP3 file size.
When a cut is lossless — and when it re-encodes
The quality question is the one people ask most about online cutters, and the answer has two halves:
Same format out = lossless. As long as you don’t change the output format or touch the bitrate settings, the tool documents its cut as a stream copy — the same -c copy operation ffmpeg performs. The audio bytes pass through untouched at the original bitrate; nothing is decoded and re-compressed, so there is no generation loss at all.
Changed format or bitrate = one re-encode. Pick a different extension under To Extension (say, FLAC in → MP3 out for sharing) and the kept region is re-encoded once. One generation of a sensible lossy encode is inaudible for speech and casual listening; just avoid stacking re-encodes by always cutting from your original rather than from a previous cut.
One precision detail: on lossless runs the cut points snap to codec frame boundaries. WAV, AIFF, and FLAC cut sample-accurate; for lossy formats the tool documents roughly 26 ms granularity for MP3 and ~21 ms for AAC, and Opus is built from frames of 2.5–60 ms, typically 20 ms (RFC 6716). A few hundredths of a second is imperceptible for voice memos, lectures, and ringtones; if you need sample-exact edits on a lossy source, export to WAV, edit, then re-encode once.
Cut an audio file on xconvert
The whole flow on the xconvert audio cutter takes about a minute plus upload time:
- Open xconvert.com/audio-cutter and add your file — drag it onto “Drop your file here, or browse” or click Select File (from your computer, Google Drive, or Dropbox). Batch is supported: drop several files to apply the same cut to all.
- The trim controls appear once the file is added. Under Trim, choose Time Range, then enter your Start time and Duration — either plain seconds (e.g.
12.5) orHH:MM:SS.sss(e.g.00:01:30.500), picking the unit from the dropdown next to each field. - Optional: set the output. Leave it alone to keep the original format with a lossless stream copy, or switch the extension under To Extension (MP3, M4A, WAV, FLAC and more) and adjust codec, bitrate, channels, or sample rate if you need to.
- Click Convert to cut the file.
- Download the clip — single files directly, batches as a ZIP.
Your file uploads over an encrypted connection, is processed on our servers, and is deleted automatically a few hours later — no sign-up and no watermark.
FAQ
Does cutting or trimming an audio file reduce its quality?
Not if you keep the same output format. The xconvert cutter documents its default as a lossless stream copy — the audio bytes pass through with the original bitrate intact, so the clip sounds exactly like that region of the source. Quality only changes if you switch format or bitrate, which costs one generation of re-encoding — fine once, worth avoiding repeatedly.
How do I cut a section out of the middle of a recording?
Run the cutter once per piece you want to keep. Each run keeps a single continuous region, so removing minutes 10–12 from a 30-minute file means one run for 0:00–10:00 (Start 0, Duration 600 seconds) and one for 12:00–30:00 (Start 00:12:00.000, Duration 00:18:00.000), then joining the two clips with a merge tool or a free editor like Audacity.
What’s the best format to export a trimmed clip in?
Default to the format it’s already in (lossless, no quality change). Choose MP3 when the clip needs to play anywhere — chat apps, email, old car stereos. Choose WAV or FLAC when the clip is headed into further editing, so later exports don’t stack lossy generations.
Can I trim an iPhone voice memo online?
Yes — Voice Memos recordings export as .m4a by default (per Apple), which the cutter accepts. Share the memo to Files or your computer, upload, cut, done. For a quick trim without leaving the phone, Voice Memos’ own edit mode lets you drag trim handles and Save as New Recording. The online cutter earns its keep when you also want a format switch, batch cuts, or precise typed-in timestamps.
How precise are the cut points?
Sample-accurate for WAV, AIFF, and FLAC. For lossy formats cut losslessly, the cut snaps to the nearest codec frame — about 26 ms for MP3 per the tool’s docs, and typically 20 ms for Opus (RFC 6716). That’s a fiftieth of a second or better: irrelevant for speech and ringtones. Need tighter? Cut via WAV and re-encode once.
Is it safe to upload a private recording to an online cutter?
Understand the model before you upload: an online cutter is server-side — your file travels (encrypted in transit) to xconvert’s servers, is trimmed there, and is deleted automatically a few hours later, with no account required. For everyday recordings that trade-off is fine. For genuinely sensitive material — legal, medical, confidential business audio — the conservative choice with any online tool is to trim locally instead (Voice Memos’ built-in trim, or Audacity on the desktop).
Sources
Last verified 2026-07-16.
- xconvert Audio Cutter — the live tool: control labels (Select File, Trim → Time Range, Start time/Duration, To Extension, Convert), accepted formats, lossless stream-copy default, frame-boundary cut granularity, and server-side processing/deletion wording.
- Apple Support — Create a custom ringtone on your iPhone — “ringtones can be up to 30 seconds long”; GarageBand shortens longer exports.
- Apple Support — Export a Voice Memos recording to Files on iPhone — “By default, recordings are exported in .m4a format.”
- Apple Support — Edit or delete a recording in Voice Memos on iPhone — the built-in trim-handles editor and Save as New Recording.
- RFC 6716 — Definition of the Opus Audio Codec — “Opus can encode frames of 2.5, 5, 10, 20, 40, or 60 ms”; 20 ms as the common frame size.
- Audacity — free, open-source audio editor referenced for fades and merges.