 By Stephanie Taylor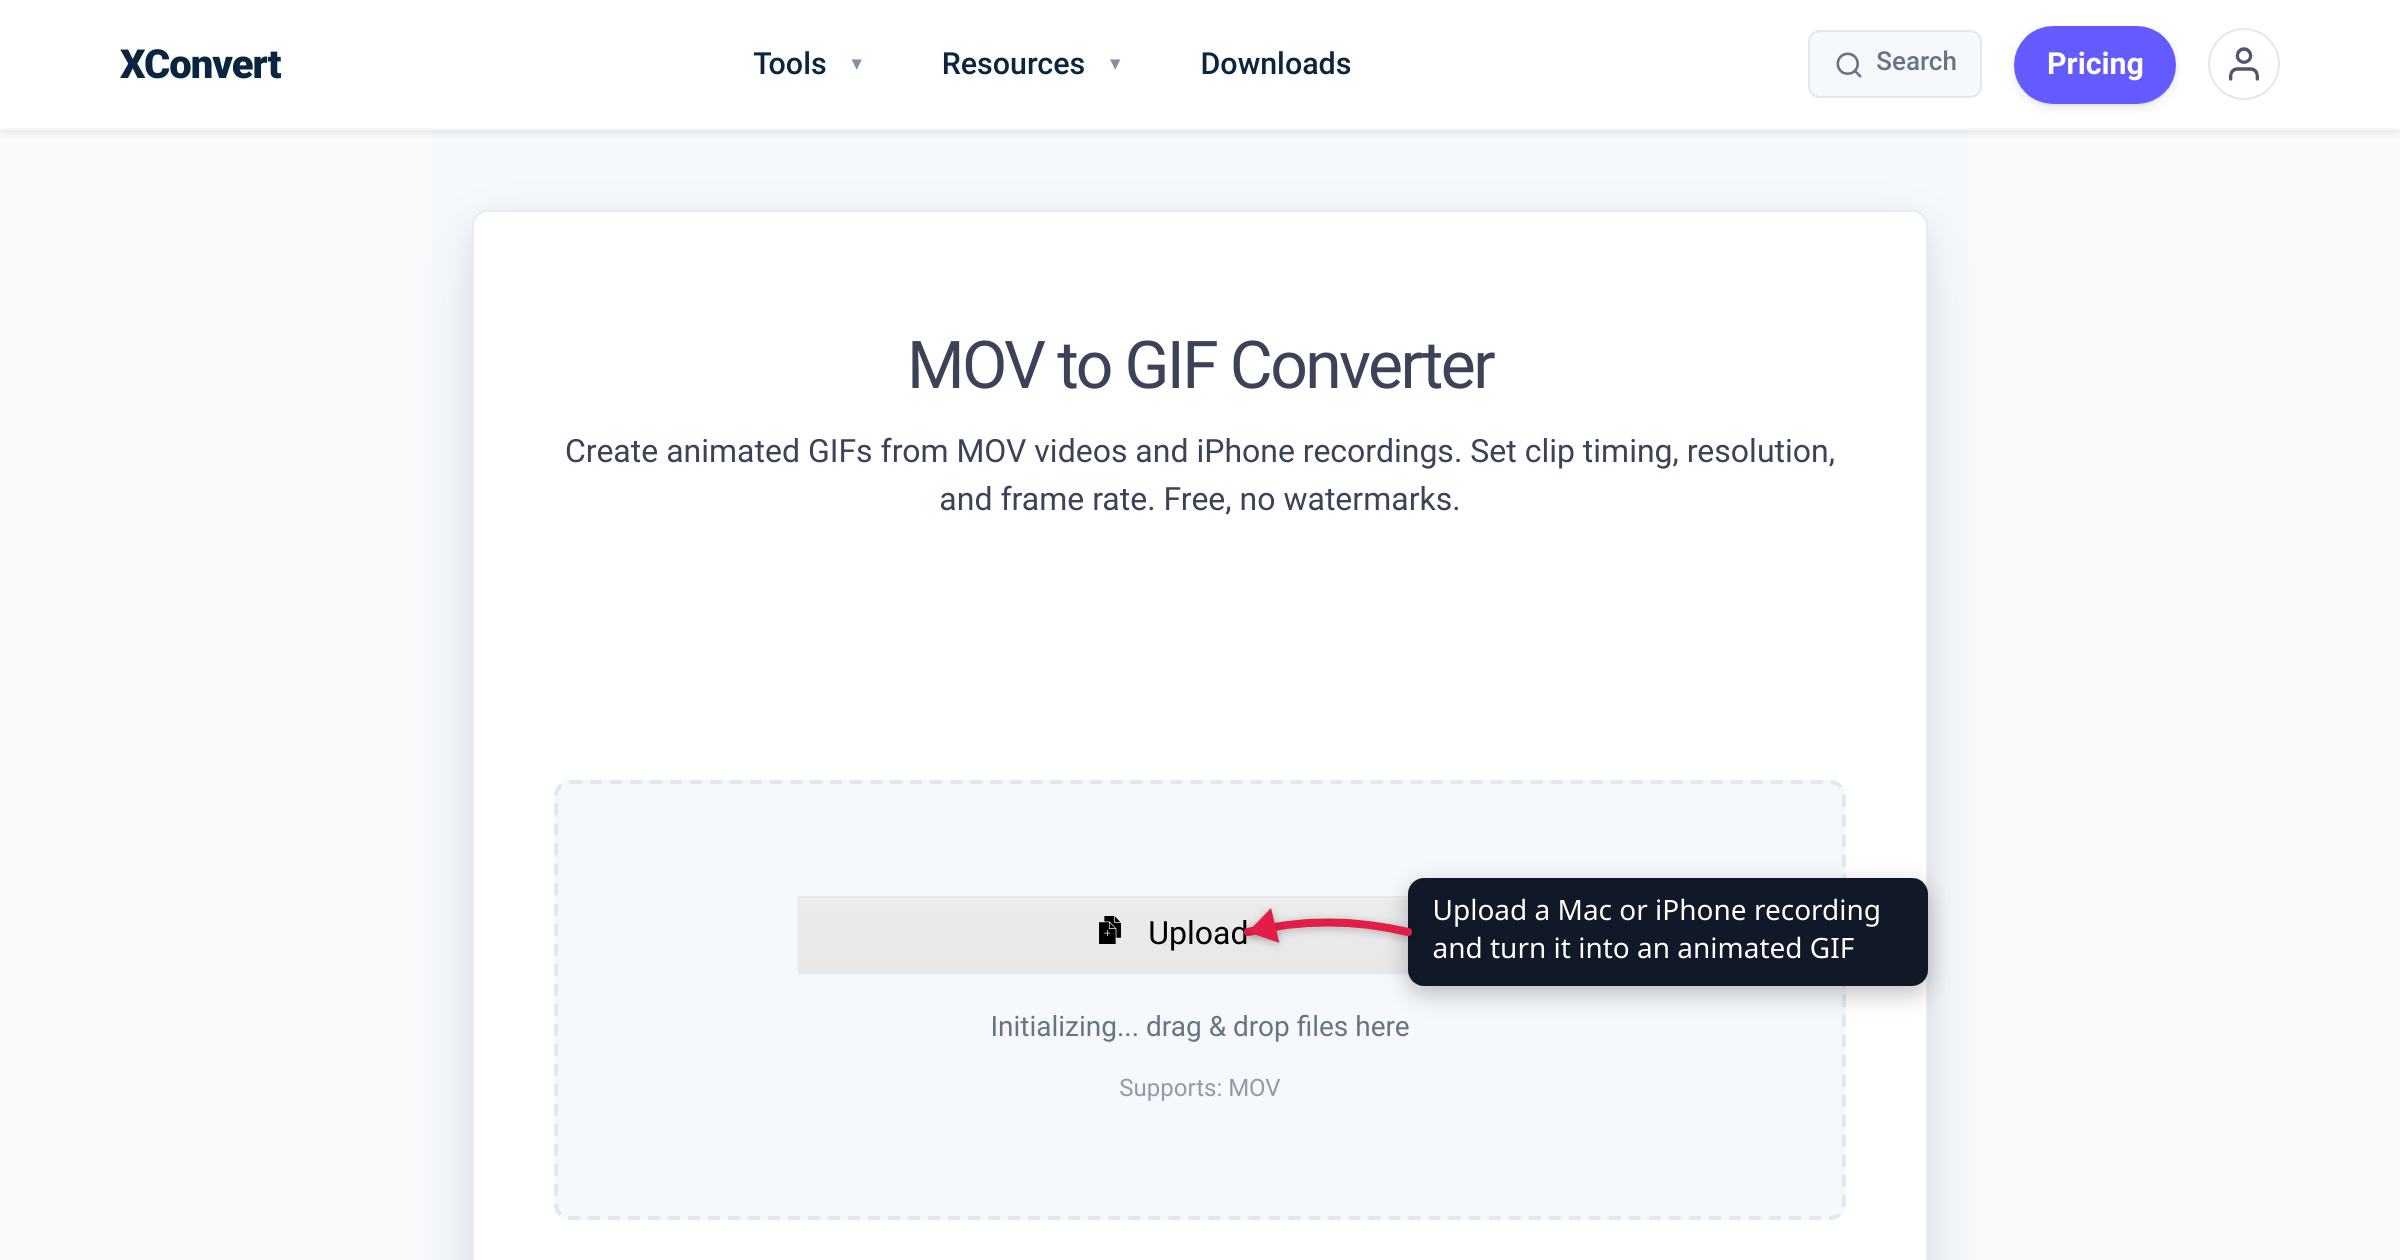
Press Shift-Command-5, record a 20-second demo of the bug you just fixed, and macOS hands you a .mov — Apple’s user guide states plainly that “screen recordings are saved as .mov files.” Drop that MOV into a GitHub PR or a wiki page, though, and it behaves like an attachment: a click to open, sometimes a download. A GIF autoplays and loops inline anywhere markdown renders, which is why docs, READMEs, and Slack threads still run on GIFs. This guide converts Mac and iPhone recordings to GIF with the xconvert MOV to GIF converter — every UI label and every Apple format claim below was verified against the live tool page and Apple’s own documentation, with the converter’s controls re-checked in August 2026.
Quick answer: Upload the
.movto xconvert’s MOV to GIF converter (Upload → From my Computer, or drag and drop). In Advanced Options you get two controls straight away: Framerate, at the default 10 FPS (Recommended), and File Compression, which opens on Quality preset → High (Recommended). For a screen recording, switch File Compression to Custom — that reveals Image resolution, where you set Width (Keep aspect ratio) to 480–800 px, and Colors, where By Color Reduction + Dither at 64–128 colors is nearly free on flat UI. If you just need the GIF under a size cap, pick Max file size instead and name the number. Trim to under ~10 seconds before you upload — the converter has no trim control; use the video cutter. iPhone HEVC.movfiles convert as-is — decoding happens on xconvert’s servers.
Jump to a section
- Which Apple recordings are actually MOV
- HEVC inside your MOV: what “High Efficiency” means
- Trim before you convert
- The settings that keep screen-recording GIFs small
- Convert MOV to GIF on xconvert
- FAQ
Which Apple recordings are actually MOV
Apple’s capture tools almost all write QuickTime .mov files — with one exception that trips people up:
| Capture path | File you get | Verified against |
|---|---|---|
| Mac screenshot toolbar (Shift-Command-5) | .mov — “screen recordings are saved as .mov files” | Apple macOS User Guide |
| QuickTime Player → File > New Screen Recording | .mov (a QuickTime movie) | Apple macOS User Guide |
| iPhone / iPad Camera app video | .mov in the QuickTime container — HEVC or H.264 codec depending on Settings > Camera > Formats | Apple HEIF/HEVC support doc |
| iPhone Control Center screen recording | usually .mp4 (RPReplay_Final<timestamp>.mp4) — Apple doesn’t publish the container; the naming is community-reported | Apple Support Community |
The odd one out matters. iPhone screen recordings (the Control Center record button) save to the Photos app per Apple’s documentation, but when you AirDrop or export one, it typically arrives as RPReplay_Final….mp4 — an MP4, not a MOV. If your file ends in .mp4, use the MP4 to GIF converter instead; the controls are identical, and there’s a full walkthrough in our screen-recording-to-GIF guide for Slack and docs.
Everything else — Mac captures, QuickTime recordings, iPhone camera clips (IMG_xxxx.MOV), ProRes exports, DSLR/mirrorless footage — is MOV territory, and the MOV to GIF page lists all of these among its supported inputs.
HEVC inside your MOV: what “High Efficiency” means
A .mov extension tells you the container, not the codec inside it. Since iOS 11 and macOS High Sierra, Apple devices support HEVC — “HEVC (High Efficiency Video Coding), also known as H.265, for videos,” in Apple’s words — and iPhones capture with it whenever Settings > Camera > Formats is set to High Efficiency. Switch that setting to Most Compatible and, per Apple, “all new photos and videos will now use JPEG or H.264 format.” Either way the video still comes out of the phone as a QuickTime .mov.
That codec split is where conversion workflows usually break: HEVC files are smaller, but plenty of older software won’t decode them. For GIF conversion it doesn’t matter here — the converter page states that it decodes both cases (“High Efficiency” HEVC and “Most Compatible” H.264 MOVs) and writes out a standard animated GIF. The decoding happens server-side on xconvert’s machines, so nothing needs to be installed or configured on your end, and the resulting GIF plays literally everywhere — GIF has no codec-compatibility question at all.
Two related notes:
- You don’t need to pre-convert HEVC to H.264 just to make a GIF. If you do need an H.264 copy of a clip for some other workflow, Apple’s built-in path is QuickTime Player’s File > Export As, changing “Smaller File Size (HEVC)” to “Greater Compatibility (H.264).”
- Expect the GIF to be bigger than the MOV. HEVC is an aggressively compressed video codec; GIF is a stack of palette-limited images. The tool’s own docs note that a 2 MB iPhone HEVC clip routinely becomes a 20 MB GIF at full resolution — which is exactly why the next two sections exist.
Trim before you convert
GIF has no motion-compensated compression like H.264 or HEVC. Every frame is stored as its own indexed image, so file size grows roughly linearly with duration × framerate. Cutting a 30-second recording down to the 8 seconds that actually demonstrate something is the single biggest size win available — bigger than any framerate or color setting.
Three ways to do it, all verified:
- On a Mac: open the recording in QuickTime Player, choose Edit > Trim, drag the yellow handles around the part you want to keep, and click Trim (Apple’s QuickTime Player guide documents this flow; click-and-hold a handle to see individual frames for precise cuts).
- On an iPhone: in Photos, open the video, tap Edit, drag either end of the frame viewer to set new start and stop points, tap Done, then choose Save Video or Save Video as New Clip — the second option keeps your original untouched.
- On xconvert, before converting: the MOV to GIF page has no trim control — it converts the whole clip. Run the recording through the video cutter (or trim MOV) first, download the shortened clip, then feed that to the converter.
Aim for 10 seconds or less for anything going into documentation or chat. Short loops also read better: viewers catch the action on the second pass instead of scrubbing.
The settings that keep screen-recording GIFs small
The converter’s Advanced Options panel opens on two controls — File Compression and Framerate — and the manual knobs appear underneath once you set File Compression to Custom. The page’s own banner says the defaults are optimized for most cases; here’s what each control does to a screen recording, using the exact labels from the live page:
| Control (exact label) | Where it lives | For a UI/screen recording | Why |
|---|---|---|---|
| File Compression | On the panel by default | Leave on Quality preset → High (Recommended) for a one-click result, or pick Max file size if you have a hard ceiling | The preset ladder runs Highest → Lowest; Max file size lets you type the target and have the converter search for it instead of guessing |
| Framerate | On the panel by default | Keep the default 10 FPS (Recommended); use 12–15 for animation-heavy UIs | Mouse-driven content doesn’t need more; the dropdown goes from 1 to 50 FPS, and size scales almost linearly with it |
| Image resolution | Custom mode only | Width (Keep aspect ratio) → 480–800 px | Chat and docs UIs display GIFs at roughly 600–800 px wide; extra pixels are invisible, wasted bytes |
| Colors | Custom mode only | Switch ORIGINAL → By Color Reduction + Dither, 64–128 colors | Screen UIs are mostly flat colors; 64–128 is the sweet spot for screen recordings |
| Image quality (%) | Custom mode only | Leave the Quality Percentage slider at its default of 80 | Dropping it buys small savings at visible cost; touch it last |
Two things worth knowing behind those numbers:
The Retina trap. Recordings from a Retina Mac usually come in at about twice the width you saw on screen, because macOS captures at the display’s pixel resolution rather than its point resolution. Do a quick Get Info on the .mov before converting — a “small” window recording is often 2,000+ px wide. That’s why the Width (Keep aspect ratio) field (or Preset Resolutions / Resolution Percentage, which live in the same Image resolution group, under Custom) is the control to reach for first.
GIF’s 256-color ceiling. The GIF89a specification caps a color table at 2^8 = 256 entries, so every frame is quantized to at most 256 colors no matter what you pick. Gradients and photos band visibly; flat UI chrome barely changes. That’s why By Color Reduction + Dither at 64–128 colors is nearly free for screen recordings but should stay on ORIGINAL for camera footage.
For budgeting: GitHub caps attached images and GIFs at 10 MB, and inline previews load noticeably faster under ~5 MB. Per-platform targets (Slack, Notion, GitHub README) are covered in depth in the MP4 screen-recording guide — the same numbers apply regardless of source container.
Convert MOV to GIF on xconvert
- Open the xconvert MOV to GIF converter and click Upload, then From my Computer (there are also From Google Drive and From Dropbox options), or just drag and drop the
.movonto the page. - Expand Advanced Options. Set Framerate — the default is 10 FPS (Recommended), which is right for most UI demos; pick 12–15 FPS from the dropdown for animation-heavy content.
- Decide the File Compression mode. Quality preset → High (Recommended) is the default and is fine if you just want a good-looking GIF. If the GIF has to fit a limit, choose Max file size and set Size limit — Custom size value to type a number in KB or MB, or the Discord (10 MB max) / Email (25 MB max) / Forum (2 MB max) presets. The converter searches for settings that land at or under the target, best effort.
- For a screen recording, set File Compression to Custom instead. That reveals the manual knobs: under Image resolution, choose Width (Keep aspect ratio) and enter 480–800, depending on how large the GIF needs to display (Keep original is the default — remember the Retina trap above before leaving it there); under Colors, switch from ORIGINAL to By Color Reduction + Dither at 64–128 colors; and leave Image quality (%) at its default of 80.
- Click Convert. (There’s no trim step here — the whole clip is converted, so shorten it beforehand as described above.)
- Download the GIF and sanity-check the file size before you embed it. Your recording is processed on our servers and deleted automatically a few hours later.
Batch conversion is supported, so a folder of .mov clips can go through in one pass with the same settings.
FAQ
Will an iPhone HEVC (.mov) recording convert, or do I need H.264 first?
It converts directly. The tool decodes both HEVC (“High Efficiency”) and H.264 (“Most Compatible”) MOV files on xconvert’s servers — no codec installs, no QuickTime re-export. Pre-converting to H.264 first just adds a generation of quality loss.
Why is my GIF bigger than the MOV it came from?
Because the formats work in opposite ways. HEVC/H.264 store mostly differences between frames; GIF stores every frame as a complete palette-limited image. Across 30 days of our own GIF-output jobs, the median MP4-to-GIF landed about 4.9x the size of the source video; an HEVC source, which stores roughly twice as much picture per byte, inflates about twice as far again. So a few-MB screen recording can become a 10–20 MB GIF at full resolution. Trim the clip (before uploading), cap the width, and reduce colors — in that order of impact. If you only care about hitting a number, skip the knobs entirely: set File Compression to Max file size and give it the target.
Does the GIF keep the audio?
No — the GIF format has no audio track, so any narration or system audio in the recording is discarded. If sound matters, share the video file itself: GitHub, for example, accepts .mov/.mp4 attachments in issues and PRs (10 MB on free plans, 100 MB on paid).
What framerate should I use for a screen recording?
10–15 FPS. Mouse movement, typing, and scrolling read fine at 10 FPS (the tool’s recommended default); UI animations and transitions justify 12–15. The Framerate dropdown ranges from 1 to 50 FPS, but above ~15 you’re mostly doubling file size for motion smoothness nobody notices in a docs GIF.
My iPhone screen recording is a .mp4, not a .mov — what do I use?
Use the MP4 to GIF converter — same controls, same output. iPhone Control Center screen recordings typically export as RPReplay_Final….mp4 (community-reported; Apple doesn’t document the container), while iPhone camera videos and Mac screen recordings are the .mov files this page handles.
Can I convert other formats, or only MOV?
This page’s upload box says “Supports: MOV.” For WebM, AVI, MKV, and everything else, xconvert has format-specific GIF converters plus a general video-to-GIF tool — see Convert Any Video to GIF for the full map.
Sources
Last verified 2026-08-31.
- Apple — Take screenshots or screen recordings on Mac (macOS User Guide) — Shift-Command-5 toolbar; “screen recordings are saved as .mov files.”
- Apple — Record the screen on your iPhone, iPad, or iPod touch — Control Center recording flow; recordings save to the Photos app.
- Apple — Using HEIF or HEVC media on Apple devices — HEVC = H.265 since iOS 11/High Sierra; Settings > Camera > Formats (High Efficiency vs Most Compatible → H.264); QuickTime “Export As → Greater Compatibility (H.264).”
- Apple — Trim a movie or clip in QuickTime Player on Mac — Edit > Trim, yellow handles.
- Apple — Trim video length, adjust speed, and edit audio on iPhone — Photos trim flow; Save Video vs Save Video as New Clip.
- Apple Support Community — RPReplay_Final files — community evidence that iPhone screen recordings export as
RPReplay_Final….mp4. - W3C — GIF89a specification — color tables sized 2^(field+1) with a 3-bit field, i.e. at most 256 entries per table.
- GitHub Docs — Attaching files — 10 MB cap for images and GIFs; video attachments 10 MB free / 100 MB paid.
- xconvert — MOV to GIF Converter — supported inputs and HEVC/H.264 decode capability, fetched 2026-07-16. UI labels and defaults re-verified 2026-08-31 against the live option set for this page: File Compression (Quality preset, default High (Recommended) / Custom / Max file size) and Framerate (default 10 FPS (Recommended), 1–50 FPS) render by default; Image quality (%) (Quality Percentage slider, 1–100, default 80 on this page), Image resolution and Colors (2–256 palette + Dither) render only in Custom mode. There is no trim control on this page.
- xconvert — Video Cutter — the separate tool for shortening a clip before conversion.