 By Stephanie Taylor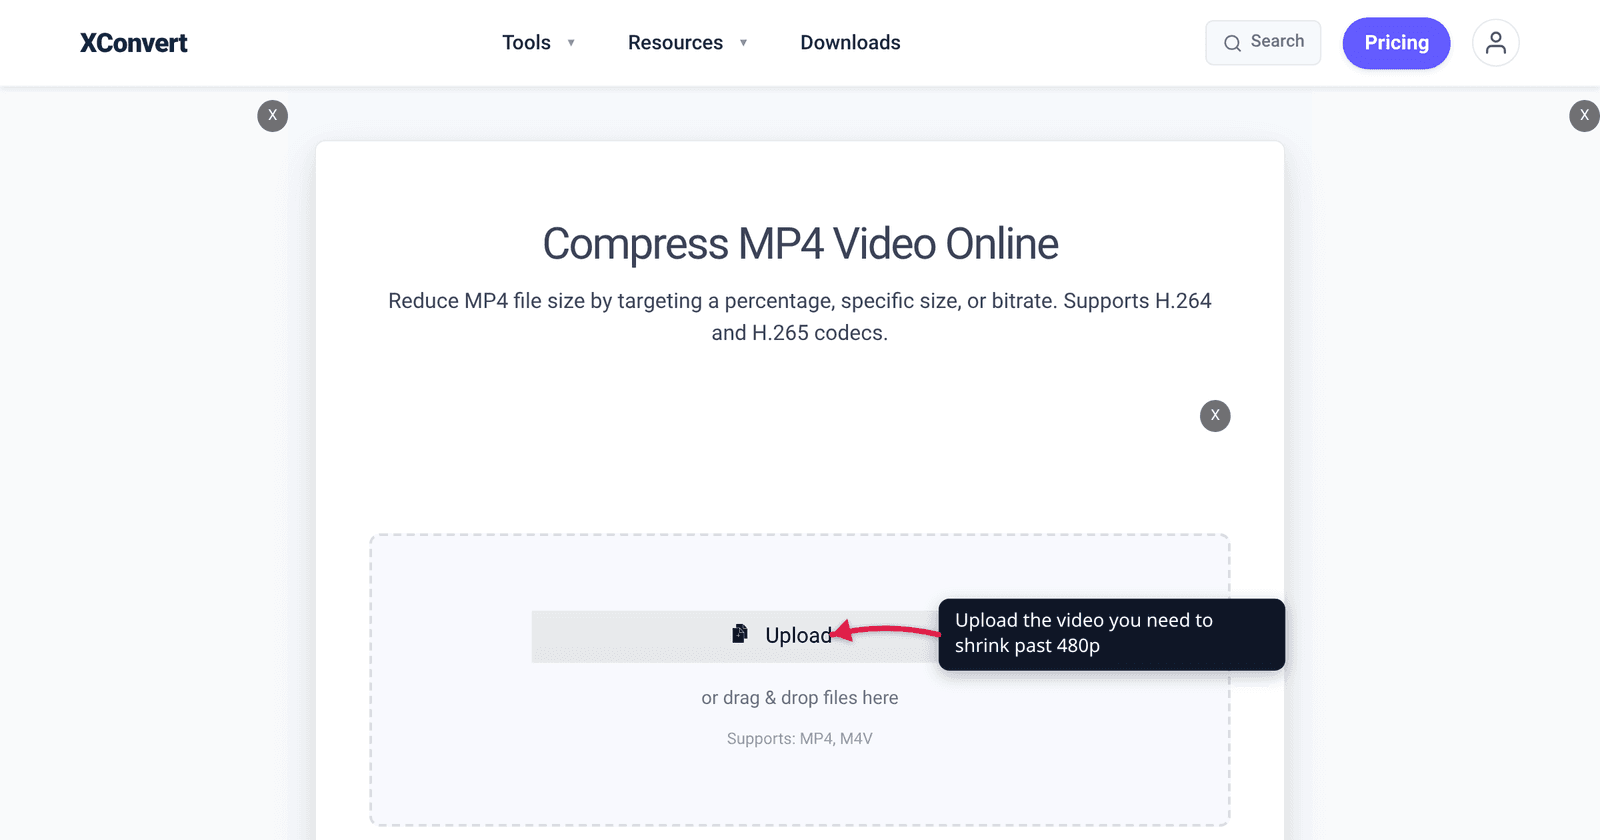
A council planning portal will take a 20 MB video and nothing larger. A court e-filing system wants under 25 MB. A forum’s upload box gives up at 8 MB. Meanwhile your phone hands you a 4K clip at 45 Mbps, and no amount of “compress without losing quality” gets you there — because at some point the only honest move is to make the video genuinely worse. This is the guide to doing that deliberately and knowing exactly what you are giving up: 480p, 360p, 240p, 144p, and where each one stops being useful.
Quick answer: Resolution is the biggest lever, and it is quadratic — dropping 1080p to 360p removes about 89% of the pixels, and 144p removes about 98%. But resolution alone does not shrink the file; the bitrate has to come down with it, which is why the reliable recipe is Constant Quality (CRF) plus a preset resolution rather than resizing under a fixed bitrate. On xconvert’s video pages the Video resolution group is deliberately hidden while Auto Scale is on — the page tells you so (“Manual resolution settings are hidden to prevent pixelation”). Switch File Compression to Constant Quality and the group appears, with 480p, 360p, 240p and 144p in the preset list.
Jump to a section
- When making a video worse is the right call
- The ladder below 480p, and what each rung is good for
- Resolution alone will not shrink the file — bitrate does
- Why the resolution picker is hidden, and how to get it back
- Make a video lower quality on xconvert
- FAQ
When making a video worse is the right call
“Lower quality on purpose” sounds perverse until you meet a hard ceiling that does not negotiate:
- A submission portal with a fixed cap. Government, legal, insurance and university systems routinely publish a per-file maximum and simply reject anything over it. There is no “compress smarter” answer at that point; there is a number you have to get under.
- Email. Gmail’s own help page puts the personal-account attachment limit at 25 MB, and anything larger is stripped out and replaced with a Google Drive link. If the recipient must receive an actual file rather than a link, the video has to fit.
- Bandwidth you do not control. Sending footage over a metered connection, a satellite link, or to someone on slow mobile data. Smaller is not a compromise here; it is the deliverable.
- Old or embedded playback. Digital photo frames, in-car head units, older smart TVs, kiosk players and industrial displays often cap out well below 1080p and stutter above it.
- The content does not need the pixels. A talking head, a screen recording of a text terminal, dashcam footage kept only for the timestamp, a reference cut for an editor. Detail nobody will look at is bytes nobody needs.
- Deliberate aesthetics. Low-resolution artefacting is a look — the intentionally degraded, blocky, over-compressed style. Doing it on purpose is easier than faking it.
The ladder below 480p, and what each rung is good for
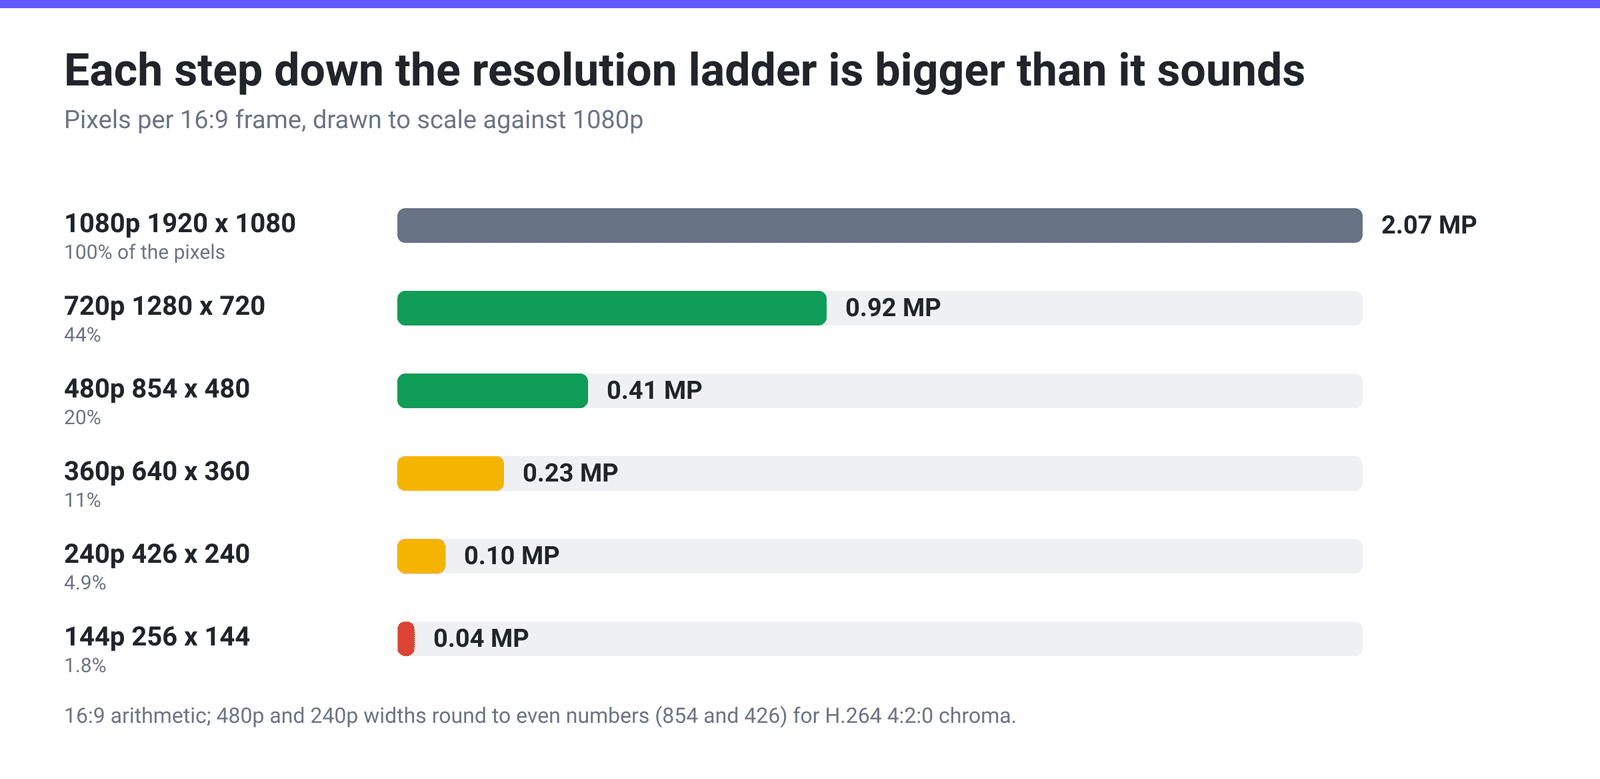
Preset resolutions are named by height, and the width follows from the aspect ratio. At 16:9, that gives this ladder — and because pixel count scales with the square of the scale factor, each step down is much bigger than it sounds.
| Preset | 16:9 frame | Pixels | Share of 1080p | Still works for |
|---|---|---|---|---|
| 1080p | 1920 × 1080 | 2,073,600 | 100% | Everything |
| 720p | 1280 × 720 | 921,600 | 44% | Full-screen viewing on most displays |
| 480p | 854 × 480 | 409,920 | 20% | Phone playback, embedded previews, most talking-head footage |
| 360p | 640 × 360 | 230,400 | 11% | Small embeds, chat attachments, motion you only need to see |
| 240p | 426 × 240 | 102,240 | 4.9% | Proof-of-event clips, dashcam, gesture and movement only |
| 144p | 256 × 144 | 36,864 | 1.8% | Last-resort thumbnails-in-motion; text becomes unreadable |
Two practical notes. Text is the first casualty. A screen recording at 480p is usually still readable; at 360p most UI labels blur; at 240p and below, assume nothing on screen can be read. If the point of the video is what the text says, resolution is the wrong lever — trim the length instead. Widths get rounded. 480p at 16:9 is 853.33 px, and 240p is 426.67 px; encoders round to even numbers (854 and 426) because H.264’s 4:2:0 chroma layout needs even dimensions.
Resolution alone will not shrink the file — bitrate does
Here is the trap that sends people back to the converter twice. A video file’s size is, near enough, bitrate × duration. Resolution is not in that equation. Shrink 1080p to 360p while holding the bitrate fixed and you get a file the same size that happens to look immaculate, because the encoder is now lavishing 8 Mbps on a ninth as many pixels.
Resolution matters because it lets the bitrate fall without the picture falling apart. YouTube publishes its own recommended SDR bitrates for standard frame rates, and the ladder is steep:
| Resolution | YouTube’s recommended bitrate (24–30 fps) | One minute of video | Ten minutes |
|---|---|---|---|
| 1080p | 8 Mbps | ~60 MB | ~600 MB |
| 720p | 5 Mbps | ~37.5 MB | ~375 MB |
| 480p | 2.5 Mbps | ~18.8 MB | ~188 MB |
| 360p | 1 Mbps | ~7.5 MB | ~75 MB |
(Video only; add roughly 1 MB per minute for stereo audio at 128 kbps.) Worth noticing: YouTube’s own table stops at 360p. Below that no major platform publishes a recommendation, because you are past the range anyone considers a delivery format — you are in “get it under the cap” territory, and the right bitrate is whatever the cap divided by the duration allows.
The practical consequence is how you should drive the tool. Two approaches actually work:
- Constant Quality (CRF) + a preset resolution. You pick the picture quality you will accept and the frame size; the encoder chooses the bitrate, and a smaller frame naturally needs fewer bits. This is the approach for “make it 360p and let the size land where it lands.”
- A target size, and let the tool scale. You name the number you have to hit; the tool works backwards to a bitrate and picks a matching resolution. This is the approach for “it must be under 20 MB.”
What does not work is picking a low resolution and pinning a high bitrate. For the general comparison of the two levers, see Resolution vs Bitrate: Which Actually Shrinks a Video More?.
Why the resolution picker is hidden, and how to get it back
Open Advanced Options on compress-mp4 and you will find only two groups: File Compression and Trim. No resolution control. That is intentional, and the page explains itself in a green banner once you look at the target-size mode:
“[Smart Scaling Active] We will automatically adjust the image dimensions to maximize quality while hitting your target file size. Manual resolution settings are hidden to prevent pixelation.”
The default mode, Target file size (%) (Best), ships with Auto Scale switched on, and Auto Scale is what hides Video resolution. The logic is sound: if you have told the tool a size to hit and it is already choosing the frame size to hit it, a second, conflicting resolution setting is how you end up with a needlessly pixelated result.
To take manual control there are two routes, and both are one click:
- Switch File Compression to Constant Quality. That mode has no Auto Scale, so Video resolution appears immediately — with Resolution Percentage, Keep original, Preset Resolutions, Width, Height and Width x Height.
- Turn Auto Scale off inside Target file size (%), Specific file size, Constant Bitrate or Variable Bitrate. The same group appears.
One more thing to know before you plan a workflow: xconvert’s video pages expose codec, compression mode, resolution and trim — there is no frame-rate control and no crop tool here. If the video is simply too long rather than too big-framed, Trim → Time Range is usually the higher-value edit.
Make a video lower quality on xconvert
- Open xconvert.com/compress-mp4 and drag your video onto the drop zone, or click Upload (From my Computer, Google Drive or Dropbox).
- Expand Advanced Options, then switch File Compression from Target file size (%) (Best) to Constant Quality. A CRF slider appears — higher CRF means lower quality and a smaller file.
- The Video resolution group now appears. Choose Preset Resolutions and pick from the list: 4320p, 2160p, 1440p, 1080p, 768p, 720p, 648p, 576p, 480p, 360p, 240p or 144p.
- Optional: use Trim → Time Range with a Start time and Duration to cut the clip down as well — often the bigger win.
- Optional: turn on Show All Options to reach Video Codec and Audio Codec if you need a specific one.
- Click Compress and download.
If you have an exact ceiling rather than a look in mind, set File Compression to Specific file size, type the number, and let Auto Scale pick the resolution for you.
Your file uploads over an encrypted connection, is processed on our servers, and is deleted automatically a few hours later.
The audio twin of this article is How to Make Audio Lower Quality on Purpose; if the destination is an inbox, How to Make a Video Small Enough to Email works the numbers for Gmail and Outlook.
FAQ
How do I convert a video to 144p or 240p?
Both are in the Preset Resolutions list, but that list only appears once Video resolution is visible — which it is not in the default target-size mode. Switch File Compression to Constant Quality (or turn Auto Scale off), then choose Preset Resolutions → 240p or 144p. At 16:9 those are 426 × 240 and 256 × 144.
Why is there no resolution option on the compress page?
Because Auto Scale is on by default and it hides the group on purpose. The page states it plainly: “Manual resolution settings are hidden to prevent pixelation.” When you have given the tool a target size, it is already picking the frame size that best hits that size, and letting you override it mostly produces worse results. Switch to Constant Quality, or turn Auto Scale off, to take the wheel.
Will 360p actually make my file small enough for email?
It depends far more on length than on resolution. At YouTube’s recommended 1 Mbps for 360p, a minute is about 7.5 MB of video — and the audio track is easy to forget, adding roughly another 1 MB a minute at 128 kbps. That puts three minutes at about 25.4 MB, just over Gmail’s 25 MB personal-account limit; two and a half minutes fits with room to spare, and ten minutes is nowhere close. If the clip is long, trim it or drop the bitrate further; resolution on its own runs out of headroom quickly.
Does lowering resolution reduce quality permanently?
Yes. Downscaling discards pixels, and re-upscaling afterwards invents new ones by interpolation — you get the frame size back, not the detail. Always keep the original and treat the low-resolution export as a disposable derivative, exactly as you would with a downsampled audio file.
Is 144p ever genuinely useful?
Rarely, but yes: proving that motion happened, squeezing a clip through an unreasonable cap, or as an intentionally degraded look. It is not useful for anything with text, faces at distance, or fine detail — at 36,864 pixels a frame, roughly 1.8% of 1080p, most of that is simply gone.
Can I lower the frame rate instead?
Not on xconvert’s video compression pages — they expose codec, compression mode, resolution and trim, with no frame-rate control. For most footage that is fine: resolution and bitrate do the heavy lifting, and trimming length is usually the largest single saving available.
Sources
Last verified 2026-08-31.
- YouTube Help — Recommended upload encoding settings — recommended SDR video bitrates by resolution (1080p 8 Mbps, 720p 5 Mbps, 480p 2.5 Mbps, 360p 1 Mbps at 24–30 fps), and the 16:9 standard aspect ratio.
- Google Workspace / Gmail Help — Attachment size limits — “For personal Gmail accounts, the limit is 25 MB”, with larger attachments replaced by a Drive link. Google’s Workspace sending limits confirm the cap applies to the file itself: “These values are the limits on the total size of the message content and attachments before encoding.”
- xconvert MP4 compressor — the live Smart Scaling notice and the Preset Resolutions list quoted above.