 By James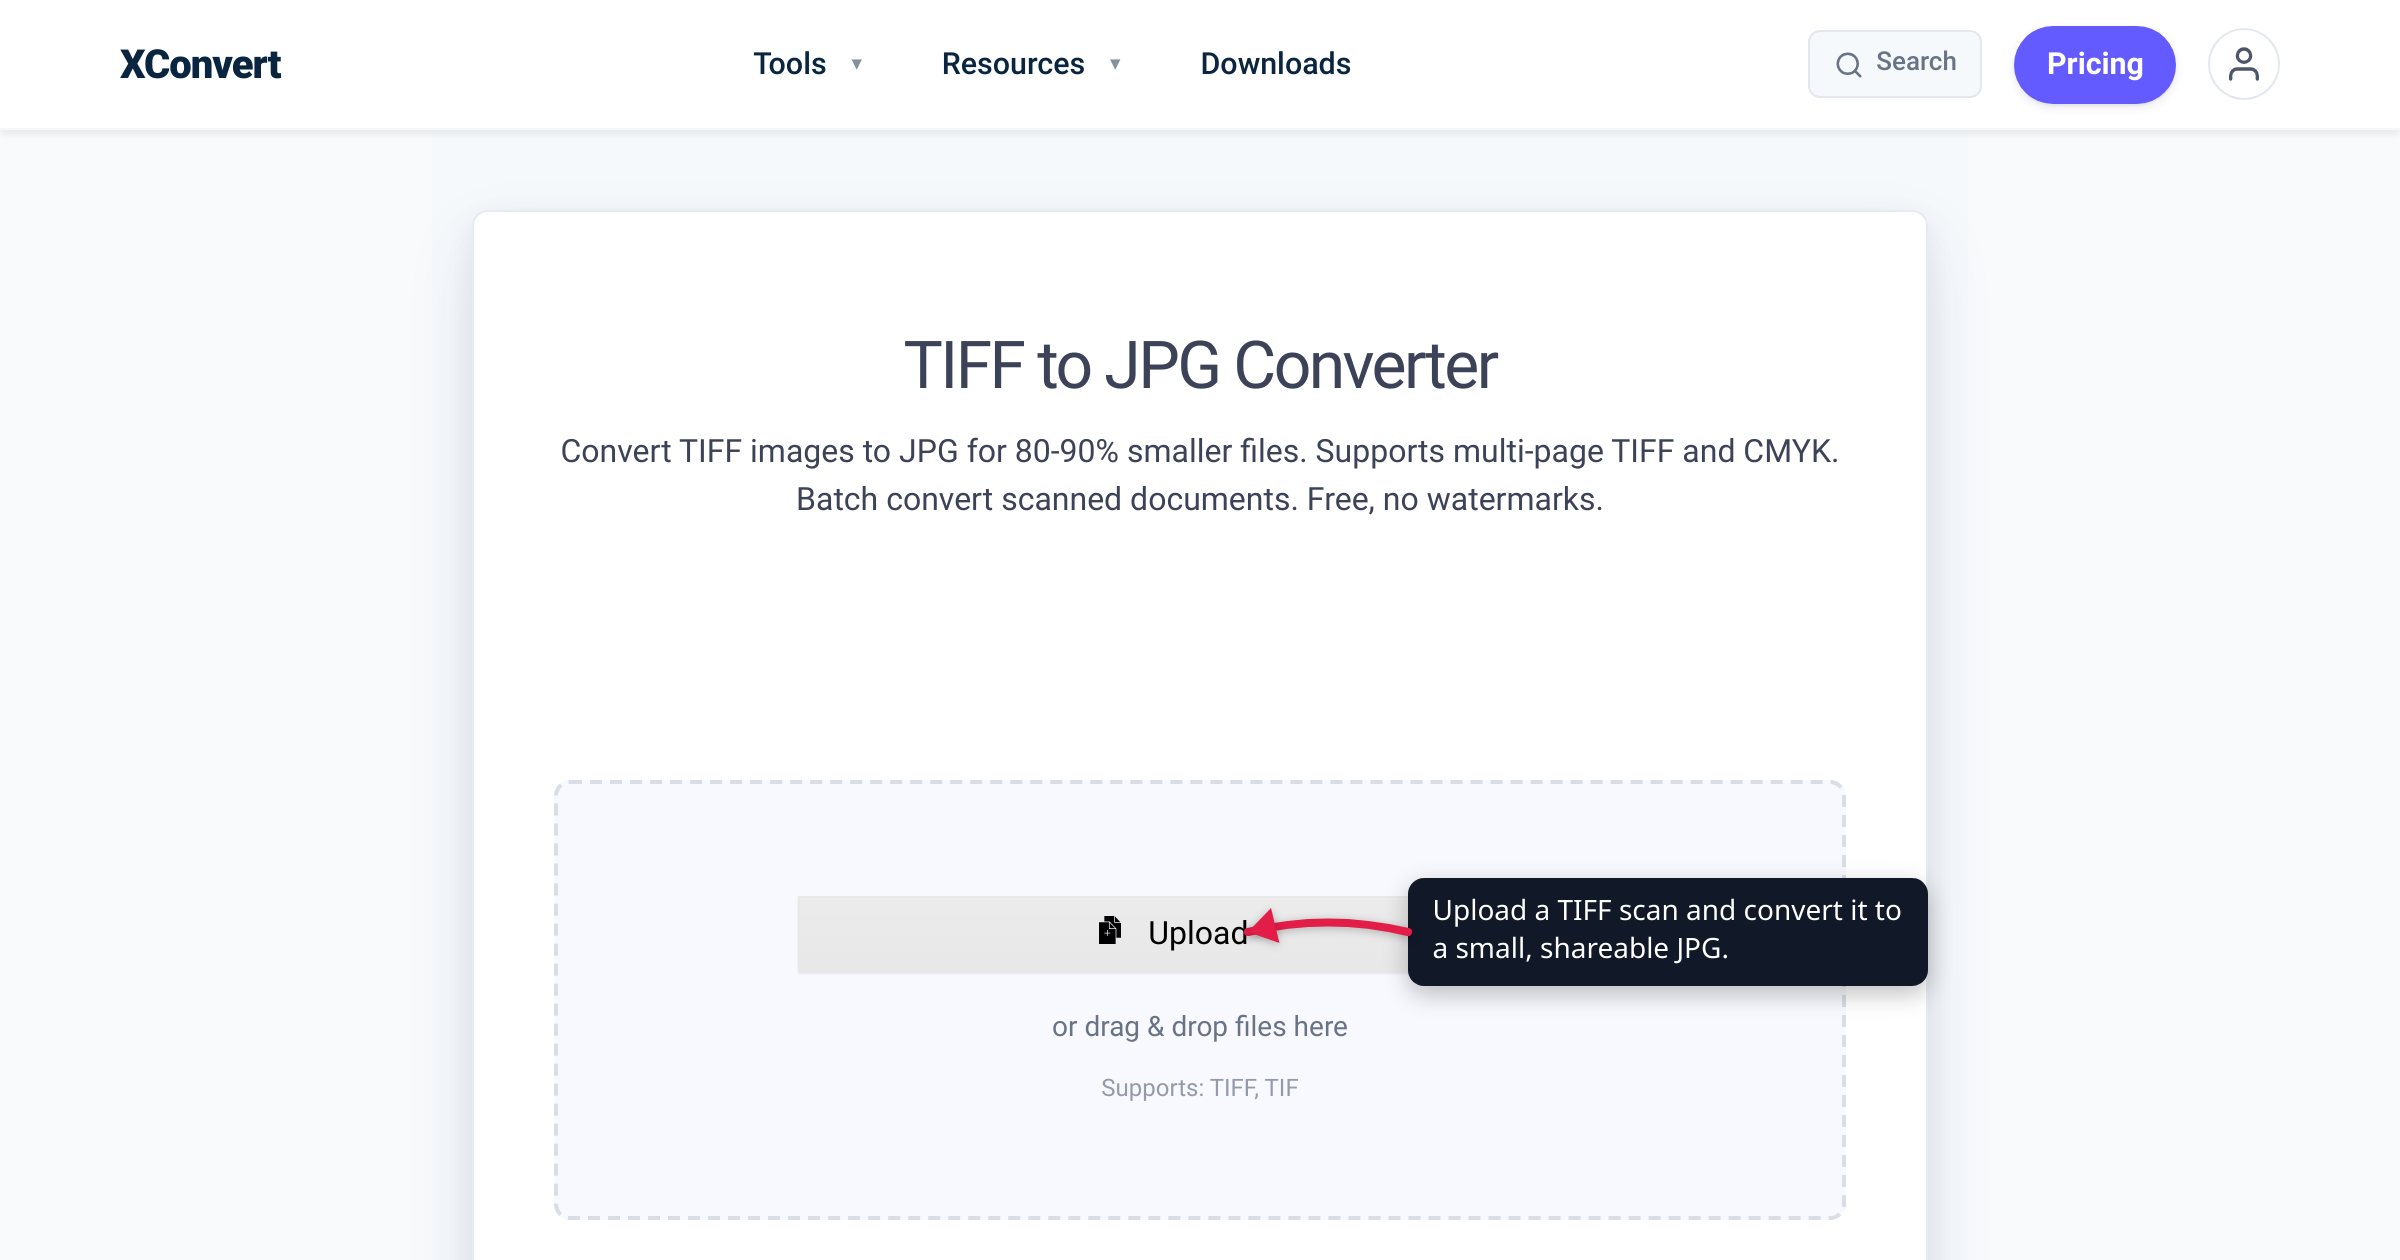
Your scanner just turned a five-page contract into a single 90 MB TIFF, your email bounces it as too big, and the upload form on the other end won’t accept a .tif at all. That’s the everyday TIFF problem: it’s the format scanners, archives, and print shops love because it stores every pixel losslessly — which makes the files enormous and awkward to share. Converting to JPG fixes both at once: a fraction of the size, and viewable in any browser, phone gallery, or upload box. The honest catch this guide is up front about — JPG is lossy, so treat it as a delivery copy and keep the TIFF as your master. We verified the format facts against the Library of Congress and MDN, and the multi-page behavior against the live xconvert tool.
Quick answer: Convert TIFF→JPG when a scan is too big to email or an app/webform won’t accept TIFF. JPG uses lossy compression, so the file shrinks dramatically — often 80–90% smaller for an uncompressed scan — and opens everywhere. The trade-off: JPG discards some detail and has no transparency, no layers, no CMYK, and no high bit depth, so it’s a sharing copy, not an archival master — keep the original TIFF. Uploading a multi-page TIFF? The xconvert TIFF to JPG converter turns each page into its own numbered JPG and returns the set as a ZIP; if you’d rather keep the pages in one file, convert to PDF instead.
Jump to a section
- Why TIFF scans are so big
- What converting to JPG gains — and costs
- Keep the TIFF master, share the JPG
- Multi-page TIFF: what actually happens
- Convert TIFF to JPG on xconvert
- FAQ
Why TIFF scans are so big
TIFF (Tagged Image File Format) is built for fidelity, not for size. The Library of Congress notes it grew out of a mid-1980s effort by scanner vendors to agree on a common scanned-image format, and it’s still used today “by scanning, faxing, word processing, optical character recognition, and other applications.” Its defining trait is that it stores image data either uncompressed or with lossless compression (LZW, ZIP/Deflate, PackBits) — nothing is thrown away.
That fidelity has a price, and the math is simple. An uncompressed color image is roughly width × height × 3 bytes. A letter-size page (8.5 × 11 in) scanned at 300 DPI is 2,550 × 3,300 pixels, so an uncompressed RGB TIFF of it is about 25 MB. Bump the scanner to 600 DPI — common for archival and OCR work — and the same page is 5,100 × 6,600 pixels, roughly 100 MB. Add multiple pages in one file (TIFF can do that — see below) and a single scan easily runs into the hundreds of megabytes.
Two things follow from that:
- It’s too big to send. Most email providers cap attachments at 20–25 MB, and plenty of web upload forms are stricter. A data-rich TIFF blows straight past those limits.
- Most apps can’t display it. Web browsers don’t render TIFF inline — MDN notes that other than Safari, “browsers do not natively support TIFF images in web content,” so “TIFF files are not broadly used for displaying web content.” Paste a TIFF into a chat, a web form, or a phone gallery and it often just won’t show. TIFF is a working and archival format, not a sharing one.
Converting to JPG solves both problems in a single step.
What converting to JPG gains — and costs
JPG (JPEG) is the opposite kind of format: MDN calls it “the most widely used lossy compression format for still images.” It uses a lossy, discrete-cosine-transform compression that trades a little visual accuracy for a much smaller file, and it displays in essentially every browser, OS, email client, and upload form on earth.
What you gain:
- Size. Replacing lossless storage with JPEG’s lossy compression typically cuts a scan by an order of magnitude — often 80–90% for an uncompressed source. A 50 MB uncompressed scan commonly lands in the low single-digit megabytes as a high-quality JPG, small enough to email or upload without a second thought.
- Compatibility. A JPG opens everywhere. No special viewer, no “this file type isn’t supported,” no downloading-instead-of-showing.
What it costs — and this is the part worth being honest about:
- JPG is lossy. The compression permanently discards some image information; it’s not reversible. At a high quality setting the loss is hard to see on photographic content and most text scans, but it’s real, and it compounds if you keep re-saving.
- No transparency. JPEG has no alpha channel at all (MDN lists both “Greyscale with alpha” and “True color with alpha” as not supported). If your TIFF had transparency, it’s flattened.
- No layers, no CMYK, no high bit depth. A TIFF can hold multiple images, CMYK print separations, embedded ICC profiles, and 16-bit-per-channel color. JPG is a single, flattened, 8-bit RGB image. Those production features don’t survive the trip.
None of that makes the conversion wrong — it makes it a one-way step. You’re producing a lightweight copy for sharing, and giving up the things that made the TIFF a master.
Keep the TIFF master, share the JPG
The rule that keeps you out of trouble: convert a copy, keep the original. MDN frames the two formats’ jobs exactly this way — JPEG for photographs and web display where small size matters, and downloadable TIFF “when distributing photos and other artwork intended for precision editing or printing.” Use each for what it’s good at:
- TIFF = the master. Keep it if you’ll edit further, print at large sizes, run OCR, or archive the scan. It’s lossless and holds full color and bit depth.
- JPG = the delivery copy. Email it, upload it, drop it in a doc. When you need another one, export it again from the TIFF — don’t edit-and-re-save the JPG repeatedly, because each save adds more lossy compression.
Two practical notes. First, if your file is a CMYK TIFF (typical of print work out of InDesign or Photoshop), converting to JPG flattens it to 8-bit sRGB so the colors render correctly on screens and in email — great for review, but keep the CMYK TIFF for anything going to a press. Second, if you need the file smaller but still lossless — because a workflow genuinely requires TIFF — don’t switch to JPG at all; shrink the TIFF instead. See reduce TIFF file size without losing quality for that path, and convert JPG to TIFF for the reverse trip when a printer or archive asks for a TIFF.
Multi-page TIFF: what actually happens
Here’s the caveat that trips people up. A TIFF isn’t limited to one image — the Library of Congress confirms “multi-page files [are] supported for a sequence of images,” each stored as its own Image File Directory (IFD) inside the one container. That’s why a scanner can hand you a 12-page contract as a single .tif. But JPG has no such structure — it holds exactly one image — so a multi-page TIFF can’t become one JPG.
We checked what the xconvert tool actually does with this, rather than guess. Each page is extracted as its own JPG, numbered in document order, and the set is returned as a ZIP when there’s more than one output. A 12-page scan comes back as filename-1.jpg through filename-12.jpg inside a ZIP; a single-page TIFF just comes back as one JPG, no ZIP.
If separate images are what you want — pages you’ll attach individually, or feed into different places — that’s ideal. But if the whole point was to keep the pages together as one shareable document, JPG is the wrong target. Convert to a single PDF instead: it’s multi-page like the TIFF, opens everywhere like a JPG, and is far smaller than the original scan.
Convert TIFF to JPG on xconvert
The xconvert TIFF to JPG converter handles single files, batches, multi-page TIFFs, and CMYK sources. The defaults are tuned for a clean, small result, so most people can just upload and convert:
- Open xconvert.com/convert-tiff-to-jpg and click + Add Files to add your scan (From my Computer, From Google Drive, or From Dropbox), or drag and drop your
.tif/.tifffiles onto the page. You can add several at once — batch is supported. - (Optional) Open Advanced Options (the gear icon). The page notes its defaults are optimized for the best results, so you only need this if you have a specific requirement.
- Set the Quality Preset. The default is Very High (Recommended), which keeps photo and scan detail while still shrinking the file dramatically. If you instead need to hit an exact size limit, switch the preset to Specific file size and enter your email or upload cap.
- (Optional) Leave Resolution Percentage on Keep original unless you want a smaller image in pixels — you can downscale with Preset Resolutions, Width, Height, or Width x Height.
- Click Convert, then download your JPG. If you uploaded a multi-page TIFF, you’ll get a ZIP of numbered JPGs (one per page).
Your file uploads over an encrypted connection, is processed on our servers, and is deleted automatically a few hours later — nothing lingers. Keep your original TIFF as the master; the JPG is your copy to share.
FAQ
Why is my TIFF file so big?
Because TIFF stores images uncompressed or losslessly (LZW, ZIP/Deflate, PackBits), keeping every pixel. An uncompressed letter-size color scan is about 25 MB at 300 DPI and roughly 100 MB at 600 DPI, and multi-page scans multiply that. Converting to JPG applies lossy compression that typically shrinks the file by 80–90%.
Will I lose quality converting TIFF to JPG?
Some, yes — JPG is a lossy format, so a little image information is permanently discarded, and JPG can’t hold transparency, layers, CMYK, or high bit depth. At a high quality setting the loss is hard to see for photos and most text scans. Because it’s one-way, keep the original TIFF as your master and use the JPG only for sharing.
What happens when I upload a multi-page TIFF?
Each page becomes its own JPG, numbered in document order (filename-1.jpg, filename-2.jpg, …), and the set is delivered as a ZIP when there’s more than one page. A single-page TIFF returns one JPG with no ZIP.
How do I keep all the pages in one file instead?
JPG can only hold one image per file, so it can’t combine pages. To keep a multi-page scan together in a single, universally viewable file, convert the TIFF to PDF instead — it’s multi-page, opens everywhere, and is much smaller than the original TIFF.
Does the converter handle CMYK TIFFs from Photoshop or InDesign?
Yes. CMYK TIFFs and TIFFs with embedded ICC profiles are flattened to 8-bit sRGB during conversion, so the colors render correctly in browsers, phone galleries, and email. That’s perfect for on-screen review — but keep the CMYK TIFF master for anything headed to a commercial press.
Should I delete the TIFF after converting?
No. The JPG is a lossy copy for sharing; the TIFF is your lossless master for editing, printing, OCR, and archiving. Keep the TIFF and re-export JPGs as needed — don’t repeatedly edit and re-save the JPG, since each save adds more compression loss.
Sources
Last verified 2026-07-16.
- Library of Congress — TIFF, Revision 6.0 (FDD000022) — TIFF supports uncompressed and lossless (LZW/PackBits) storage; “multi-page files supported for a sequence of images,” each a separate IFD; origin as a common scanned-image format; used for scanning, faxing, and OCR; spec now controlled by Adobe (Aldus, 1986).
- MDN Web Docs — Image file type and format guide — JPEG is “the most widely used lossy compression format for still images” (DCT-based); JPEG “does not support an alpha channel”; browsers don’t natively display TIFF, which is used for downloadable images “intended for precision editing or printing.”
- Adobe TIFF Revision 6.0 specification (PDF) — the primary format specification: Image File Directory (IFD) structure that lets one TIFF hold multiple images/pages, and its compression schemes.
- xconvert — TIFF to JPG converter — live tool behavior verified for this article: multi-page TIFF expands to one numbered JPG per page delivered as a ZIP; CMYK/ICC TIFFs flattened to 8-bit sRGB; Quality Preset default “Very High (Recommended)”.